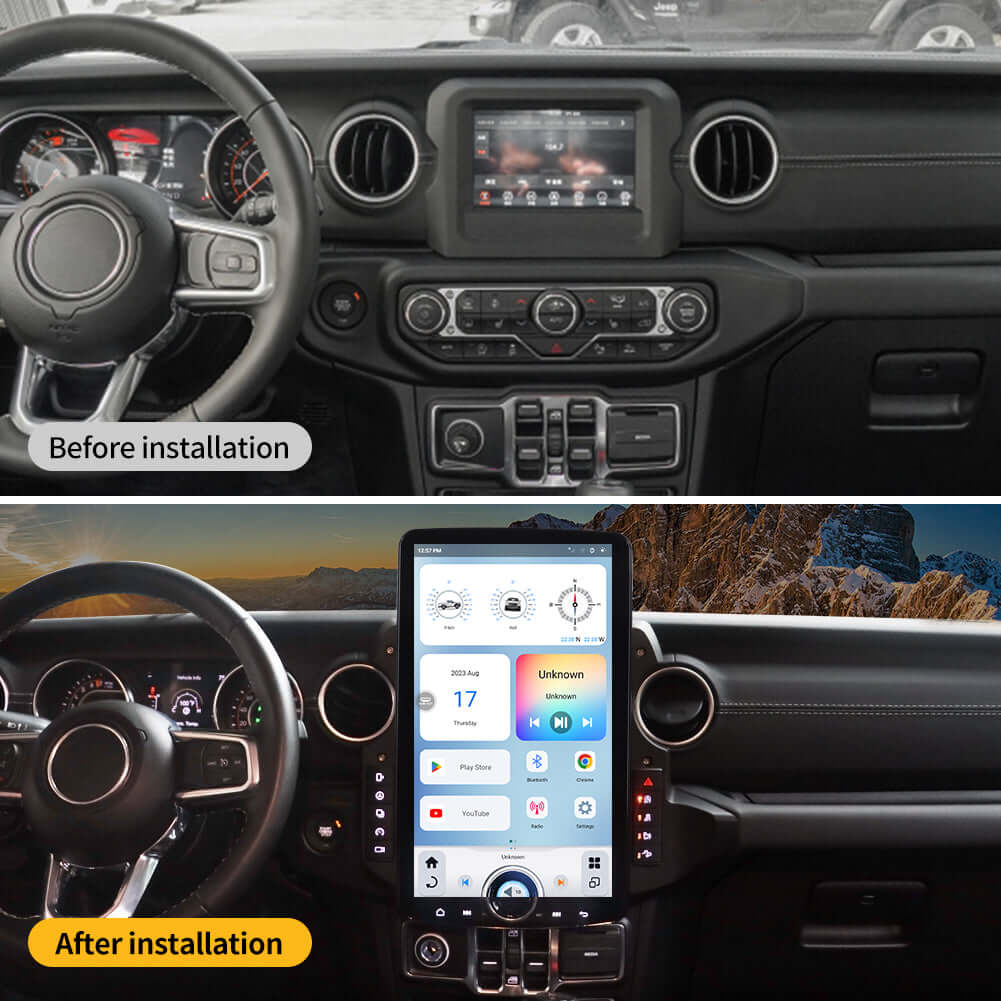
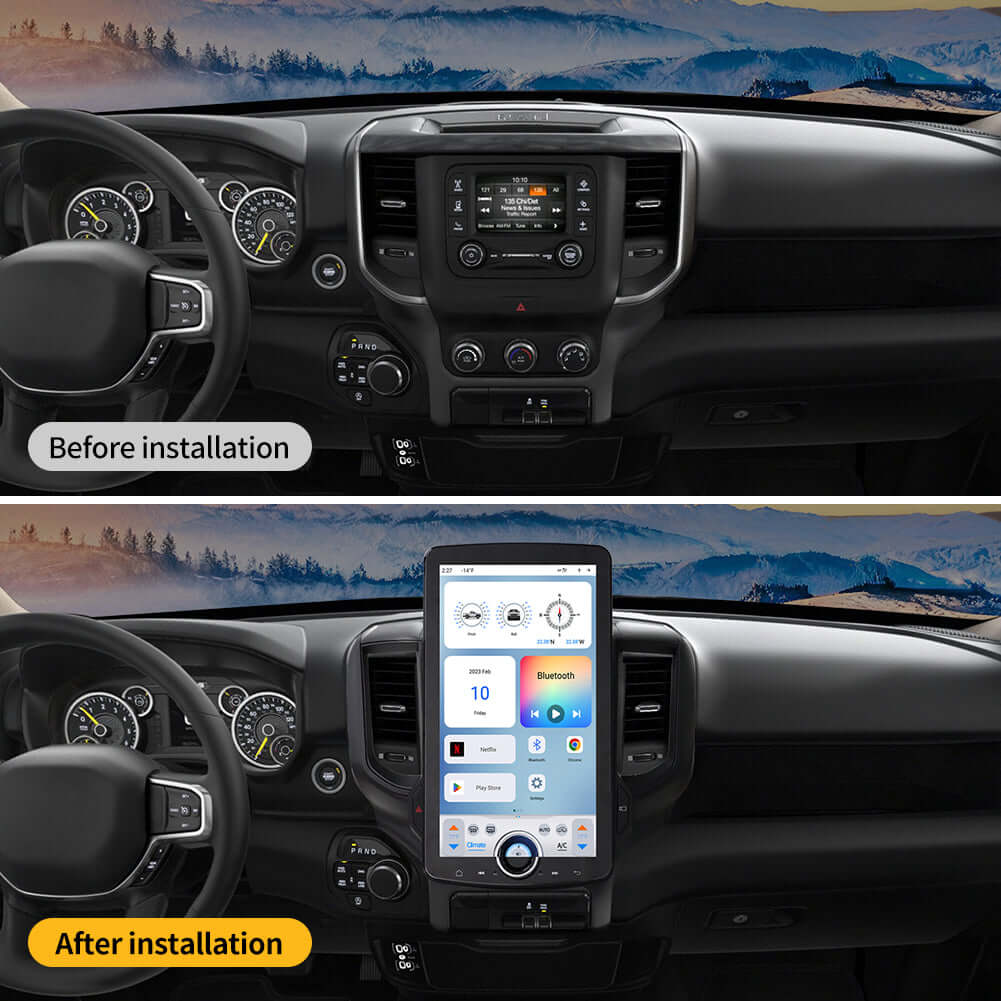
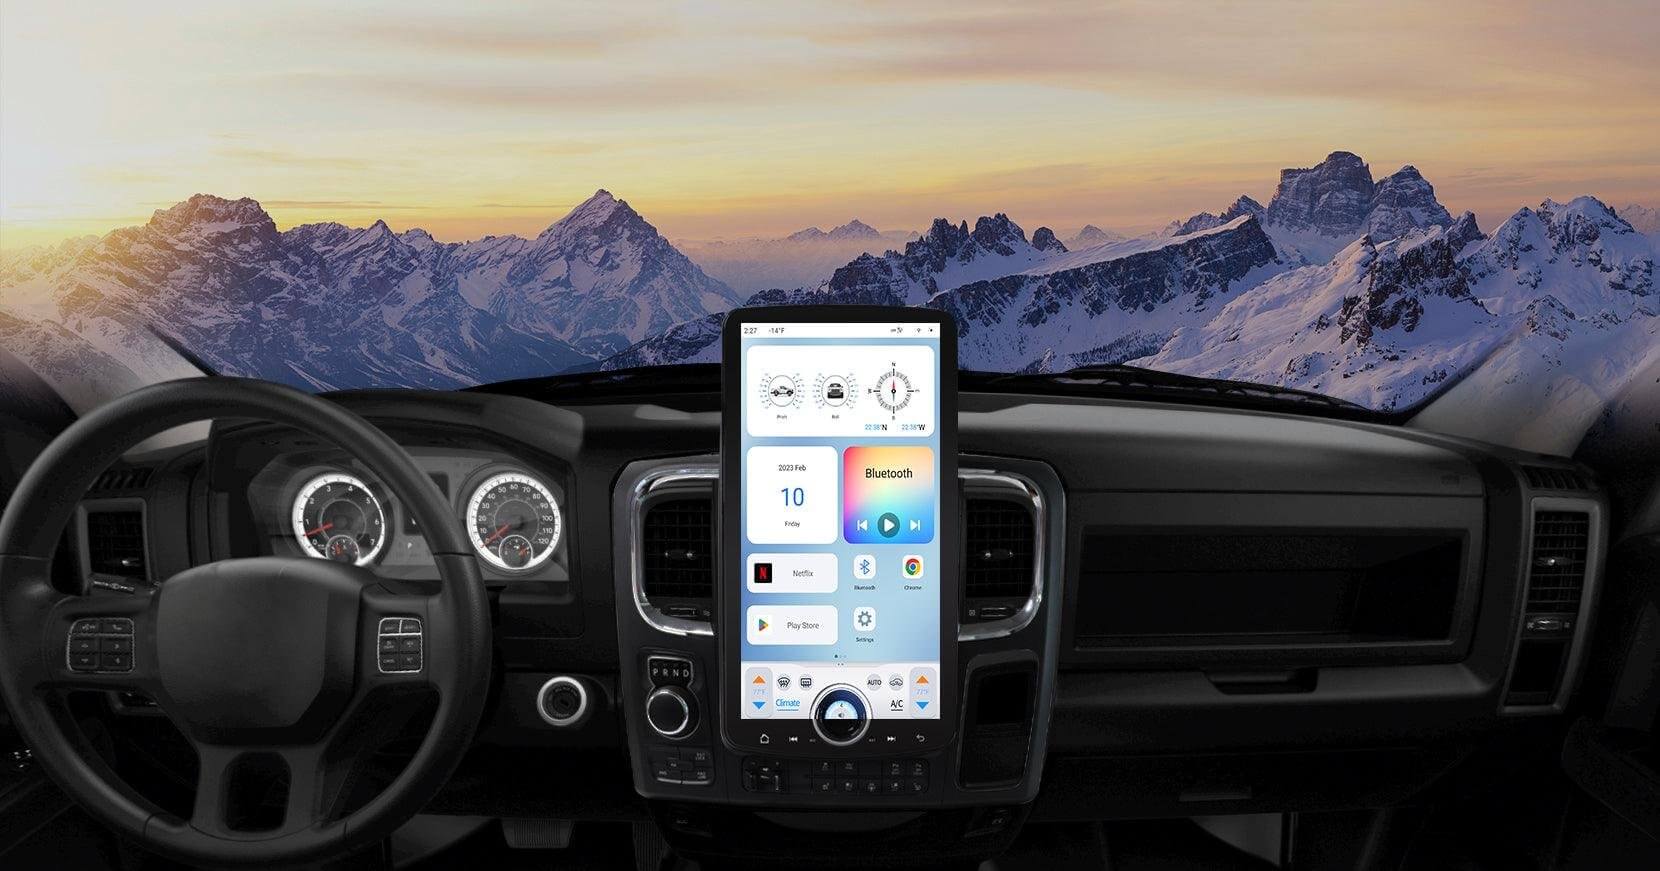
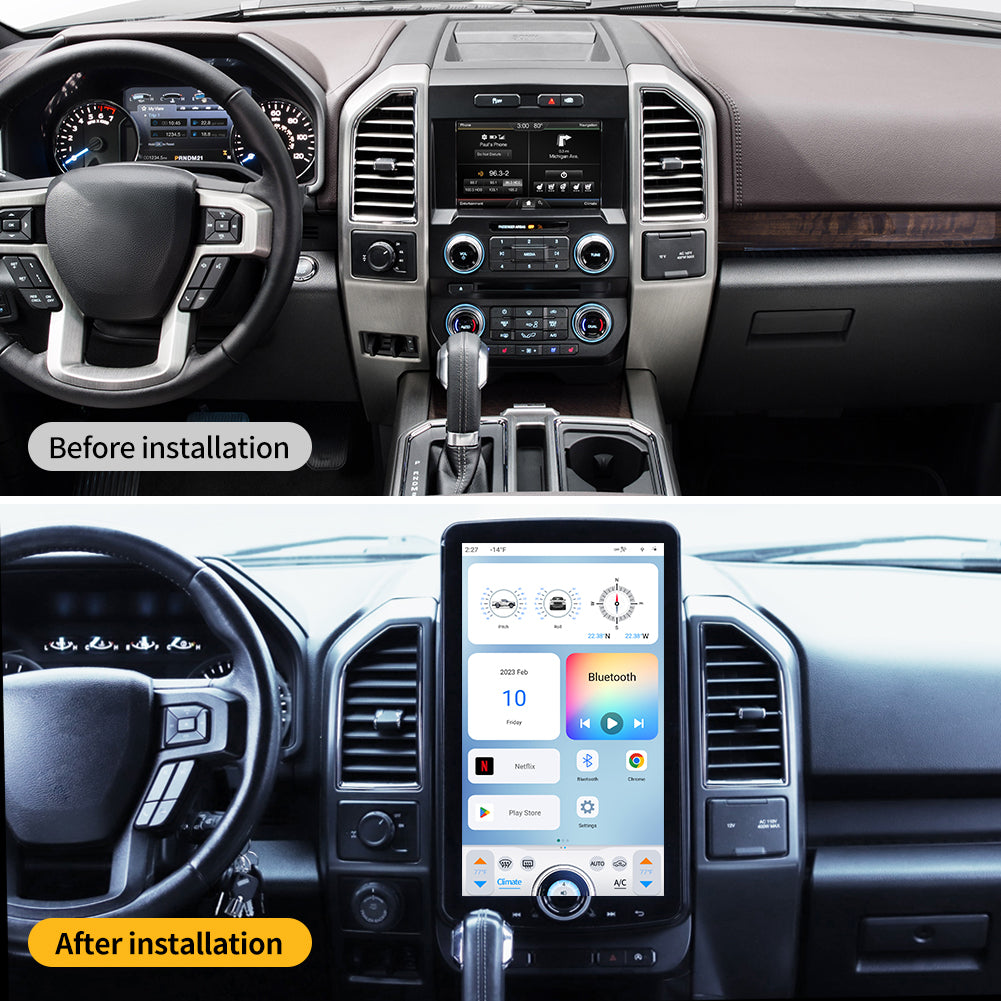
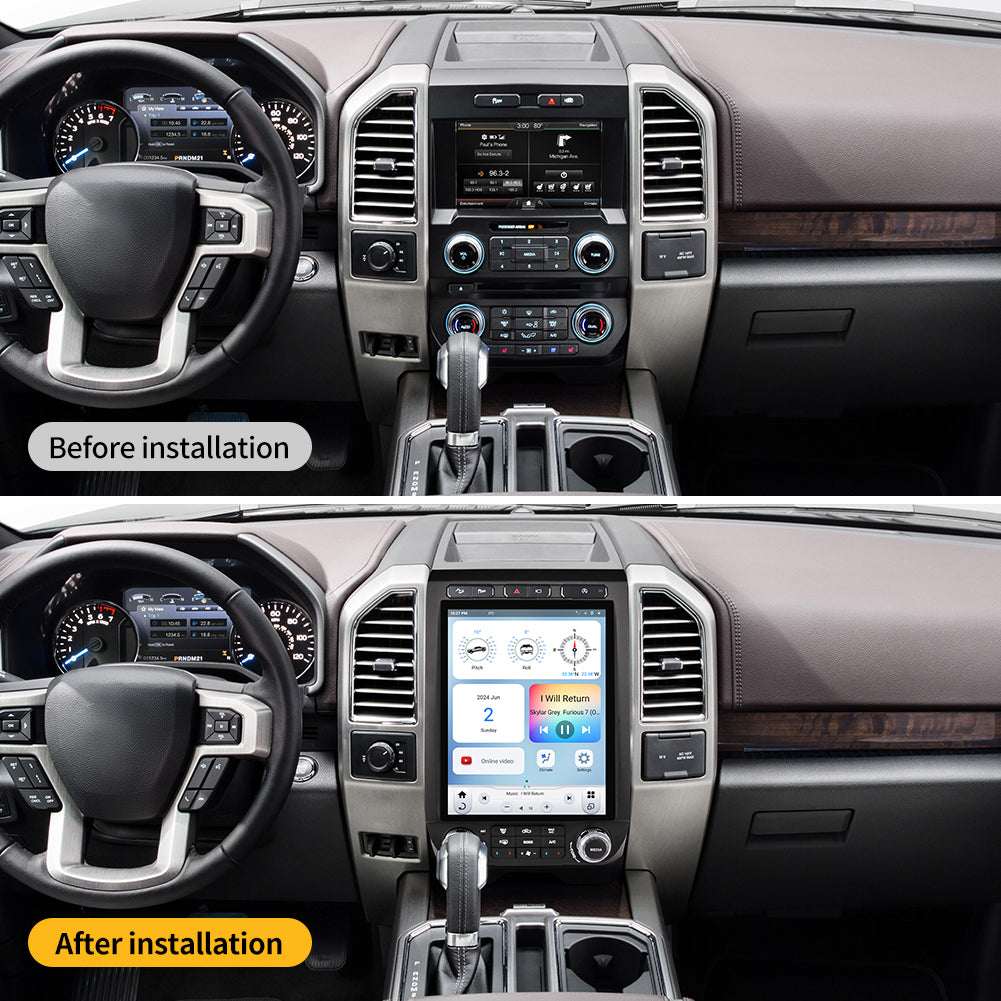
Upgrading your Ford Mustang (2015-2020) with a Tesla-style radio system is a fantastic way to elevate your driving experience. These high-tech infotainment systems bring a sleek, modern look to your car’s interior, along with enhanced features like larger touchscreens, more intuitive controls, and improved connectivity. If you’re considering installing a Tesla-style radio in your Mustang, this guide will walk you through the process and offer helpful tips to ensure a smooth installation.
Why Upgrade to a Tesla-Style Radio?
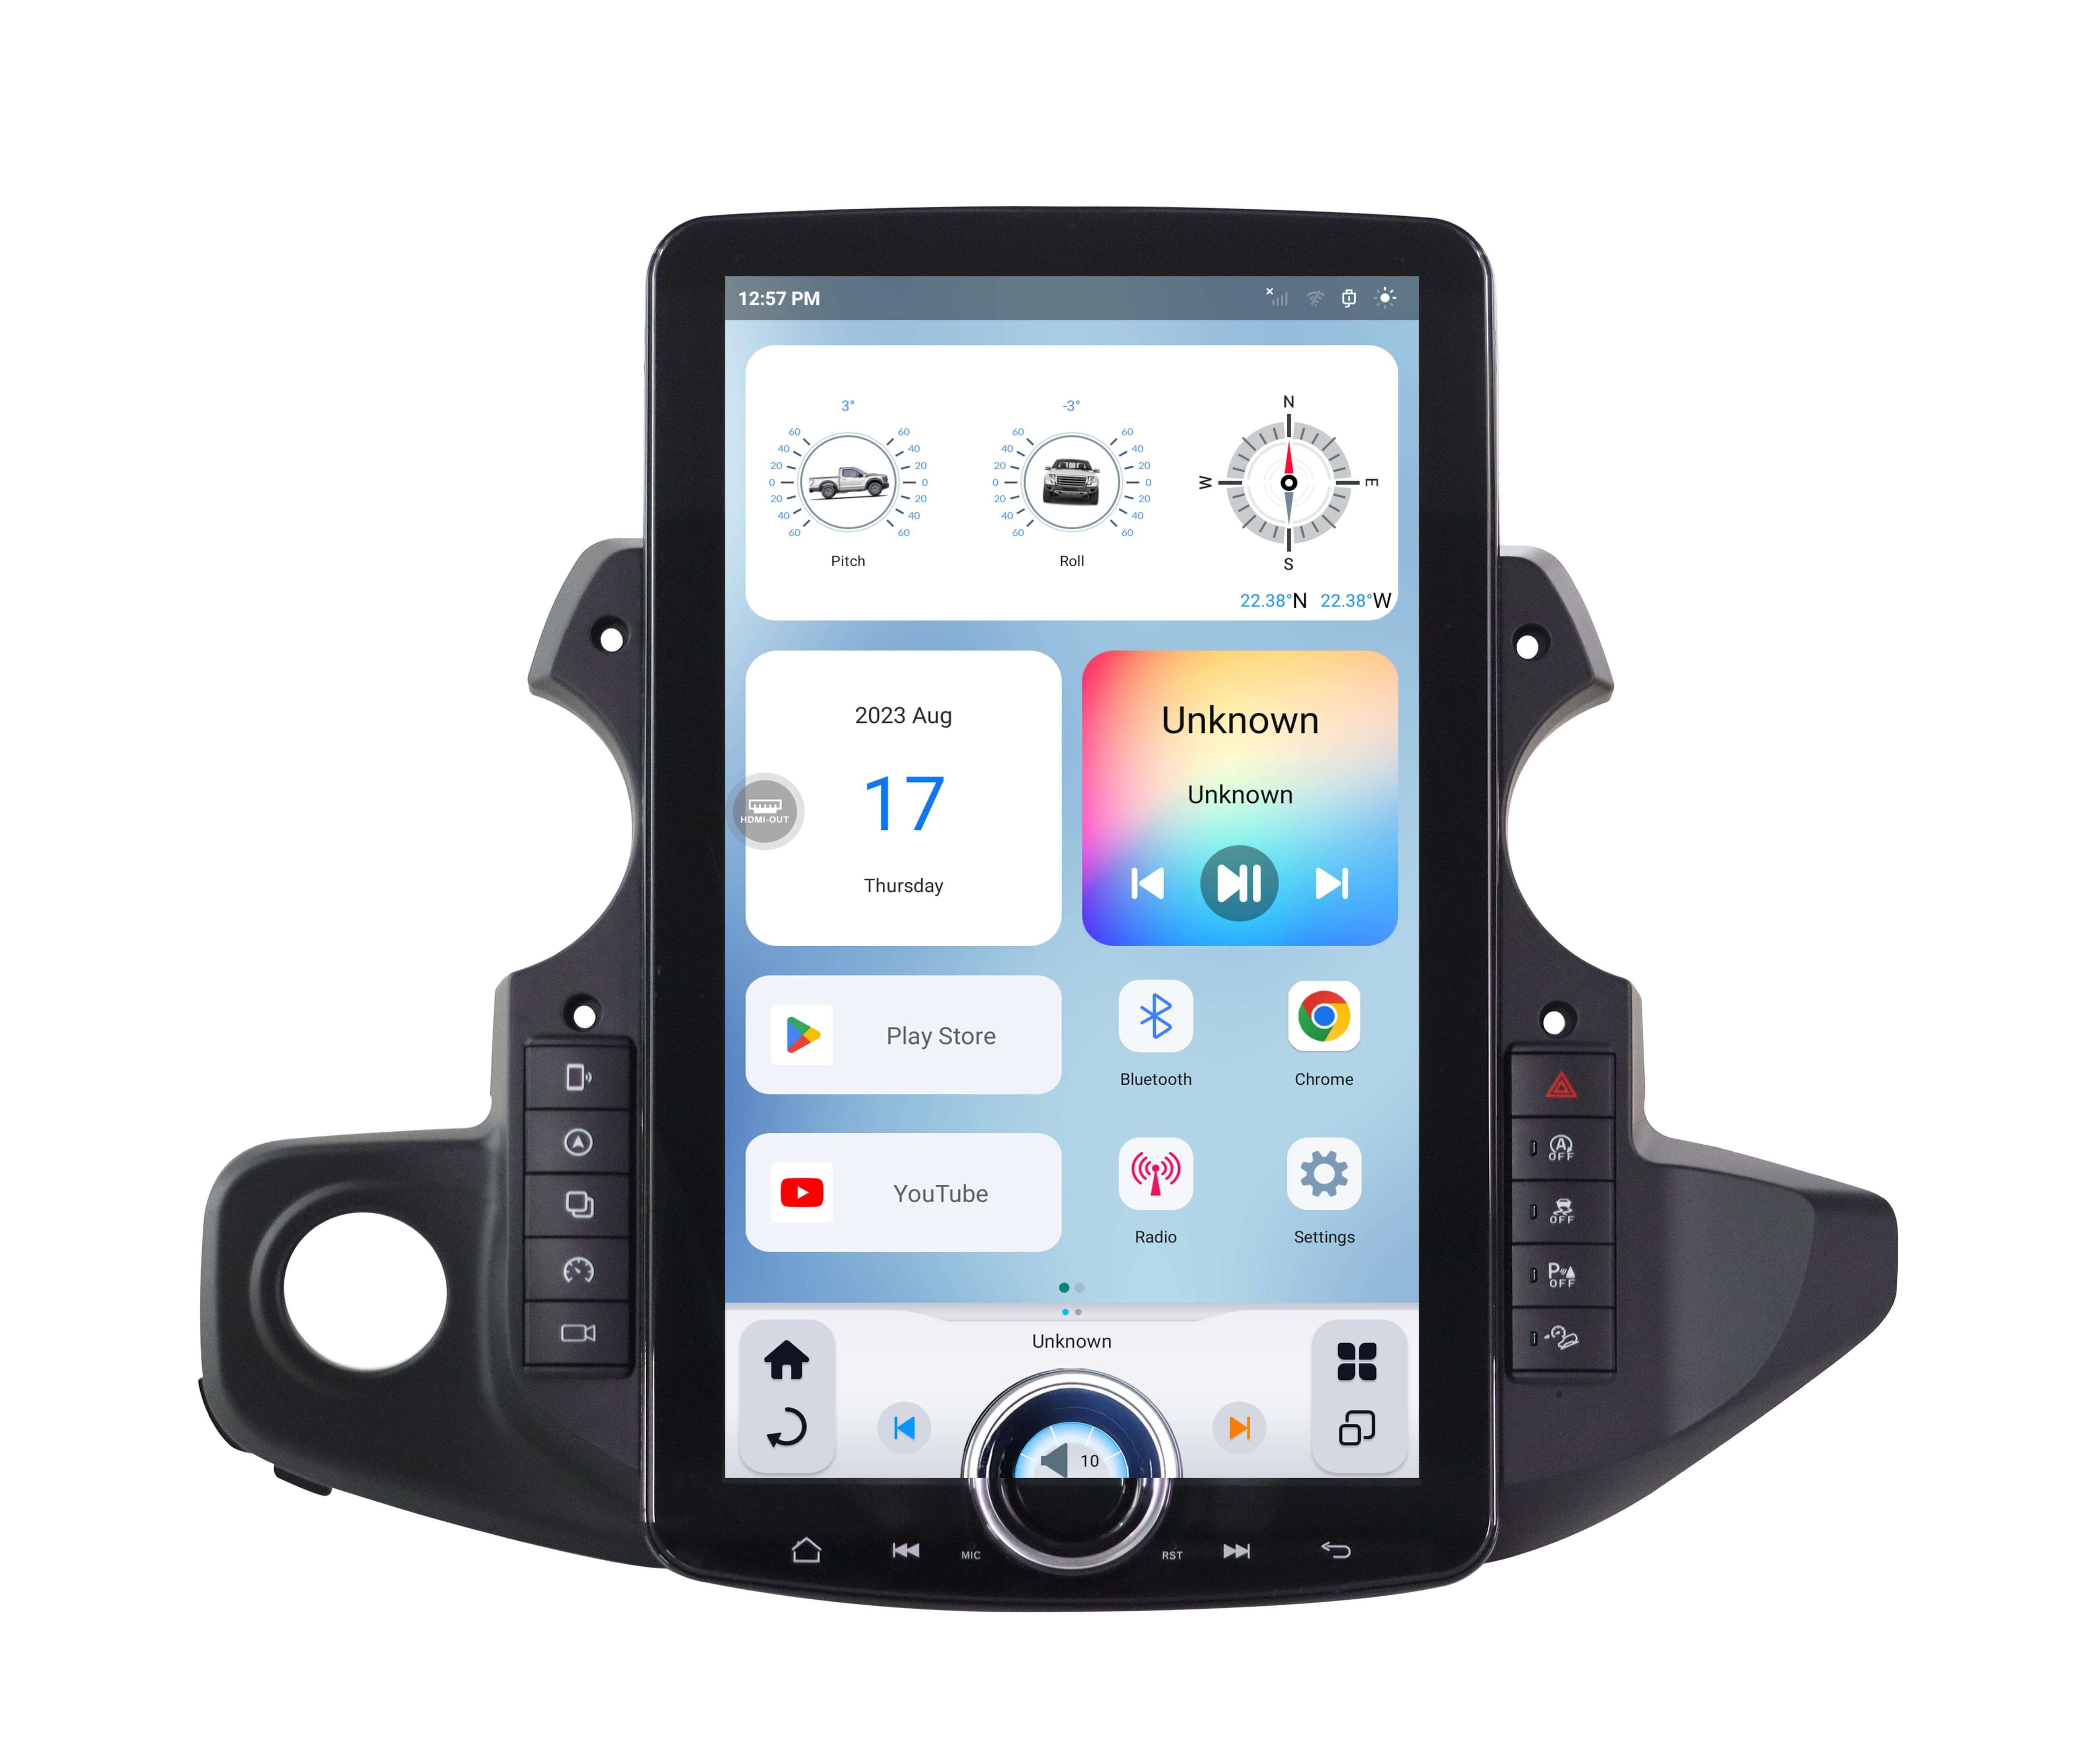
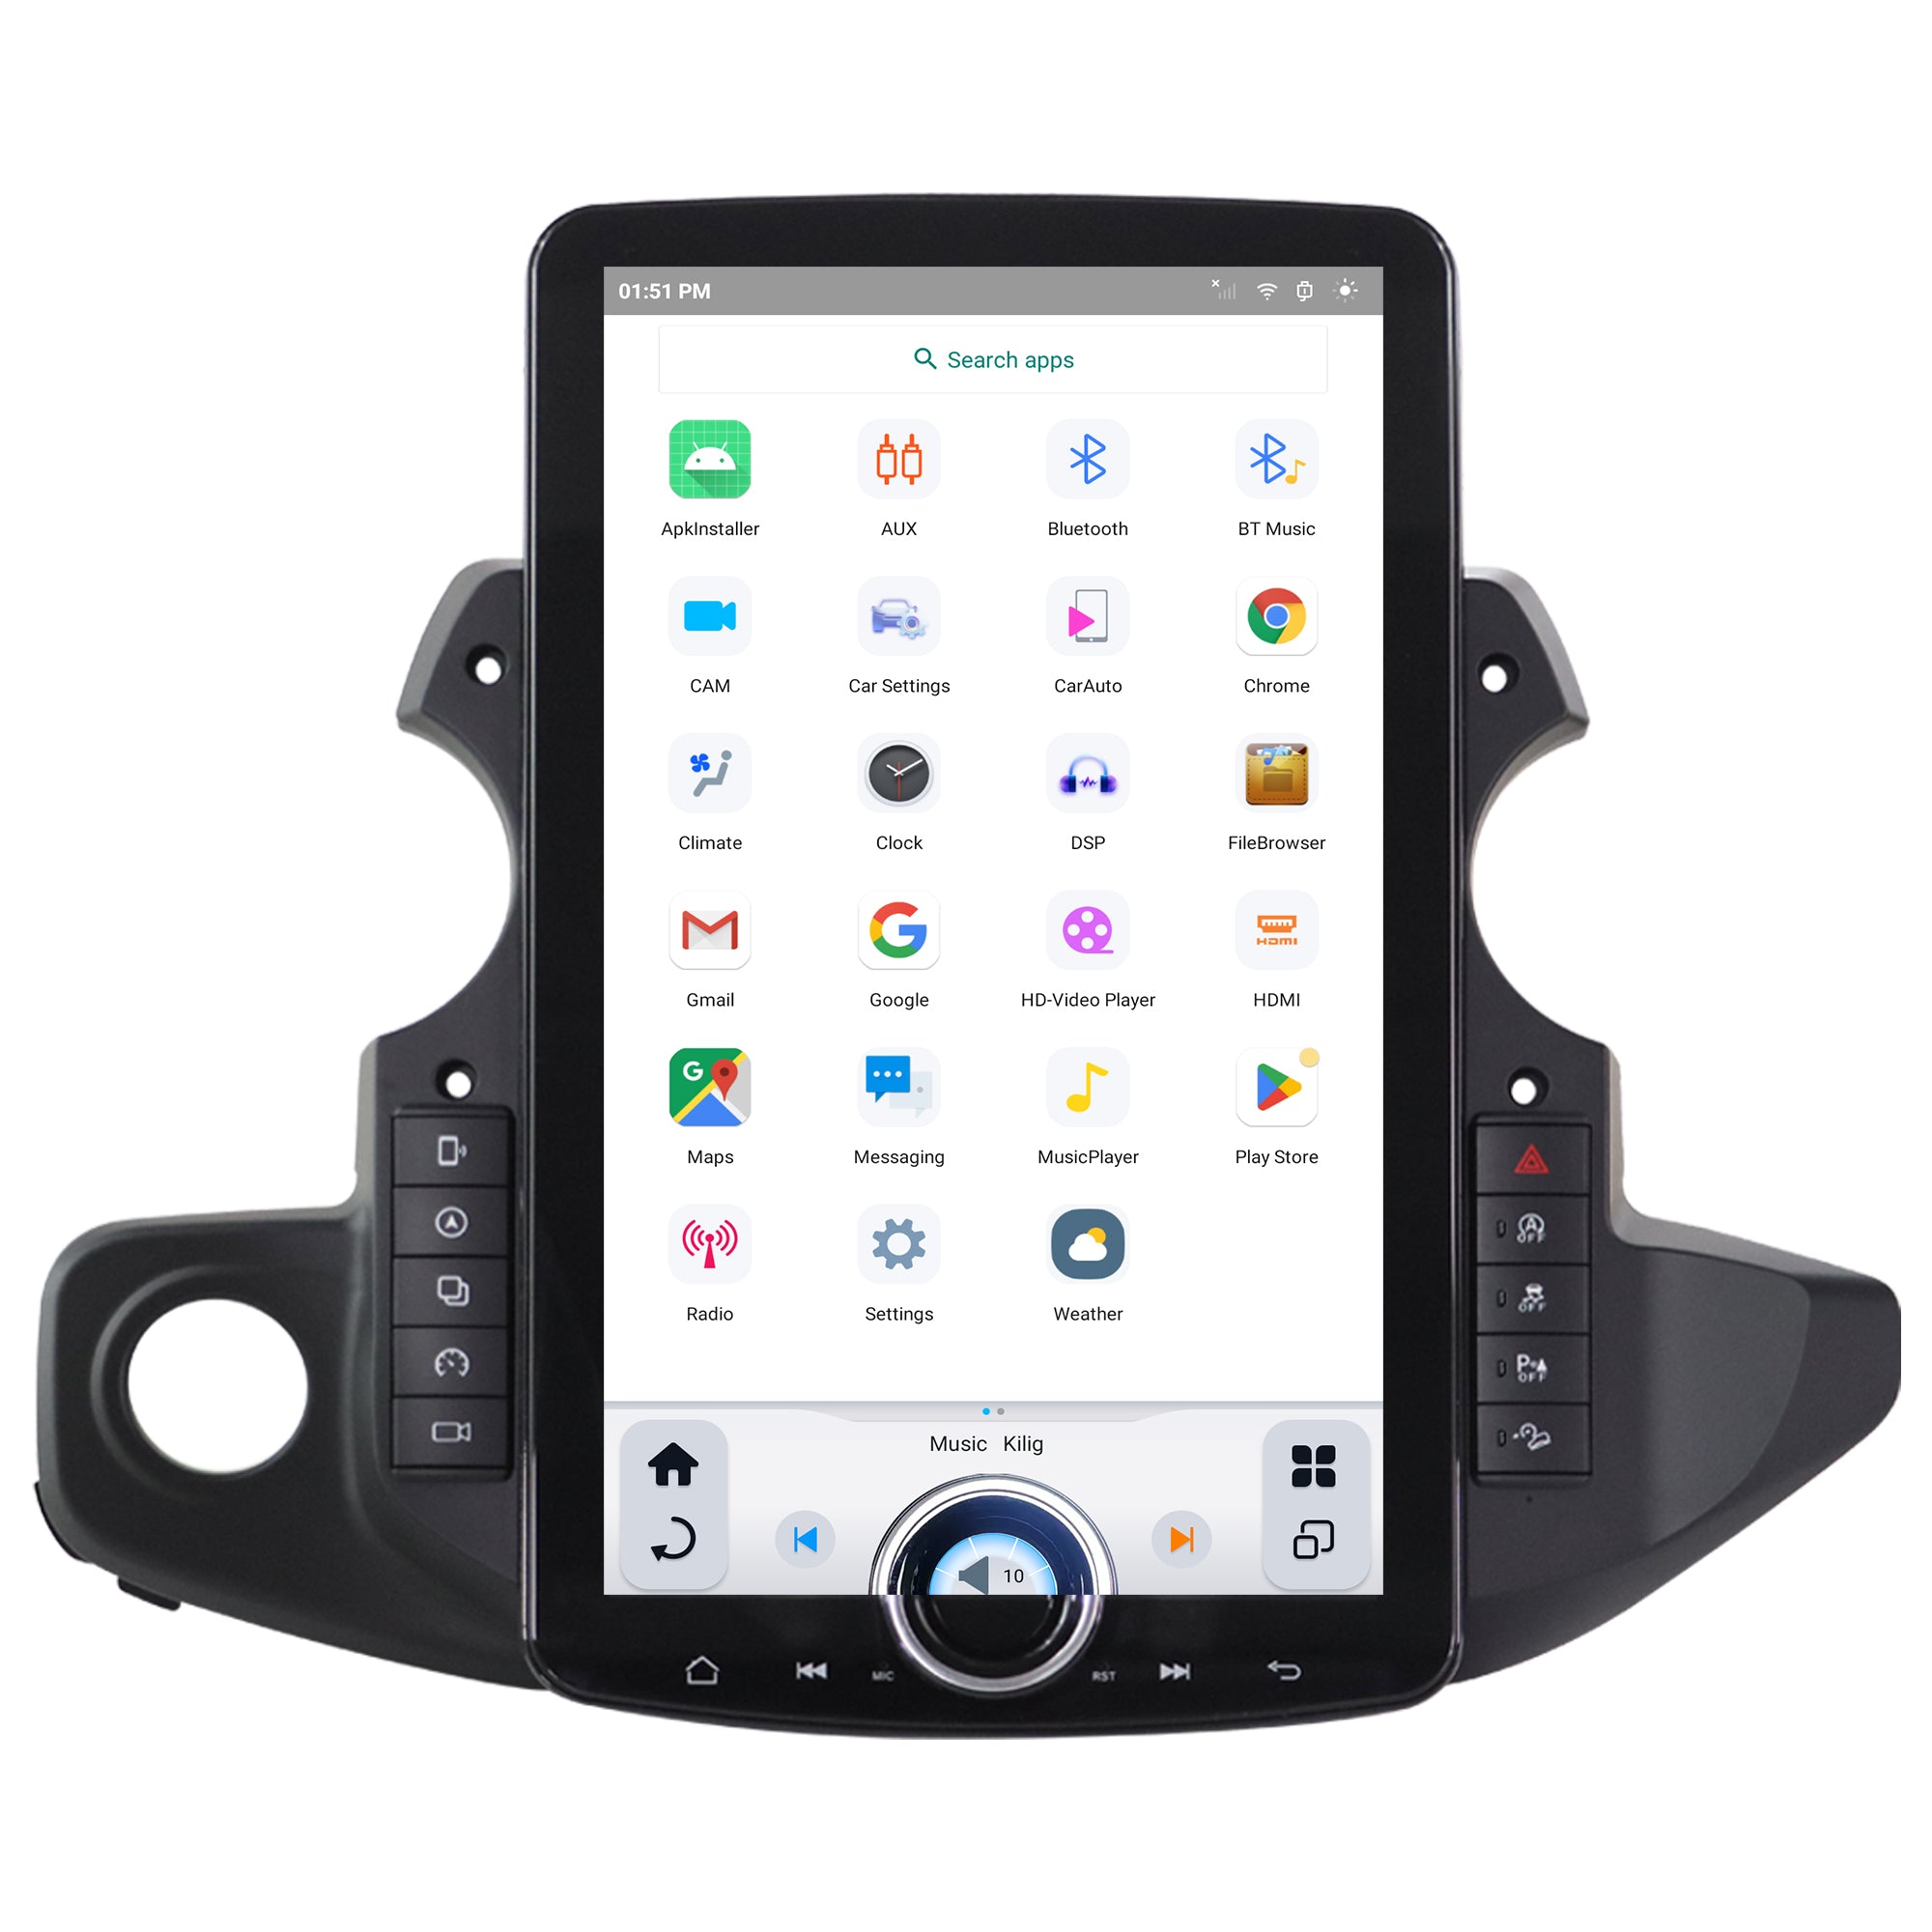
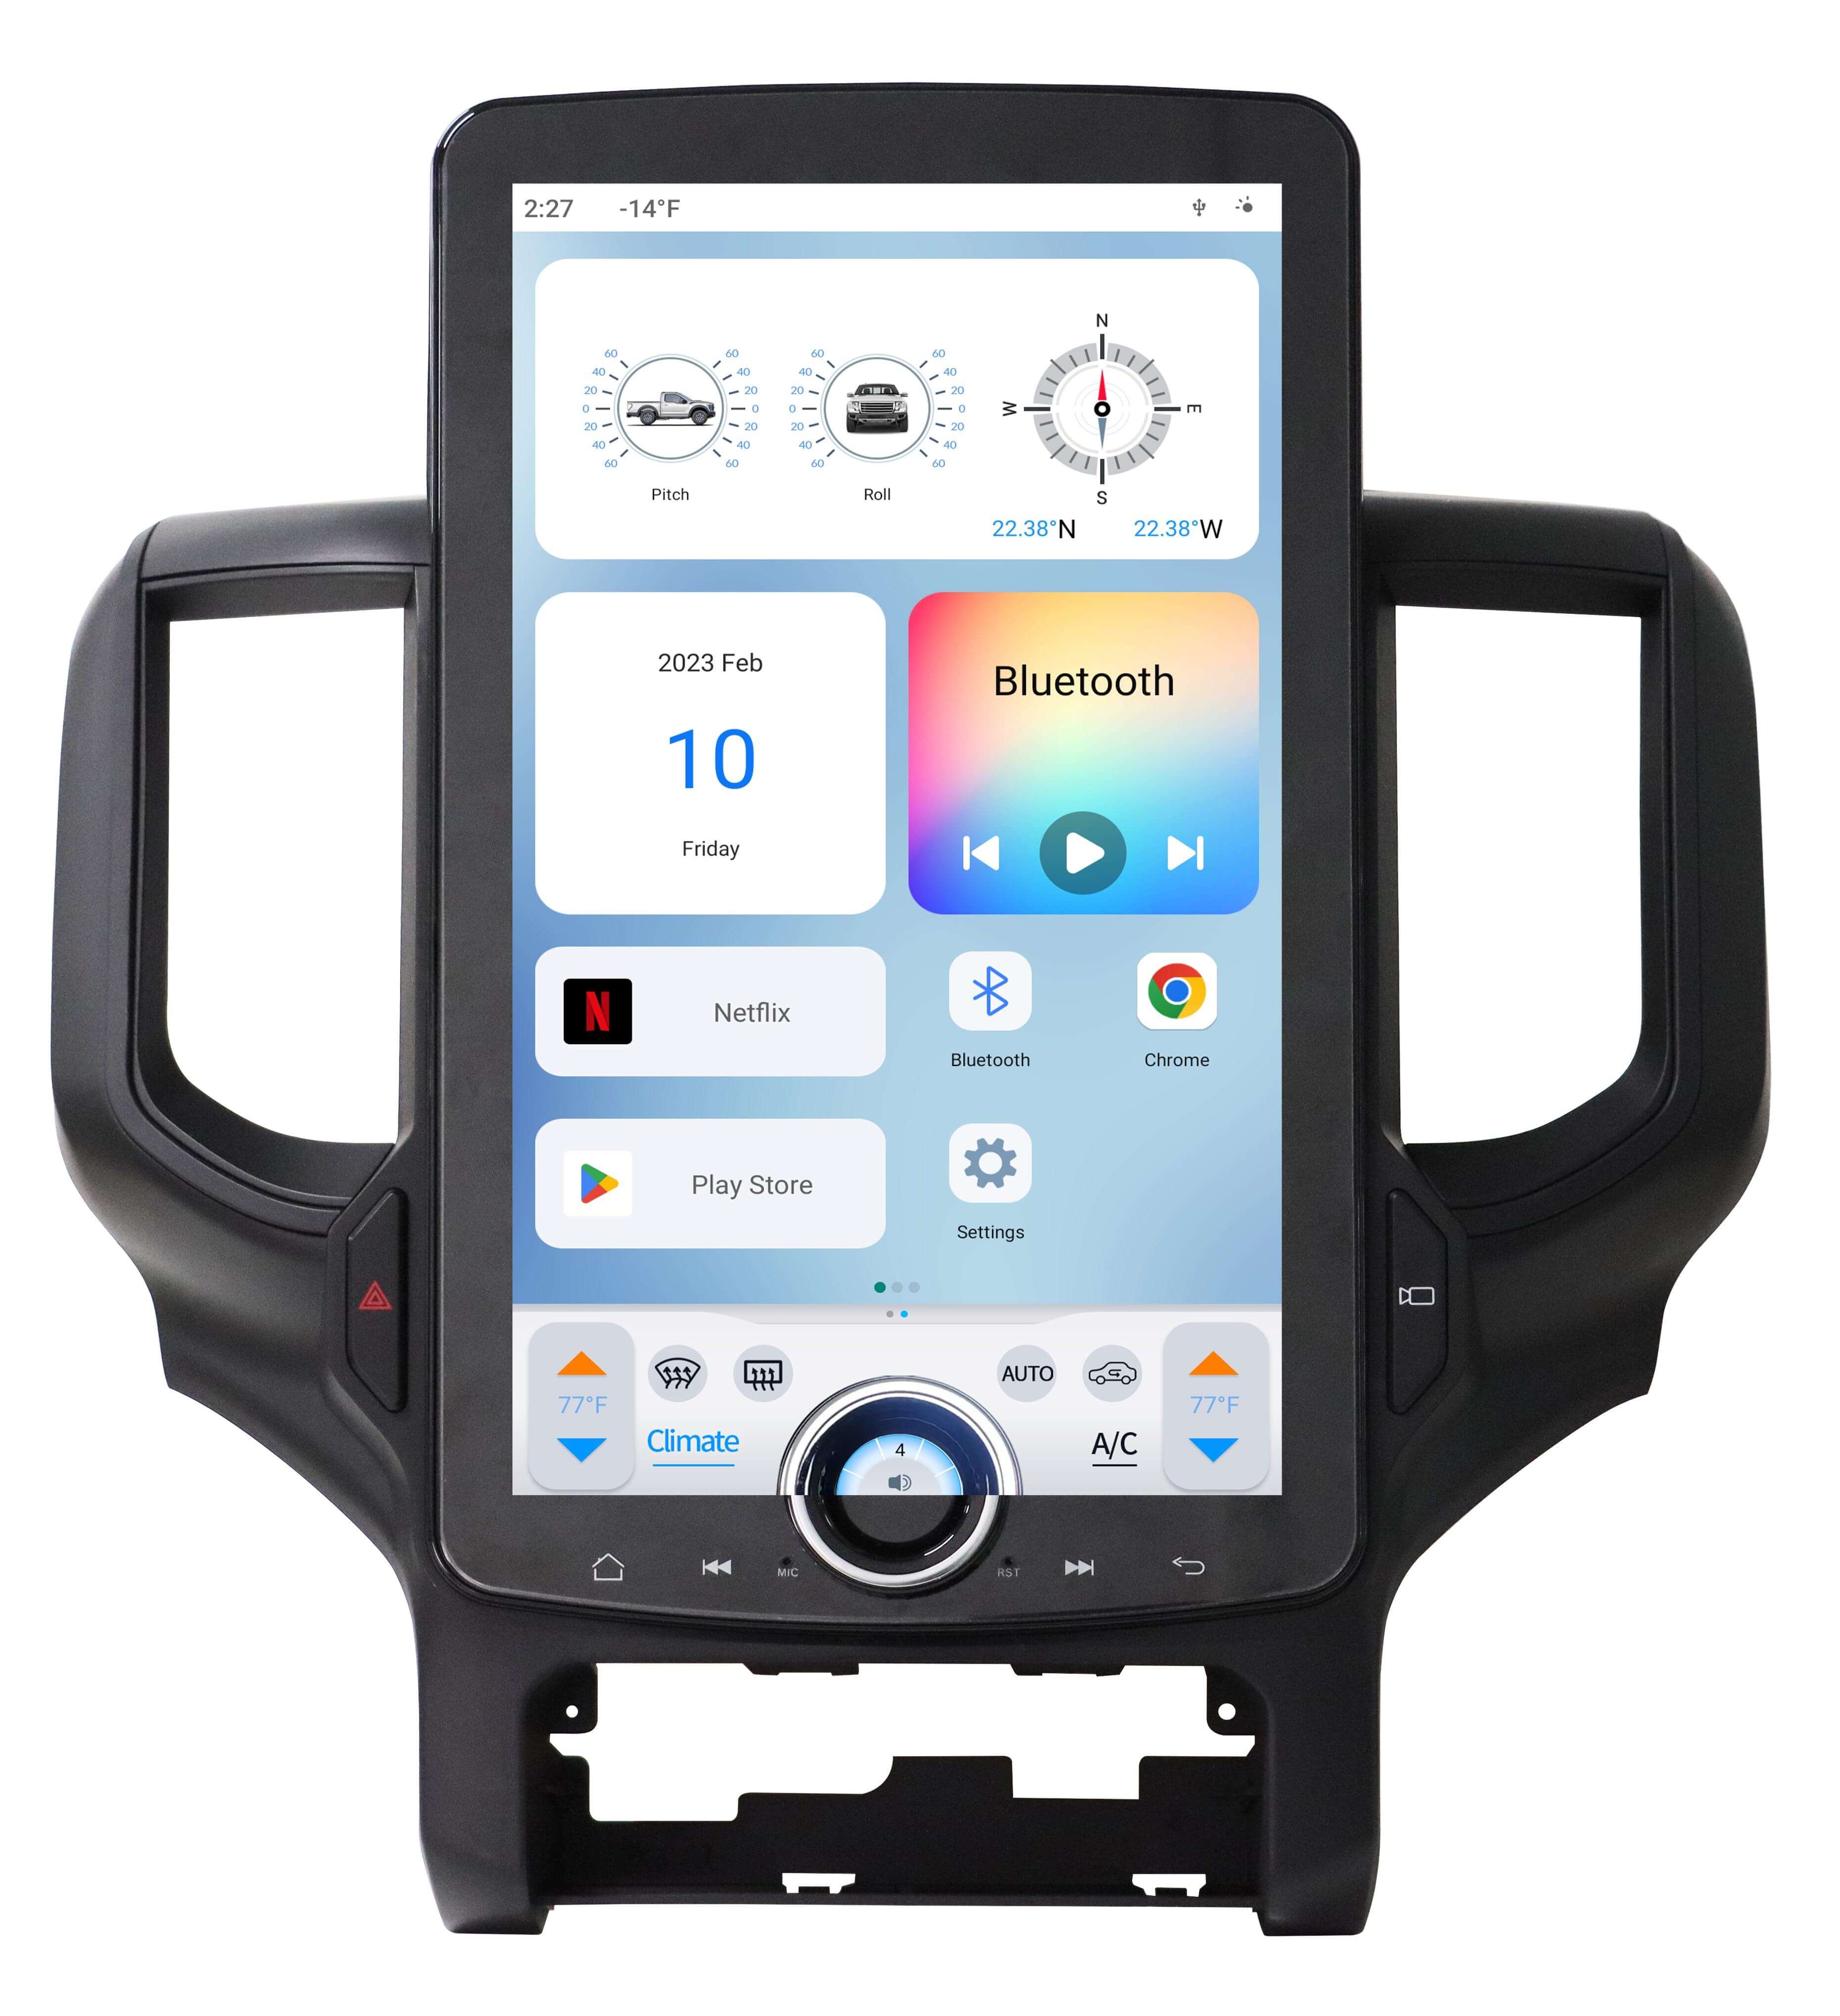
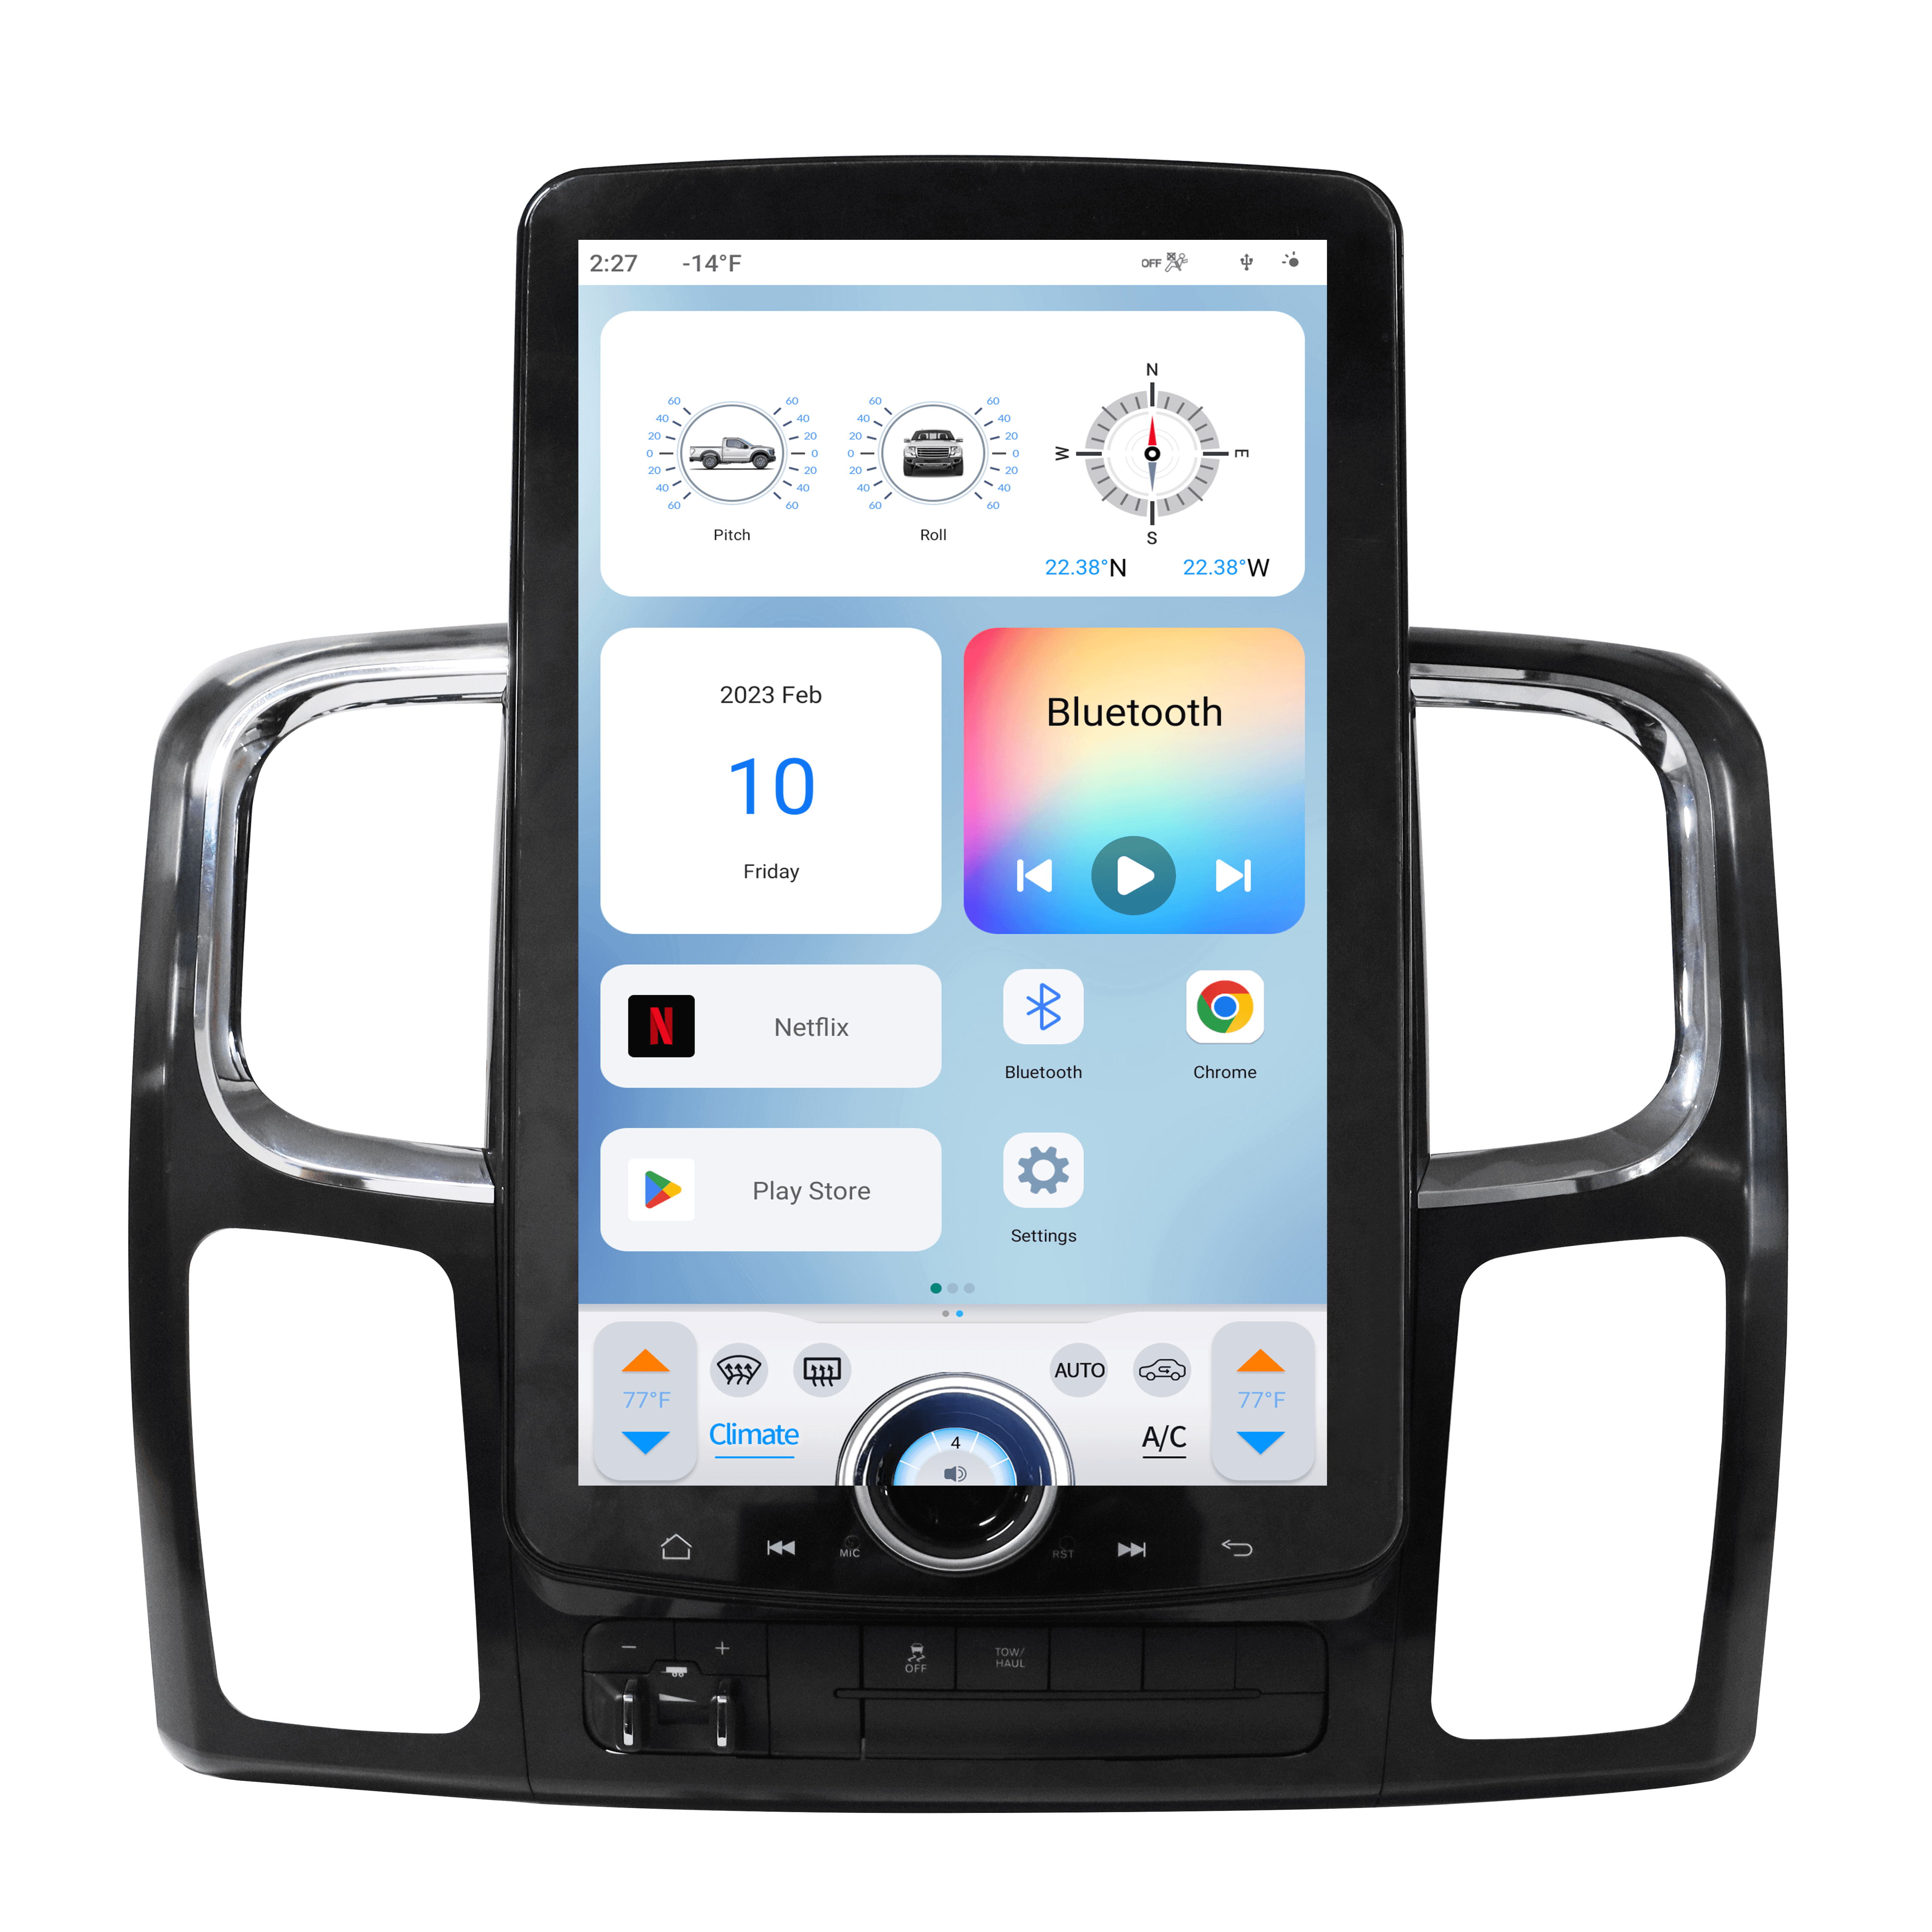
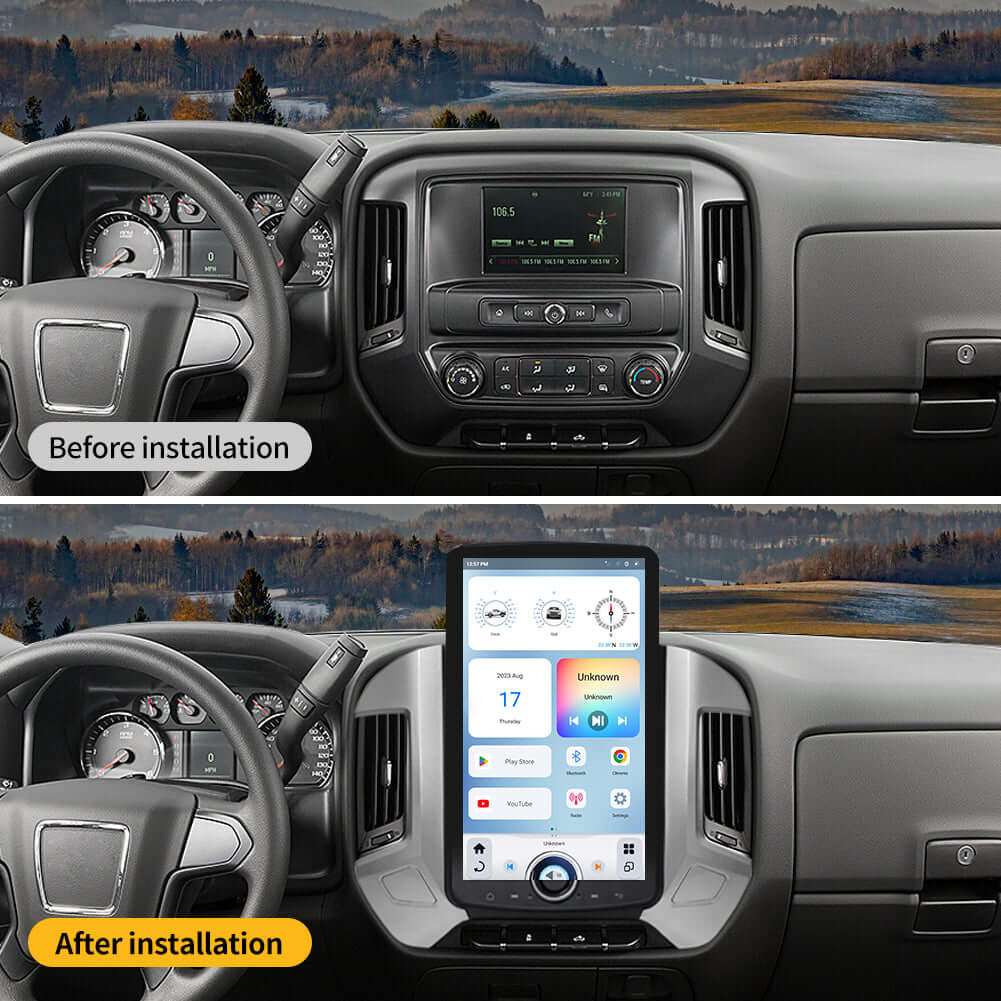
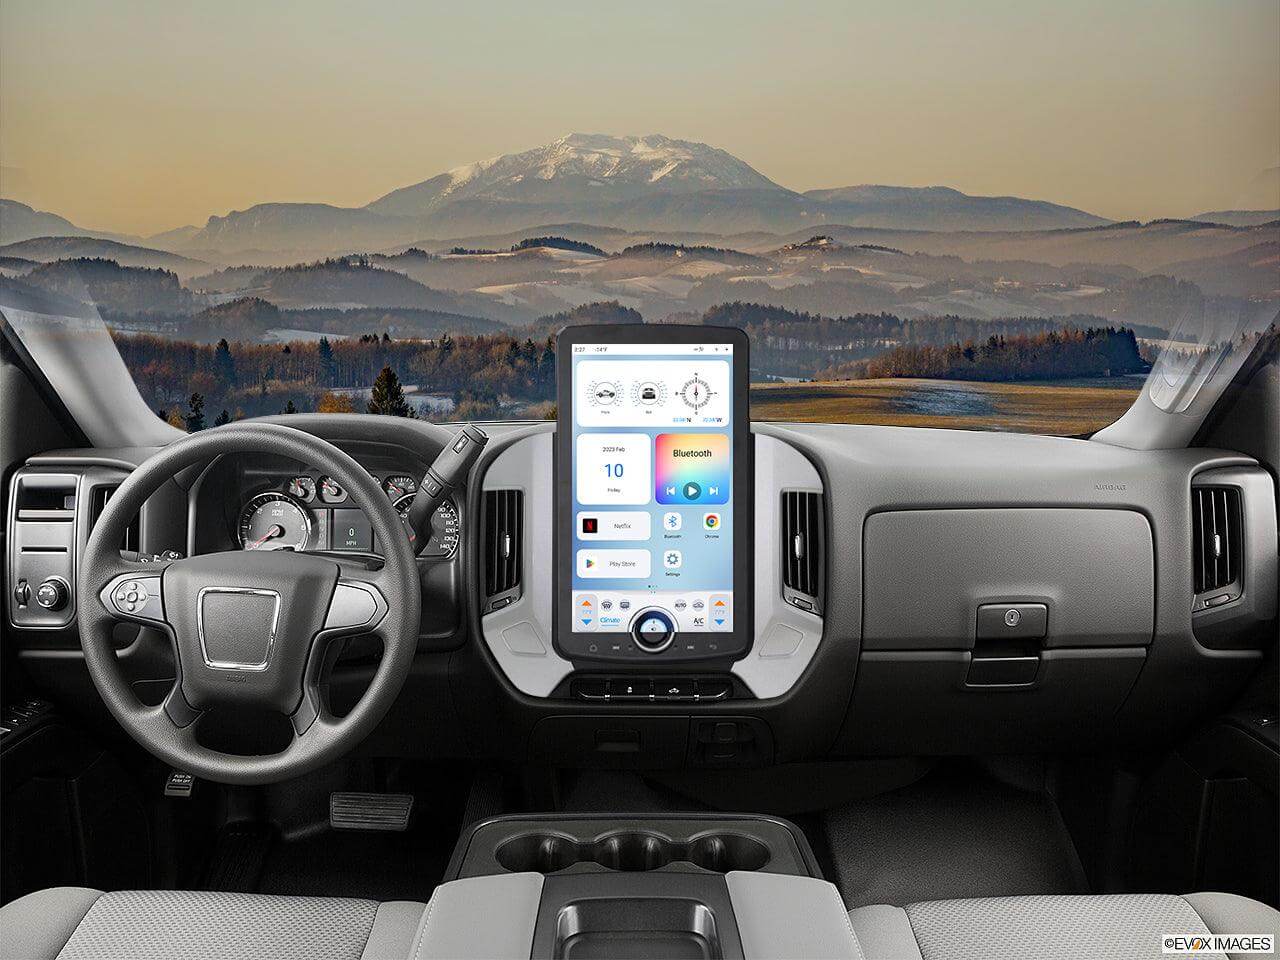
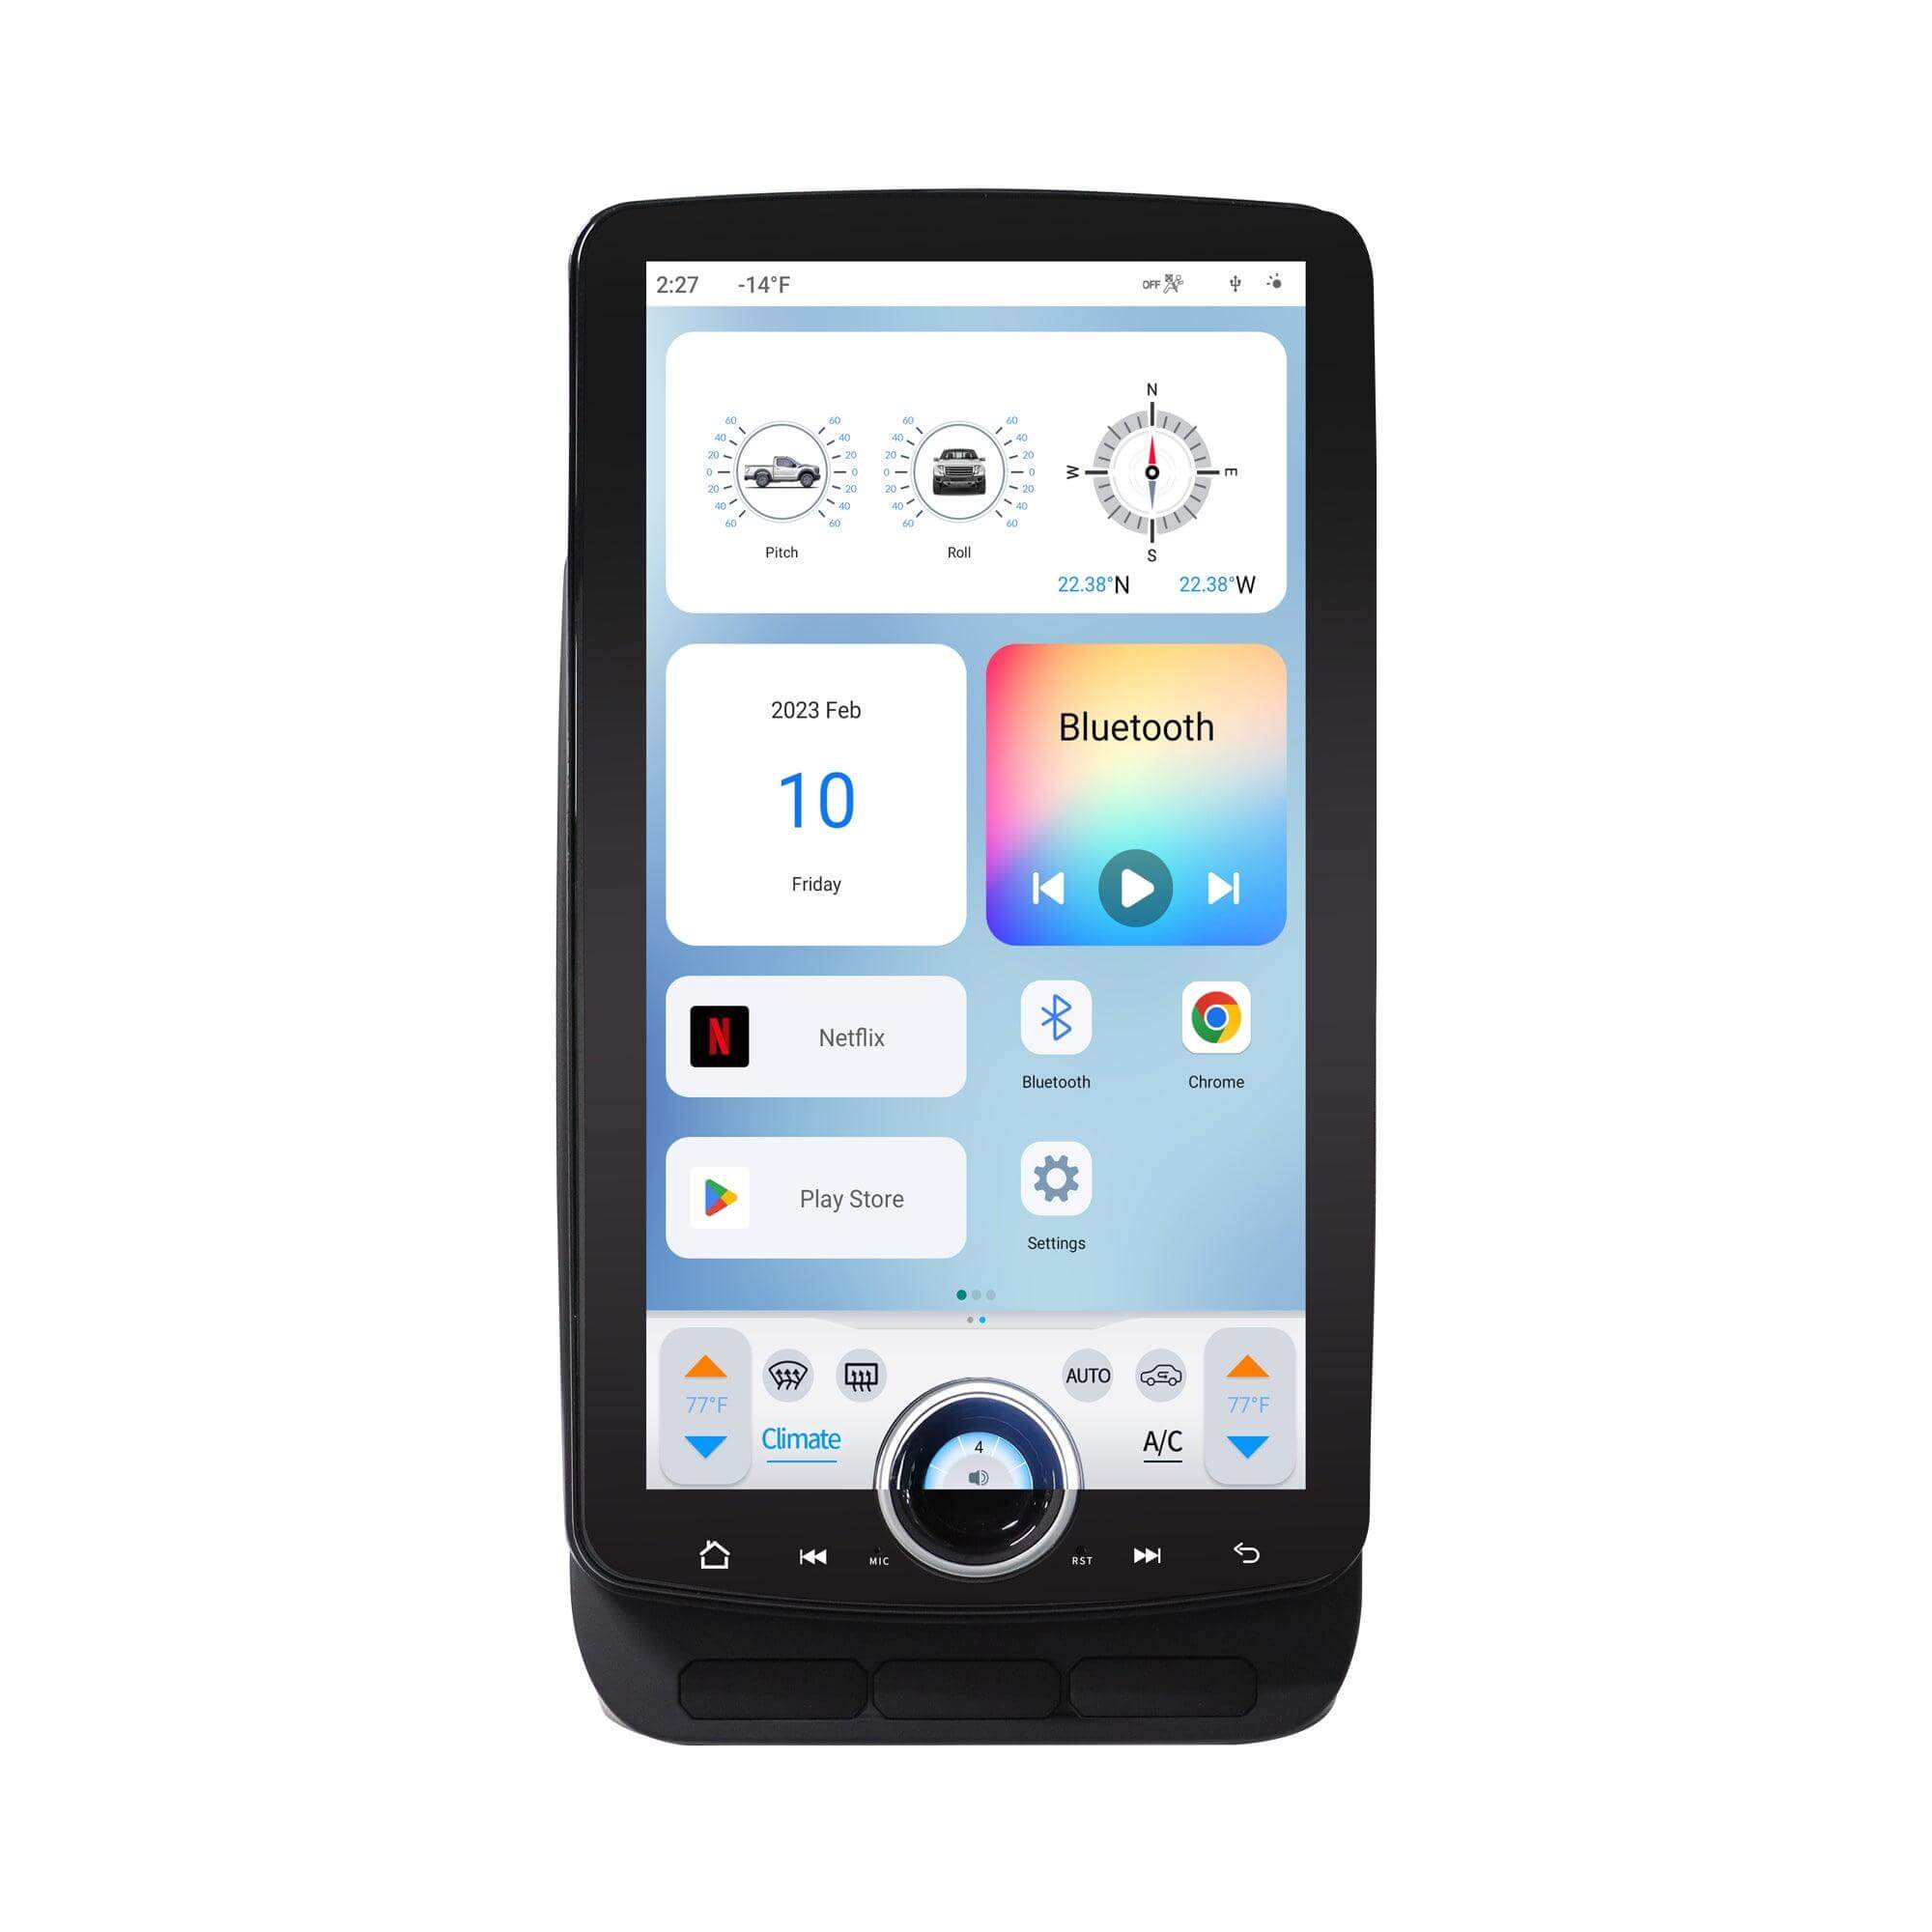
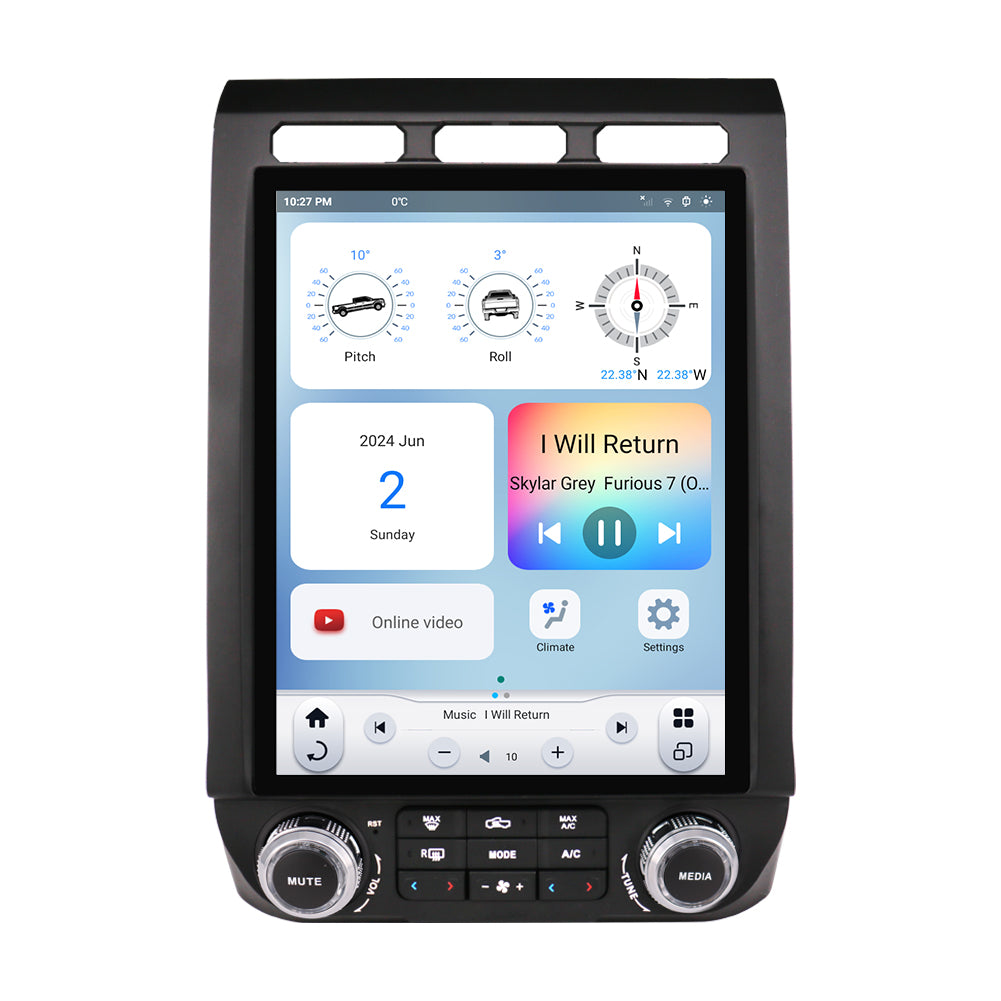
Before diving into the installation steps, let’s first understand why a Tesla-style radio system is a worthwhile investment. These systems are designed to mimic the innovative interface found in Tesla vehicles, with large touchscreens that control a variety of car functions, from music and navigation to climate control and vehicle settings.
For Mustang owners, the upgrade brings several advantages:
- Modern Design: The Tesla-style screen adds a futuristic feel to your car, making it feel more cutting-edge.
- Improved Functionality: With larger touchscreens and better responsiveness, it’s easier to navigate through apps, music, and settings.
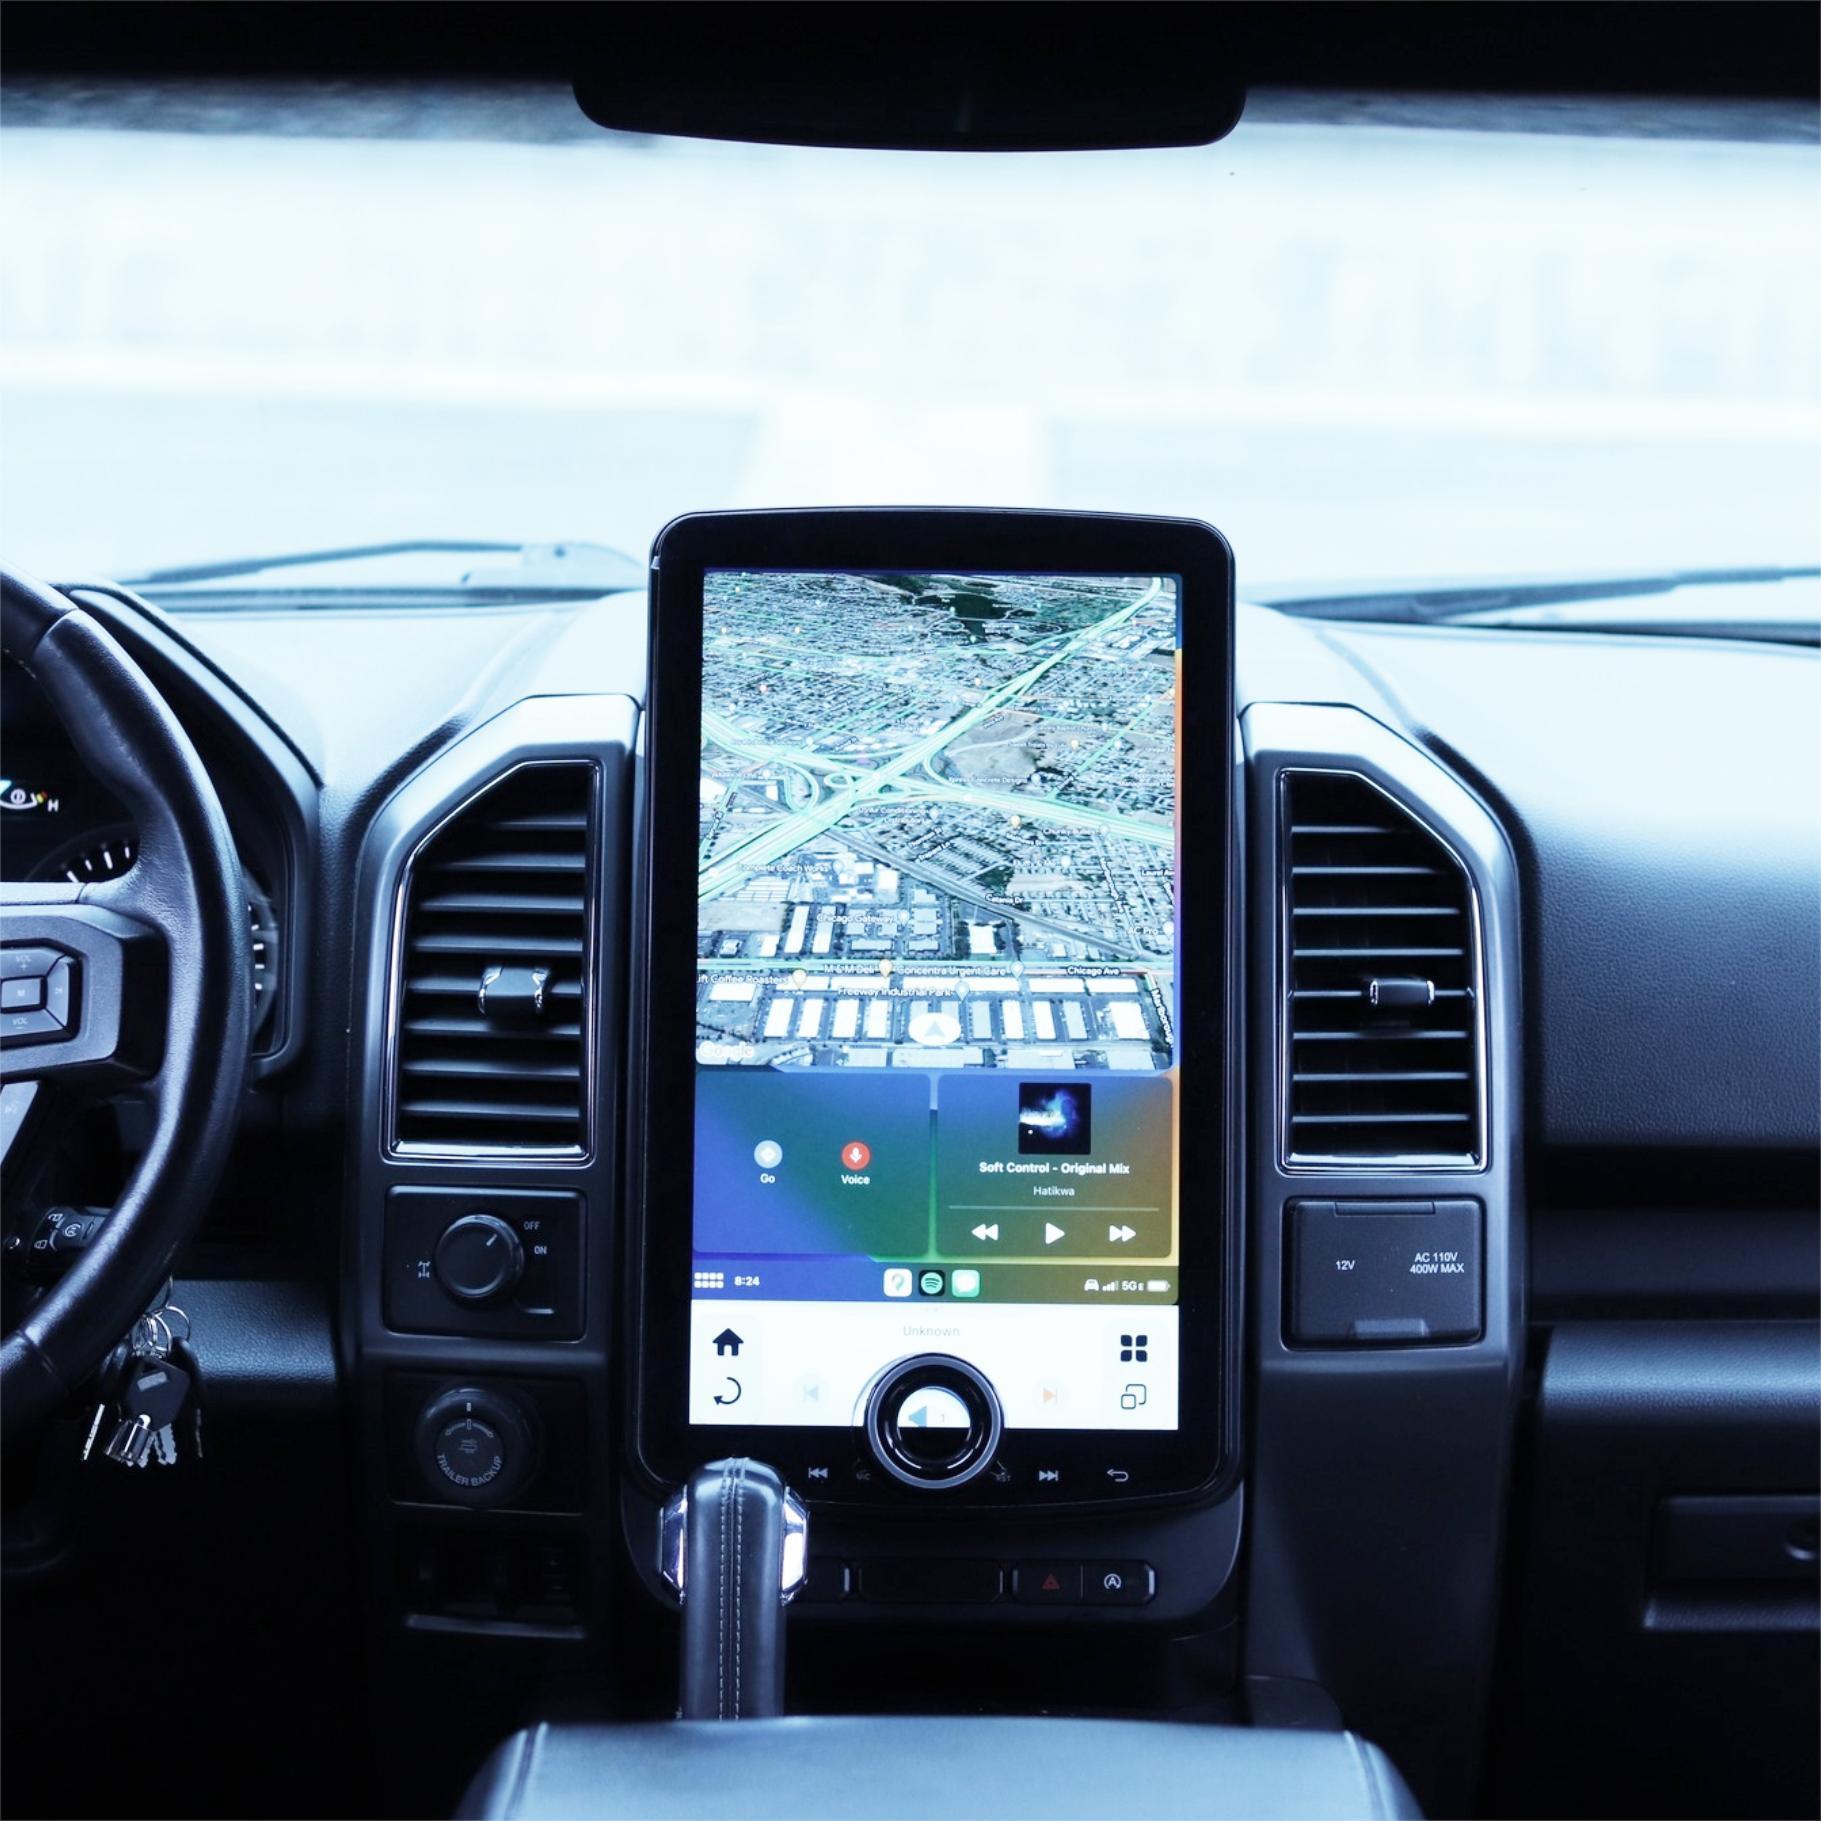
- Enhanced Connectivity: These radios are typically compatible with Android Auto and Apple CarPlay, offering seamless smartphone integration.
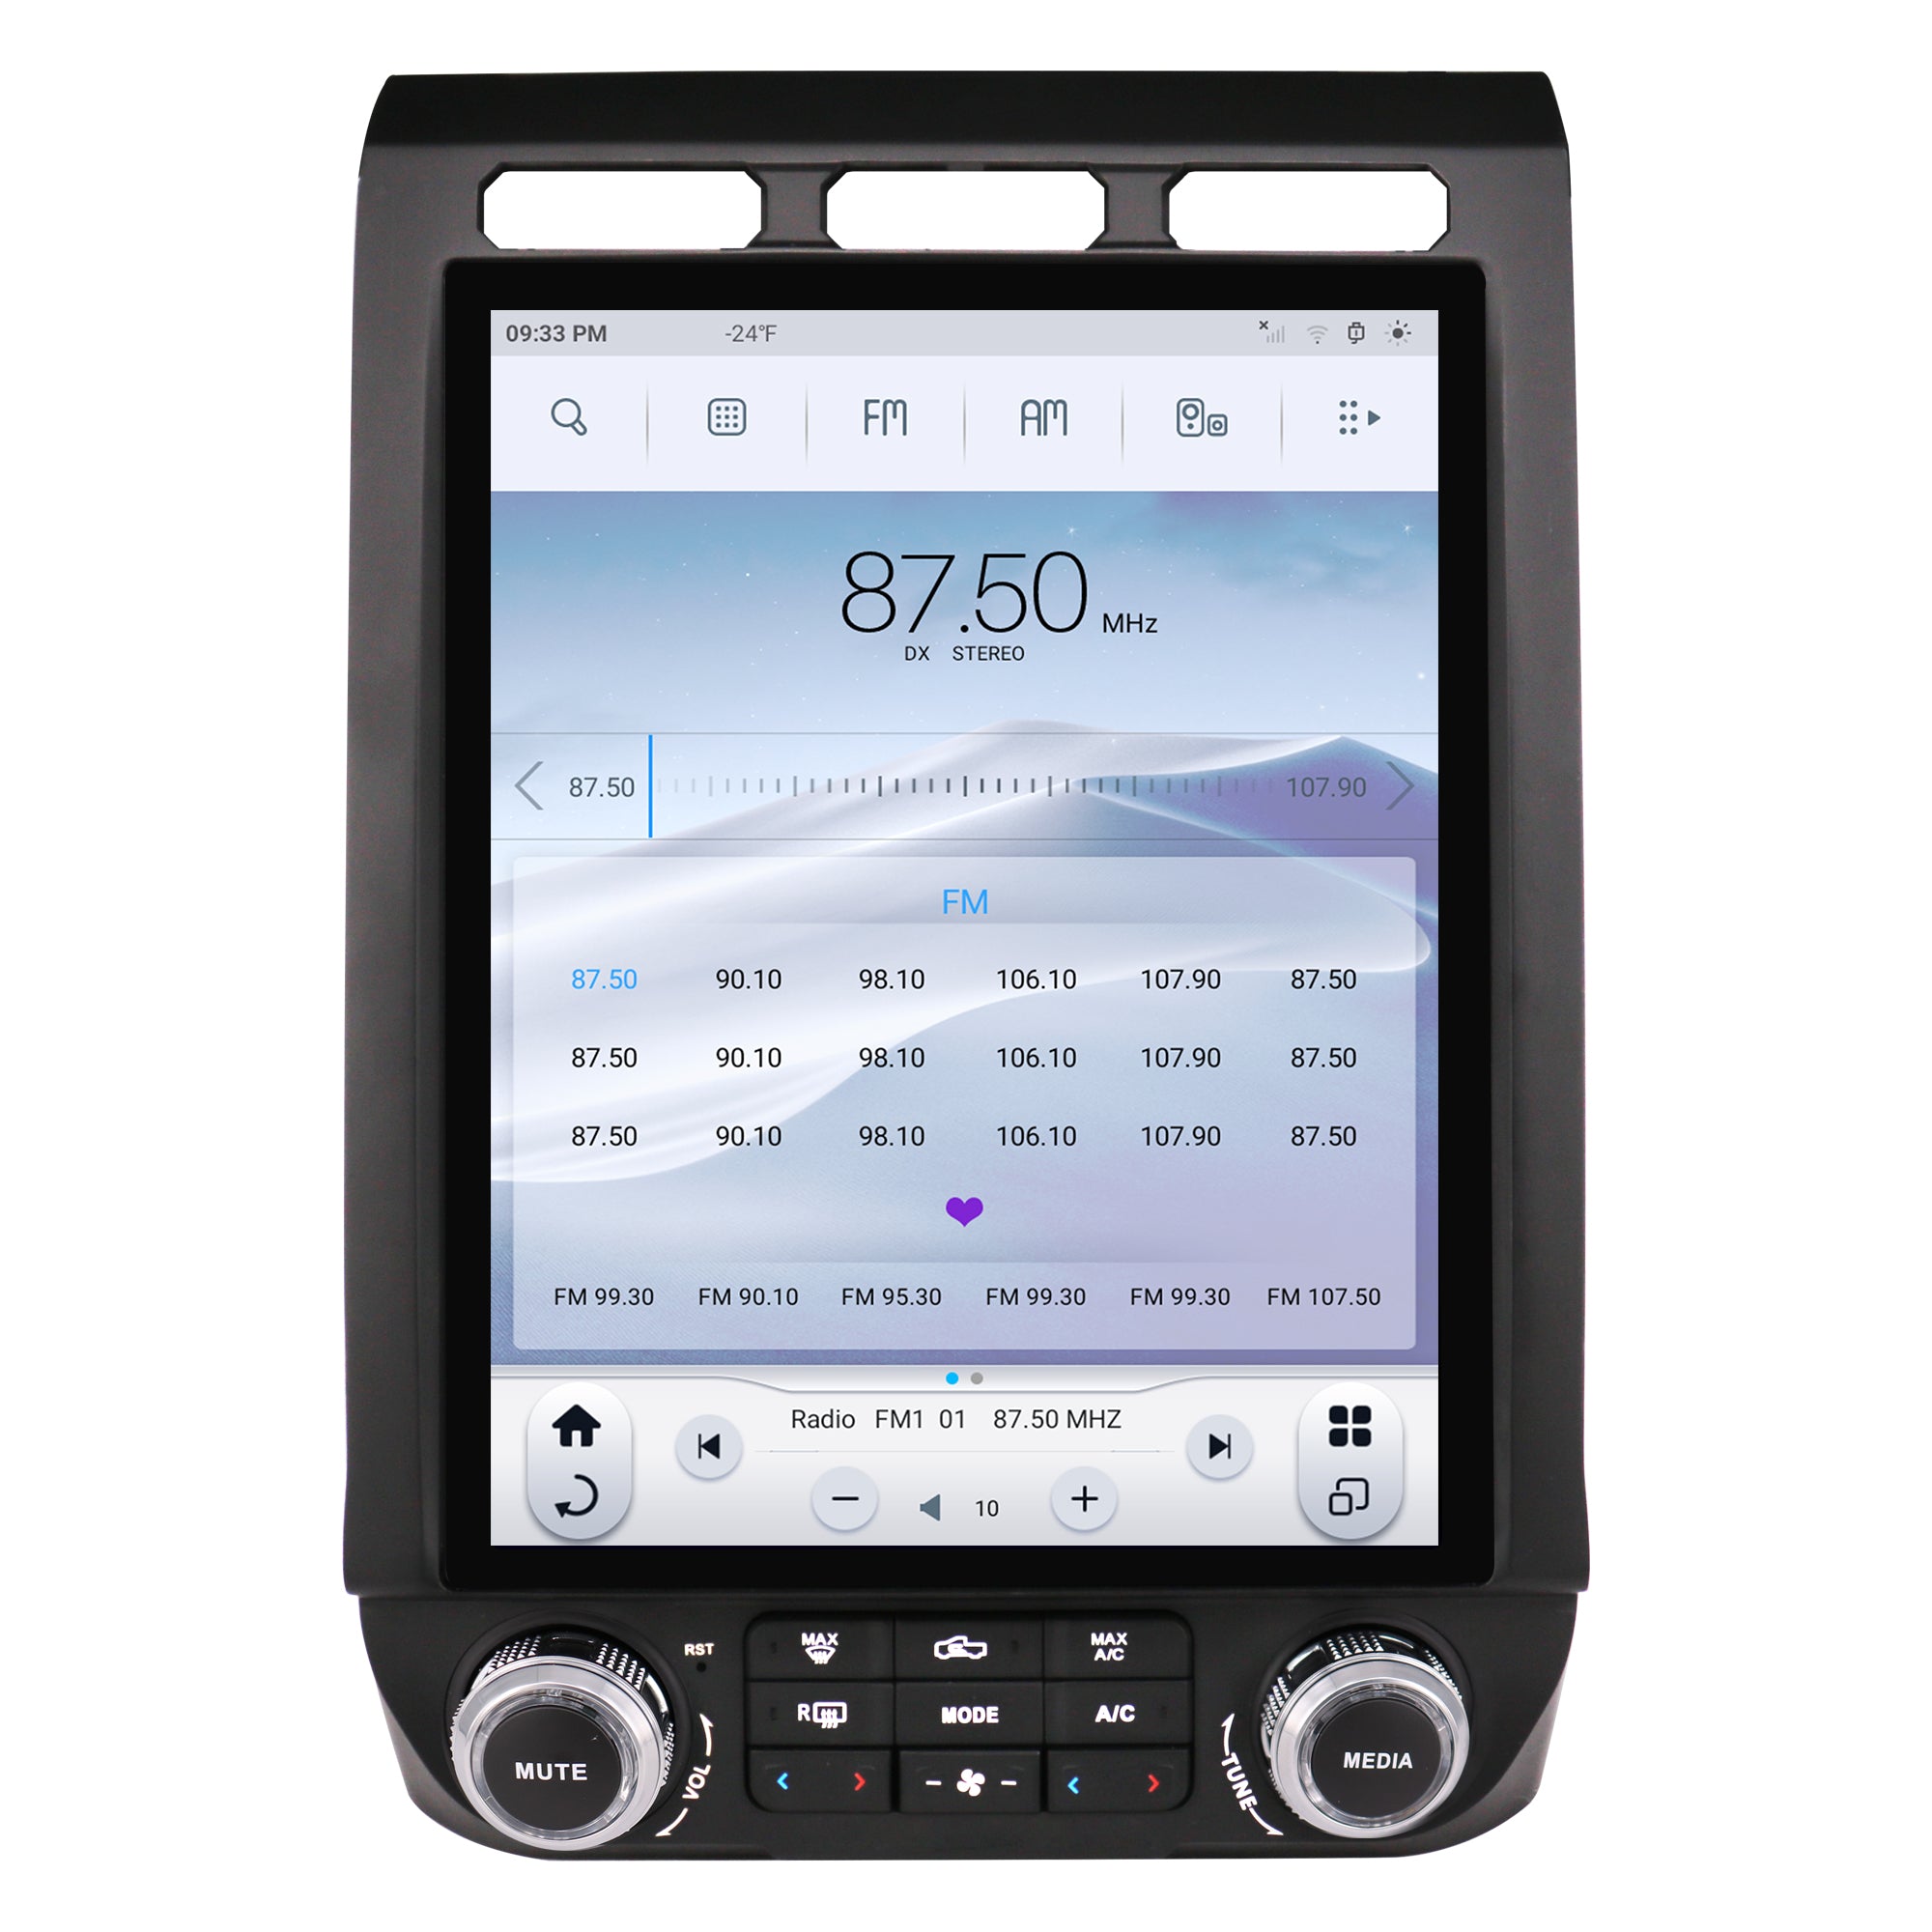
- Better Sound and Performance: Many Tesla-style systems come with upgraded audio processing features and support for higher-quality sound systems.

Tools and Materials Needed
Before starting the installation, gather the following tools and materials:
- A XAutoStereo Gen 6 Tesla-style radio
- Trim removal tools
- Screwdrivers (Phillips and flathead)
- Wiring harness adapter (if not included with your kit)
- T20 Torx driver
- Panel removal tools
- Electrical tape (if necessary)
- Torque wrench
- Antenna adapter (if required)
- USB cable extensions (for added convenience)
Make sure to also check if the radio kit includes all the necessary adapters for your specific model of Ford Mustang.
Step-by-Step Installation Process
Step 1: Disconnect the Car Battery
To ensure safety while working with electrical components, the first step is to disconnect the car’s battery. Locate the negative terminal and use a wrench to loosen the bolt, then remove the cable from the battery. This prevents accidental short circuits or electrical shocks during the installation.
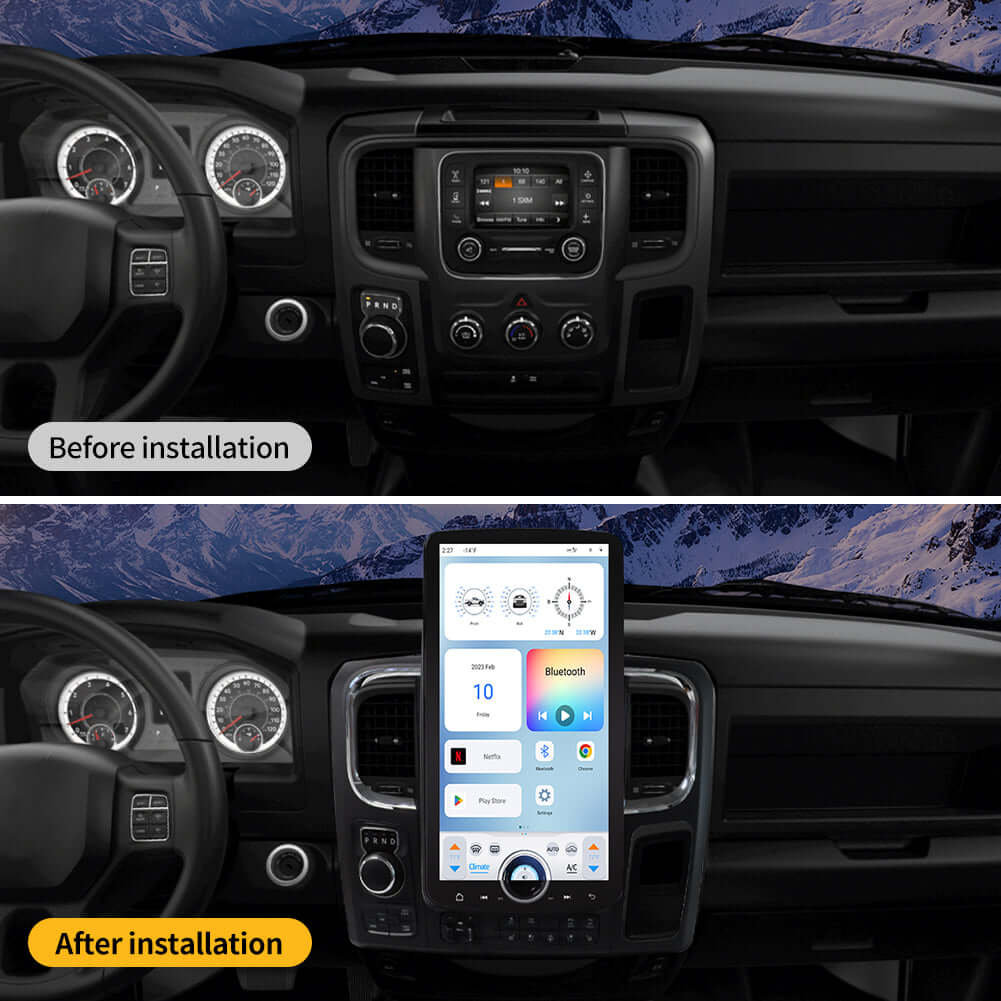
Step 2: Remove the Factory Radio
Next, use your trim removal tools to carefully remove the dashboard panels surrounding the factory radio. Take your time to avoid damaging the trim. After removing the panels, you will likely see screws securing the radio in place. Use a screwdriver to remove these screws, and gently pull the radio unit out of the dashboard.
Once the radio is loose, disconnect all the wiring harnesses. These may include the power harness, speaker connections, and antenna cable. If the Tesla-style radio kit you purchased doesn’t have matching plugs, you may need to use a wiring harness adapter to make the connections.

Step 3: Prepare the Wiring
Before installing the new Tesla-style radio, you need to connect the wiring. If your kit includes a wiring harness adapter, this should be a straightforward process. Match the wires from your Mustang’s factory harness to the wires on the new radio harness, referring to the wiring diagram provided in your kit.
Make sure to securely connect each wire using crimp connectors or electrical tape, ensuring they are properly insulated to avoid short circuits. You may also need to connect the antenna adapter if it’s not directly compatible with your new radio.
Step 4: Install the Tesla-Style Radio
With the wiring ready, it’s time to mount the Tesla-style radio in the dashboard. Carefully position the radio into the mounting bracket, aligning the screw holes with those in your Mustang’s dashboard. Once in place, secure the radio with screws.
Make sure to test the radio’s functionality before tightening everything completely. Reconnect the battery and power on the radio to check if it powers up, and test the basic functions such as touchscreen responsiveness, audio, and connectivity. If everything works as expected, tighten the screws and proceed to the next step.
Step 5: Reassemble the Dashboard
Once the radio is securely installed, begin reassembling the dashboard. Reattach any panels and trim pieces that you removed earlier, ensuring that they snap back into place without gaps or misalignments. Take your time with this step to avoid damaging the interior of your vehicle.
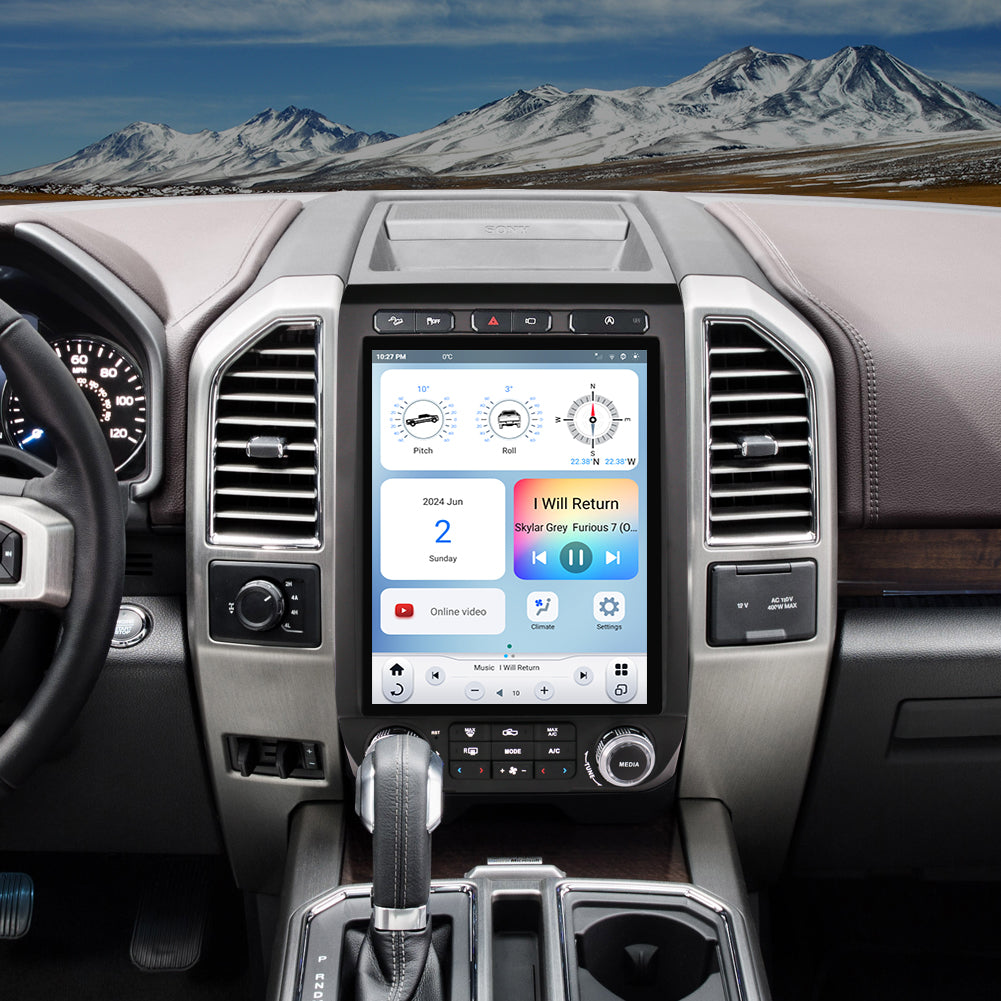
Step 6: Test the Features
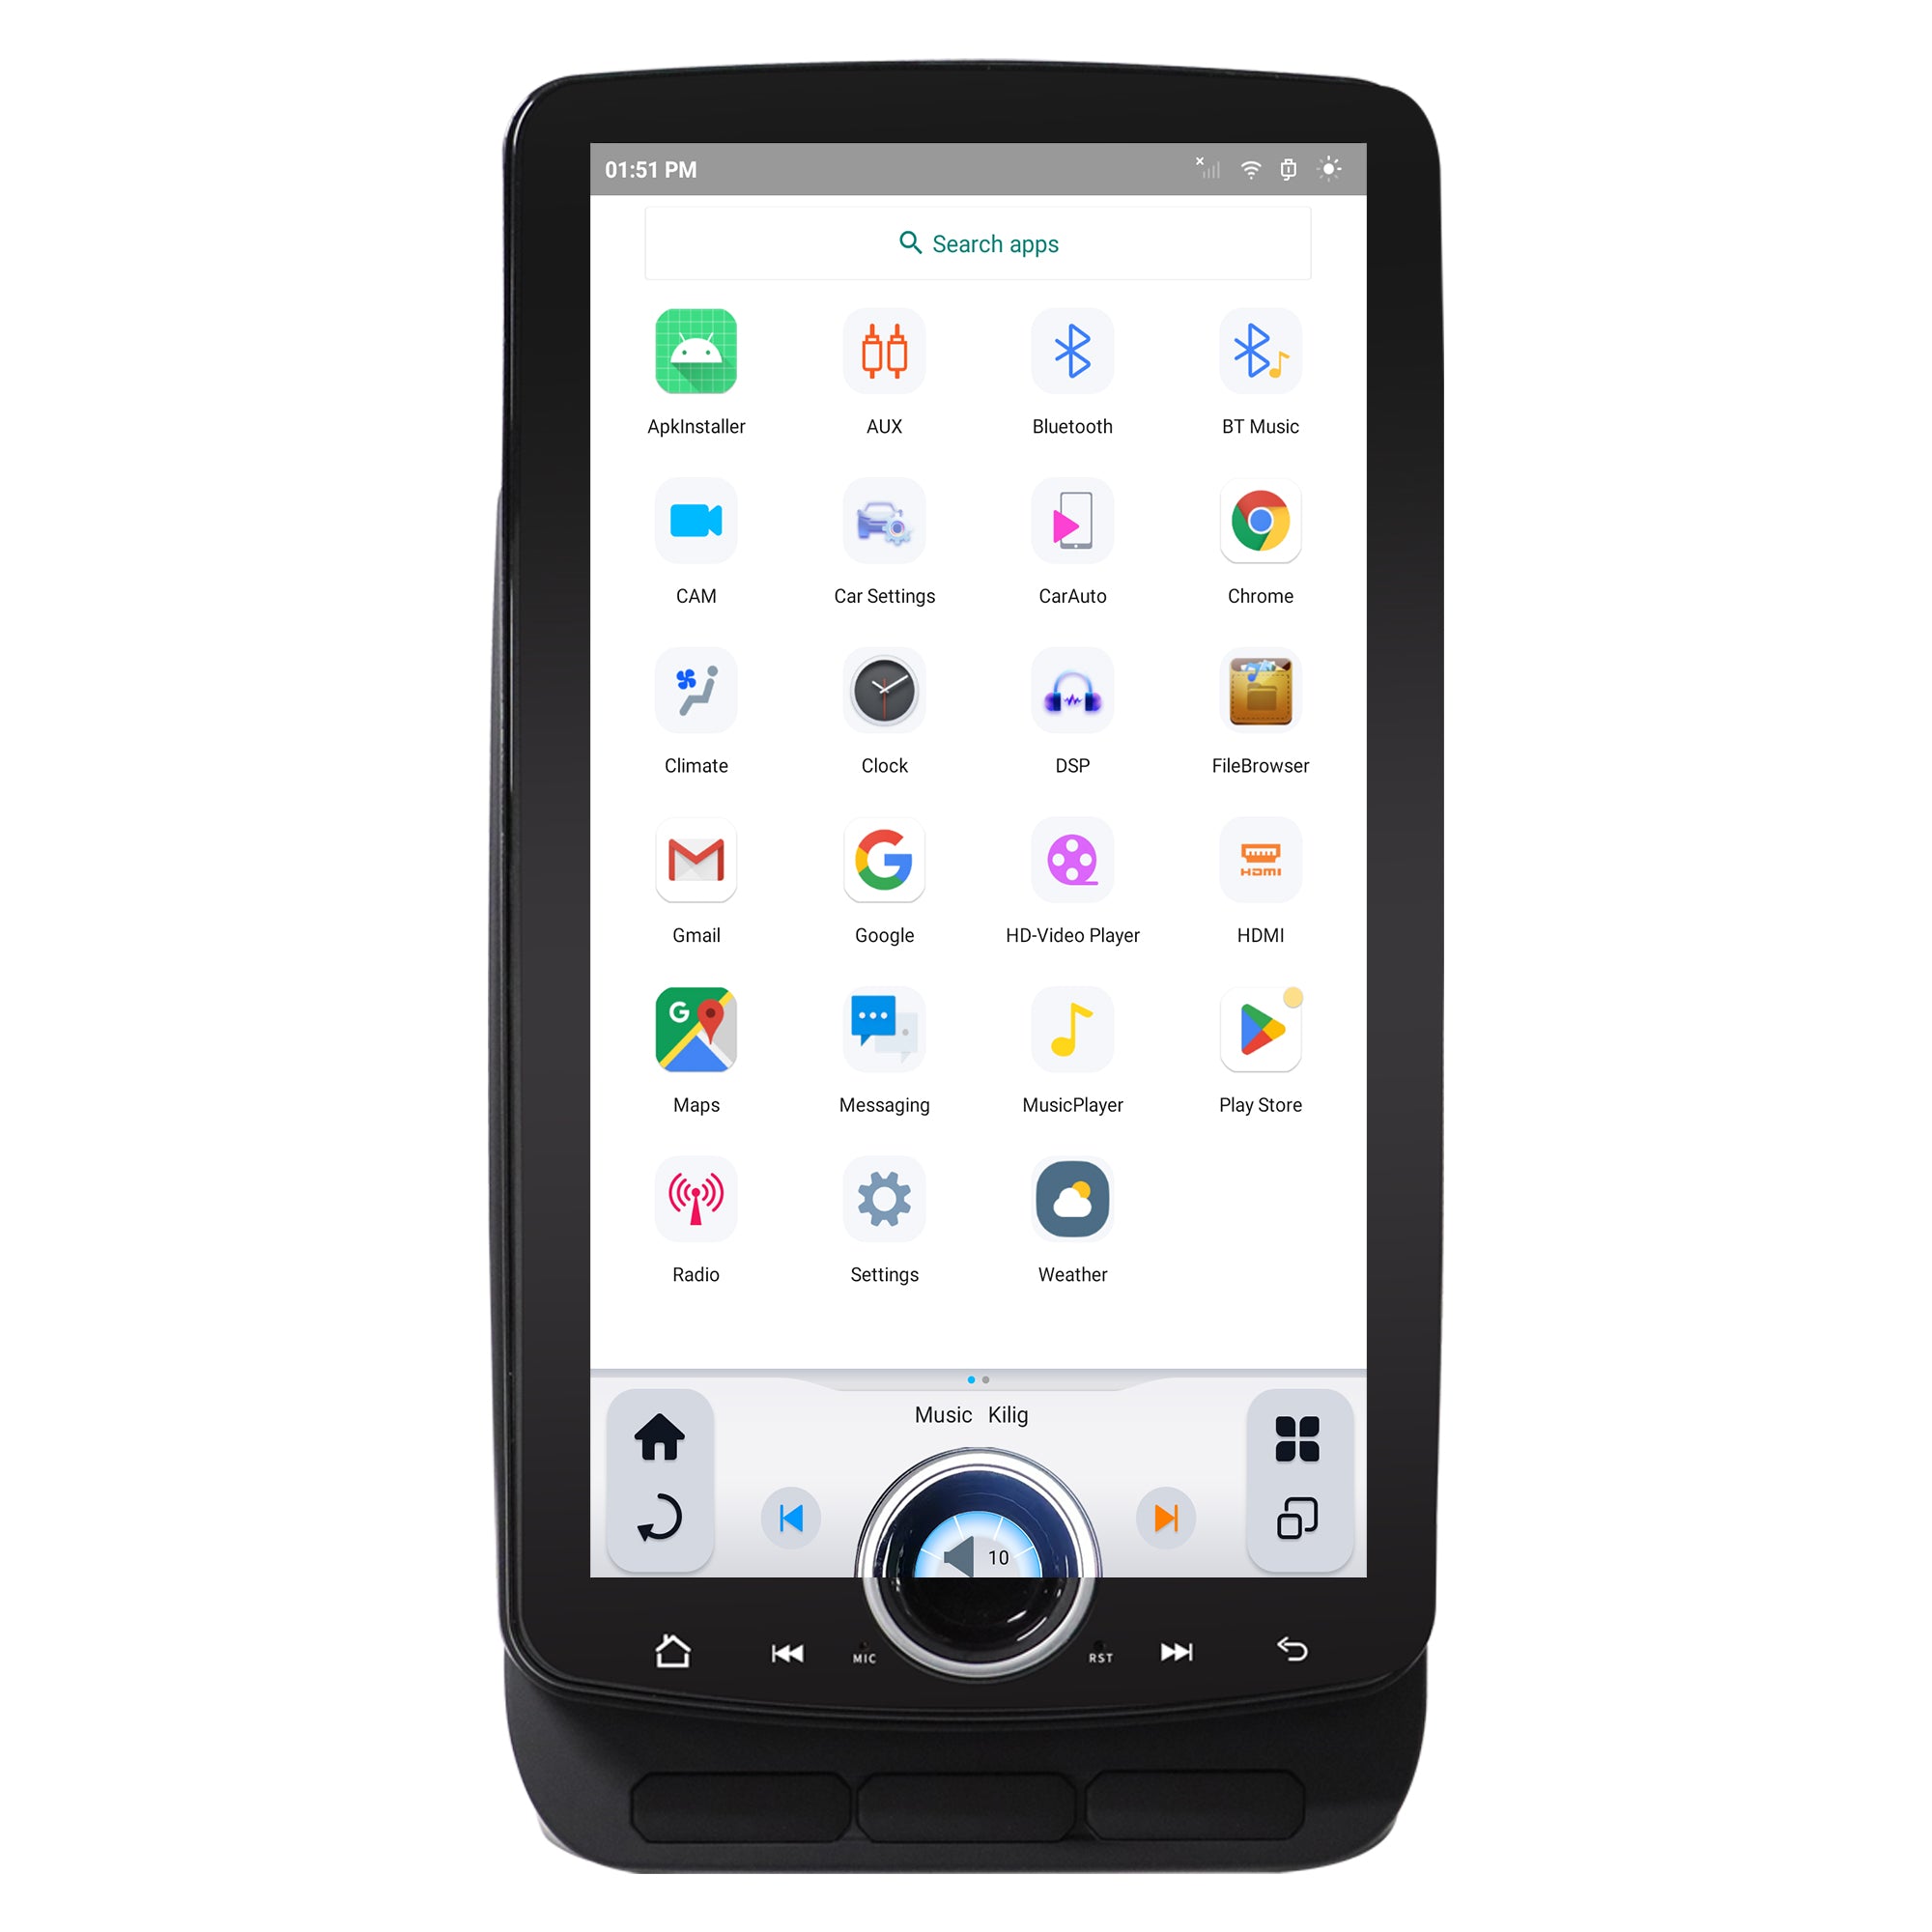
Now that everything is installed and the dashboard is reassembled, test all the features of the new Tesla-style radio. Check the following:
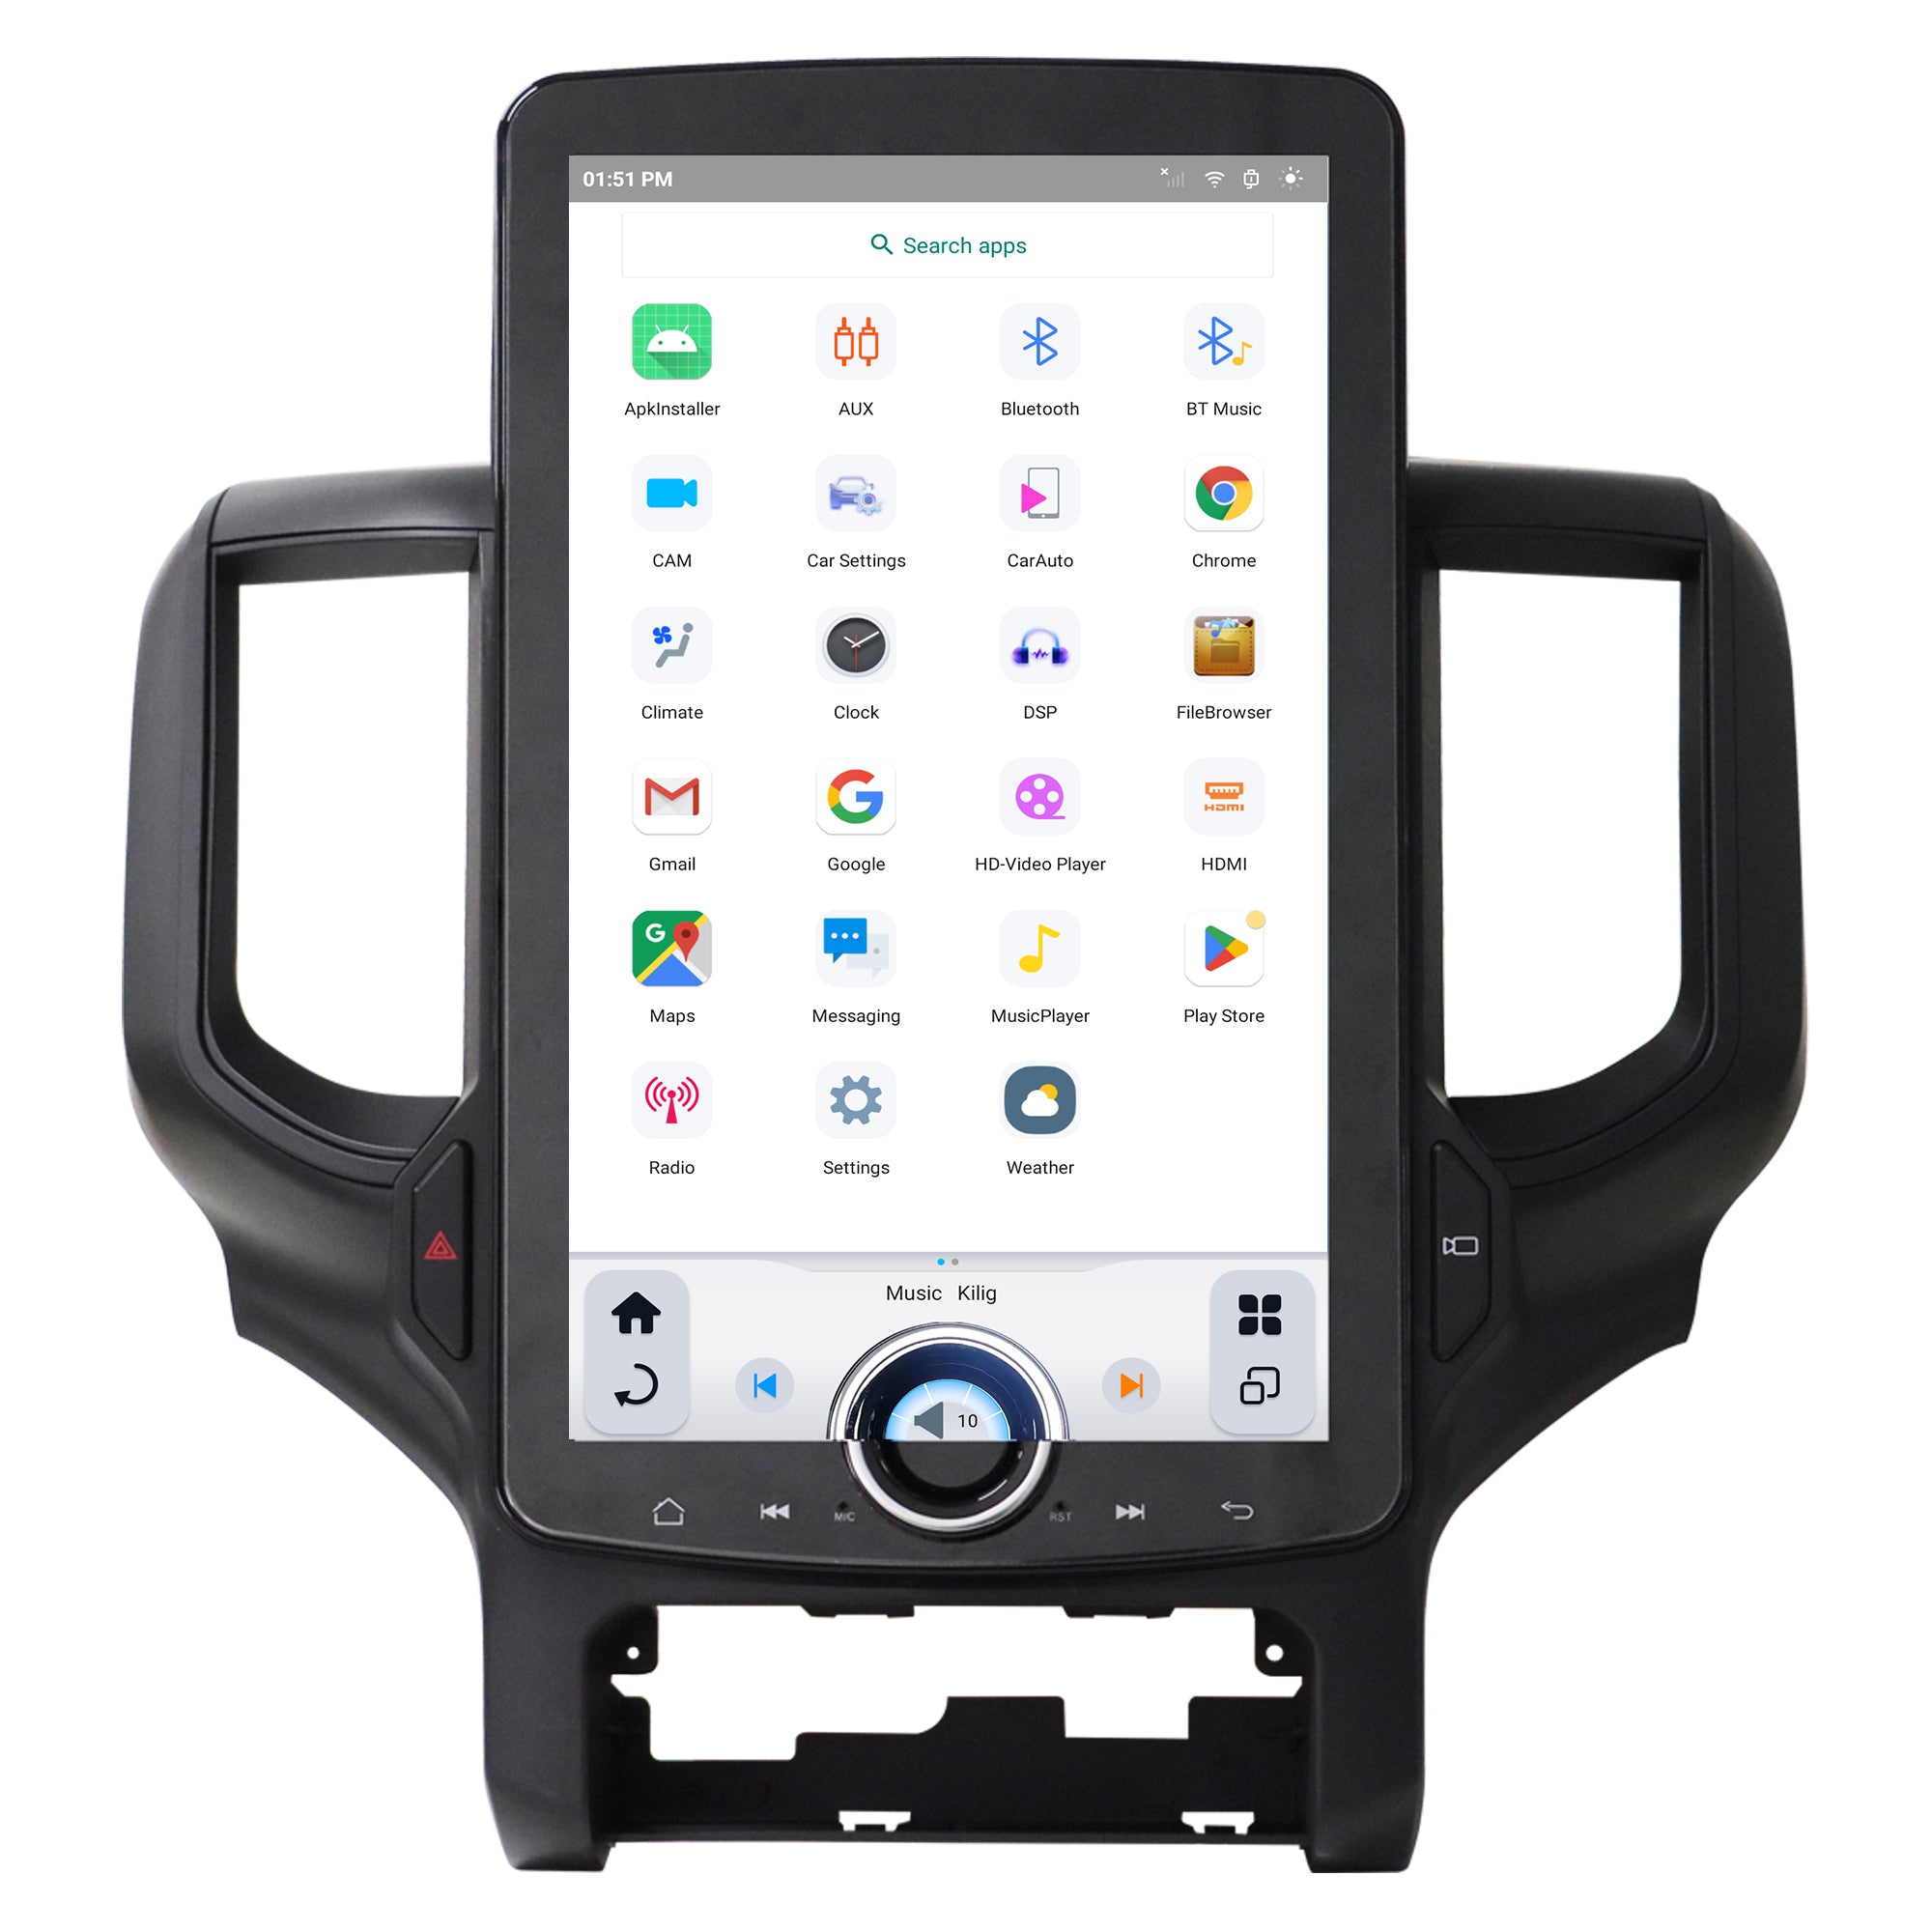
- Touchscreen: Ensure the touchscreen responds well to touch and that the display is clear and easy to navigate.
- Sound: Test the audio output to make sure the speakers are working properly with the new system.
- Bluetooth/Connectivity: Pair your phone via Bluetooth or connect via Apple CarPlay or Android Auto to verify that the connectivity features are working.
- GPS/Navigation: If your new radio includes navigation, check that the GPS functions correctly.

Troubleshooting Tips
If you run into any issues during installation, here are a few common troubleshooting tips:
- No Power: Double-check all wiring connections and make sure the fuse is intact.
- Connectivity Issues: Ensure that Bluetooth or USB cables are properly connected and that you have the latest software updates for your phone.
- Audio Problems: Verify that the speaker wiring is properly connected and that the volume is not muted on either the radio or your phone.
Endnote
Installing a Tesla-style radio in your Ford Mustang (2015-2020) is an exciting project that enhances your driving experience with modern tech and a sleek design. By following this guide and taking the time to properly wire and mount your new system, you can enjoy all the benefits of advanced infotainment features while cruising in your Mustang. Just remember to take your time, follow the steps carefully, and test the system thoroughly before finalizing the installation.
If you're unsure about any part of the process, it’s always a good idea to consult with a professional installer to ensure everything is done safely and correctly. Enjoy your upgraded ride!


Share:
How to Connect Your Smartphone to a Touchscreen Car Radio?
Everything You Need to Know Before Buying a Pickup Truck