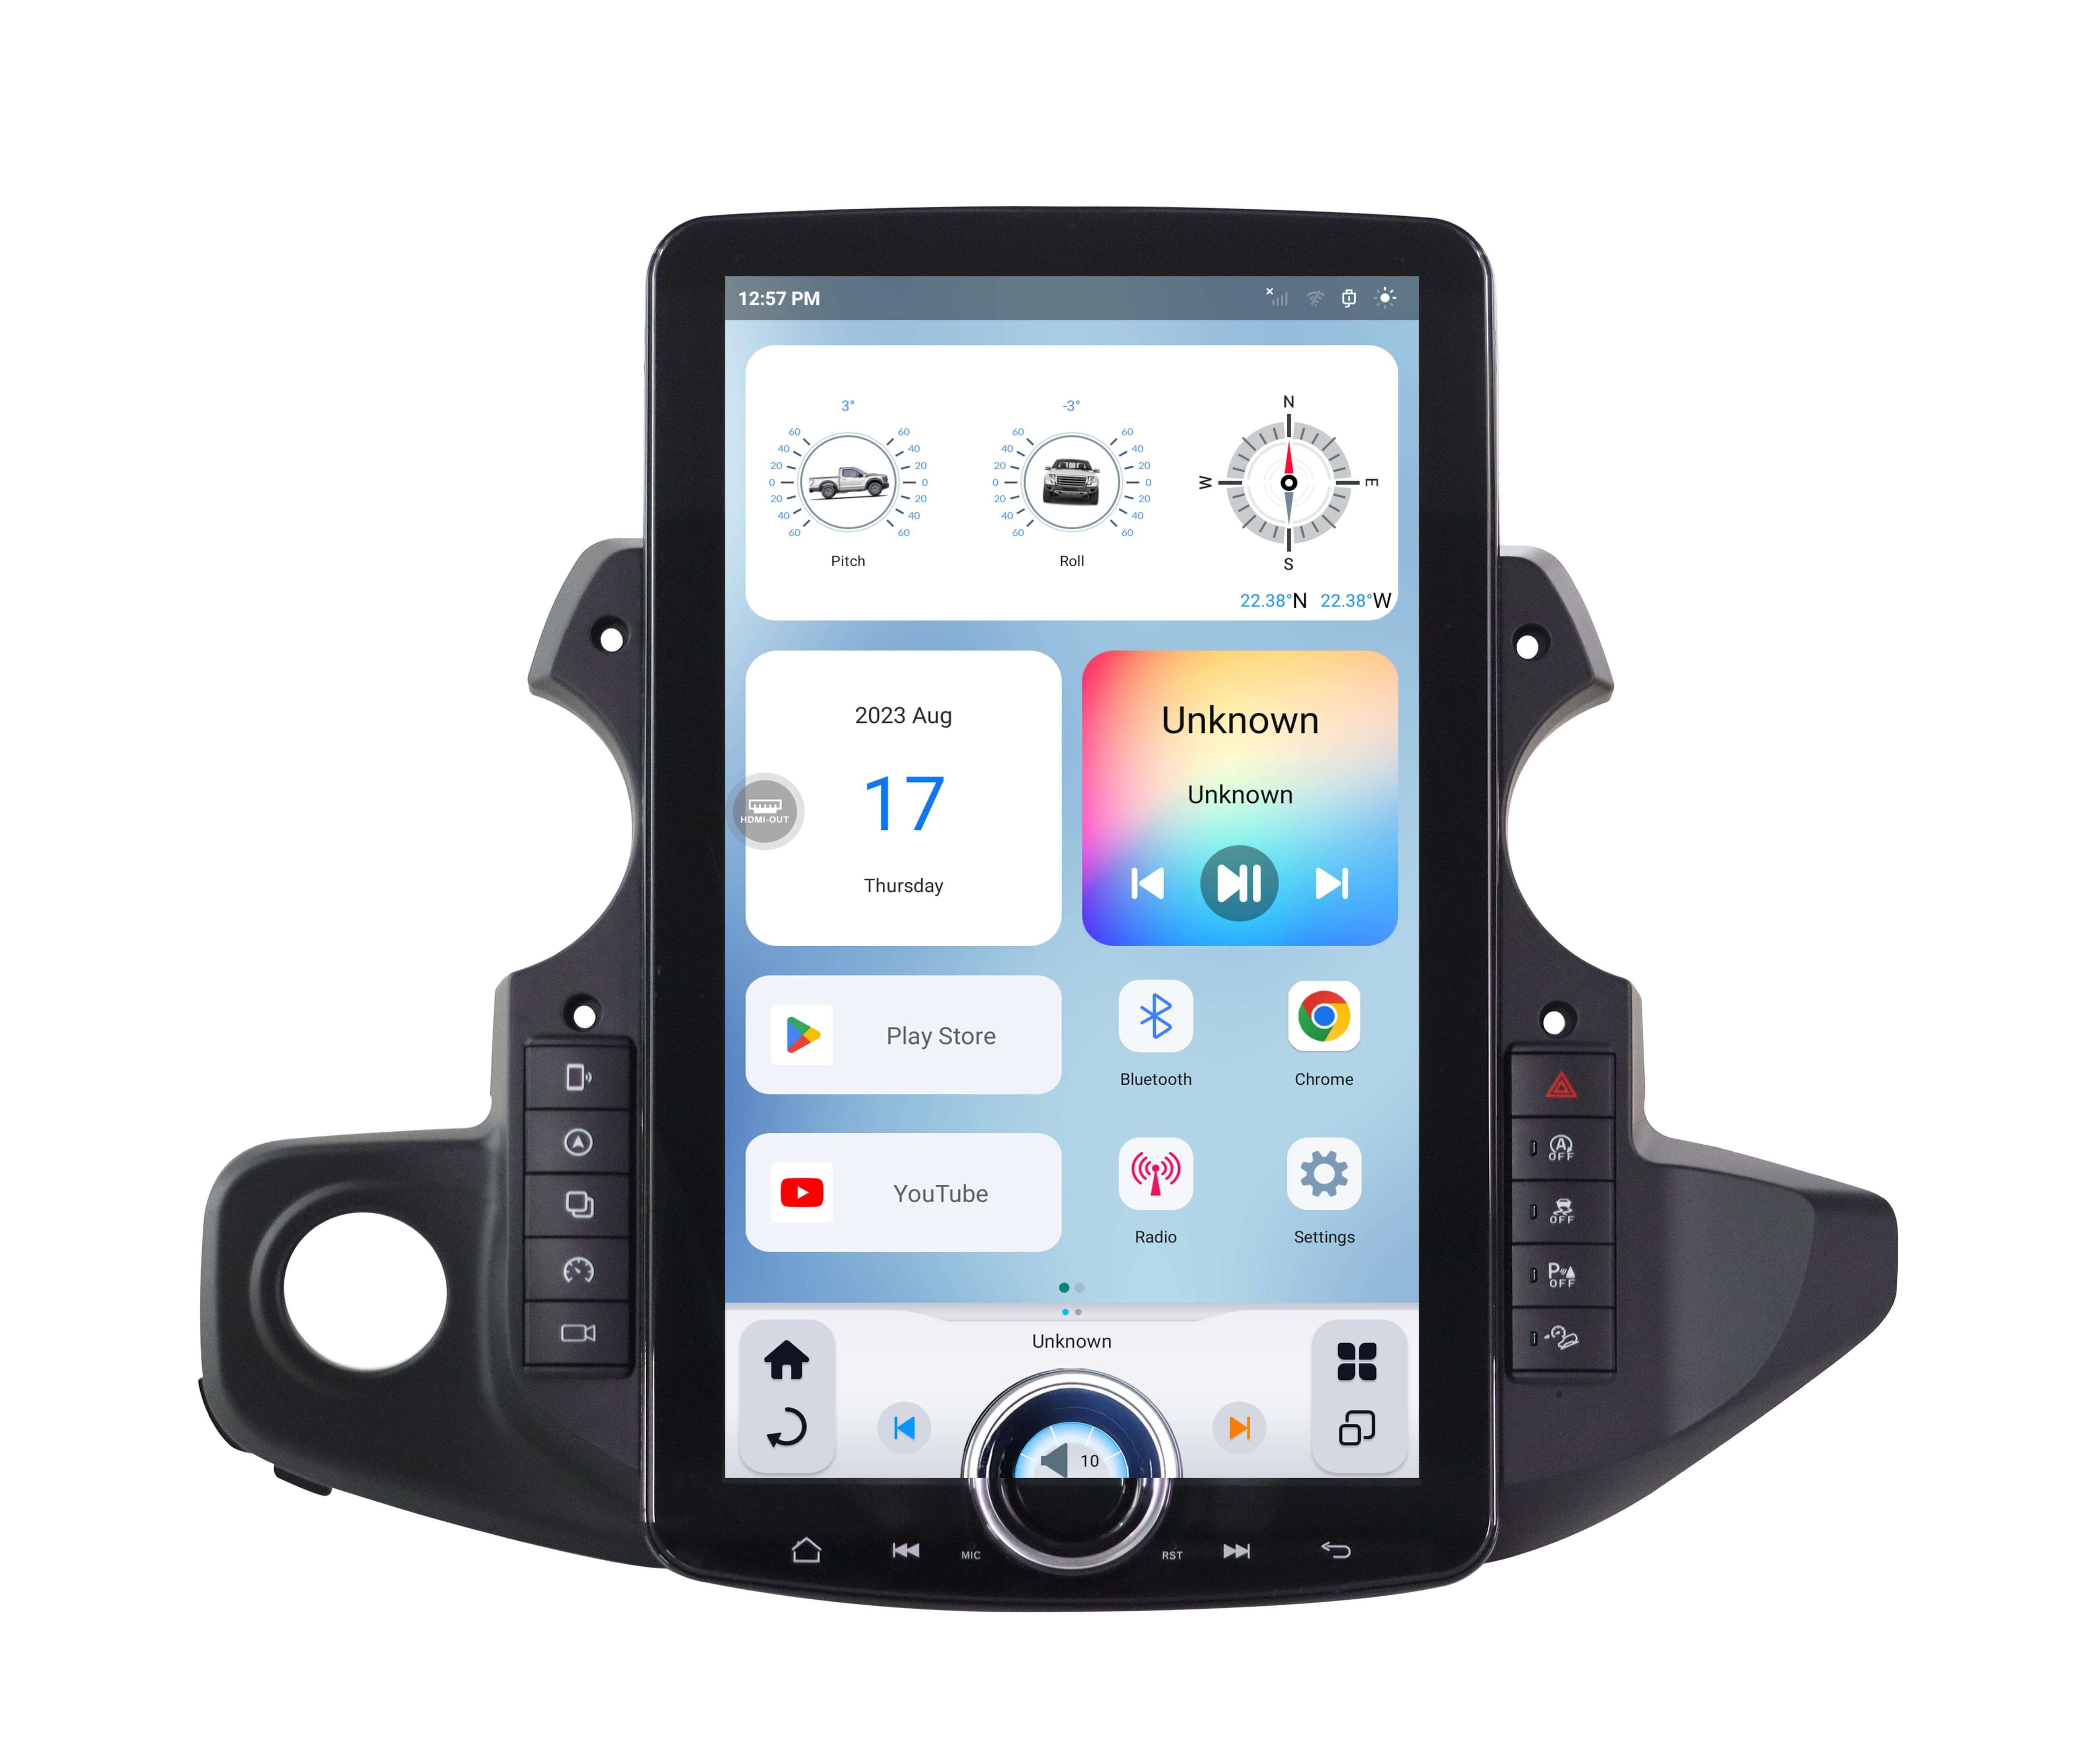
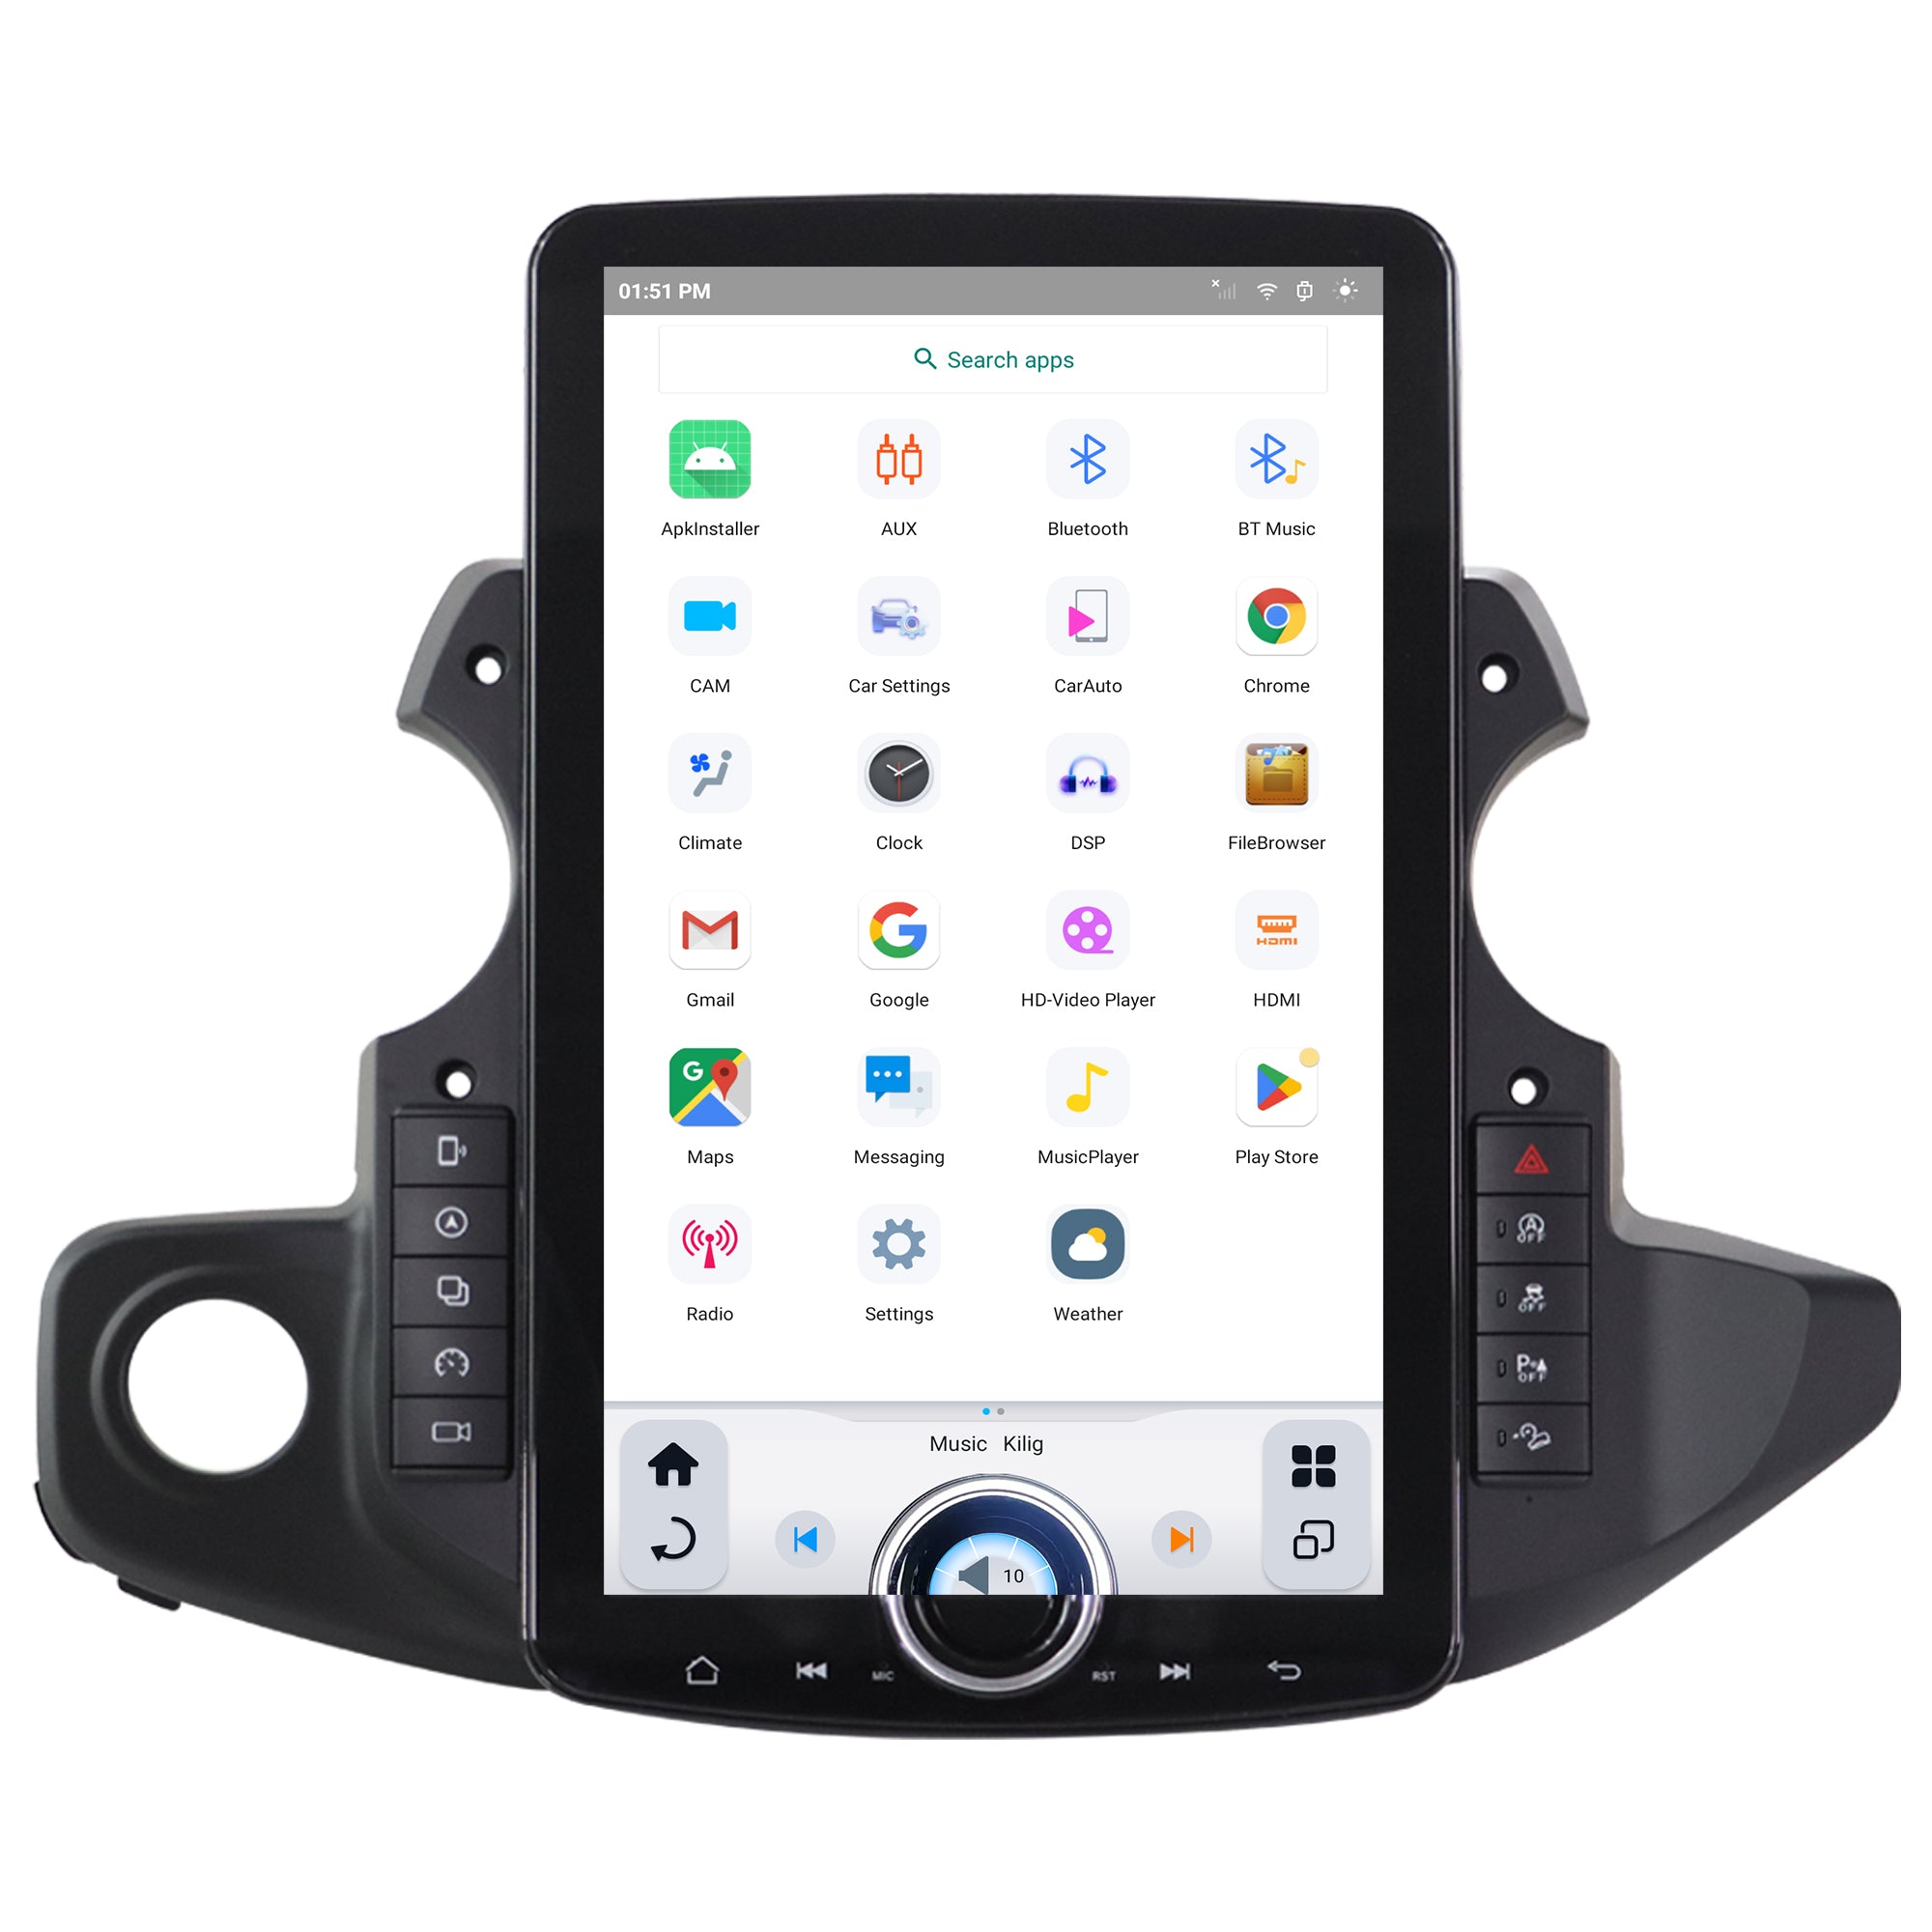
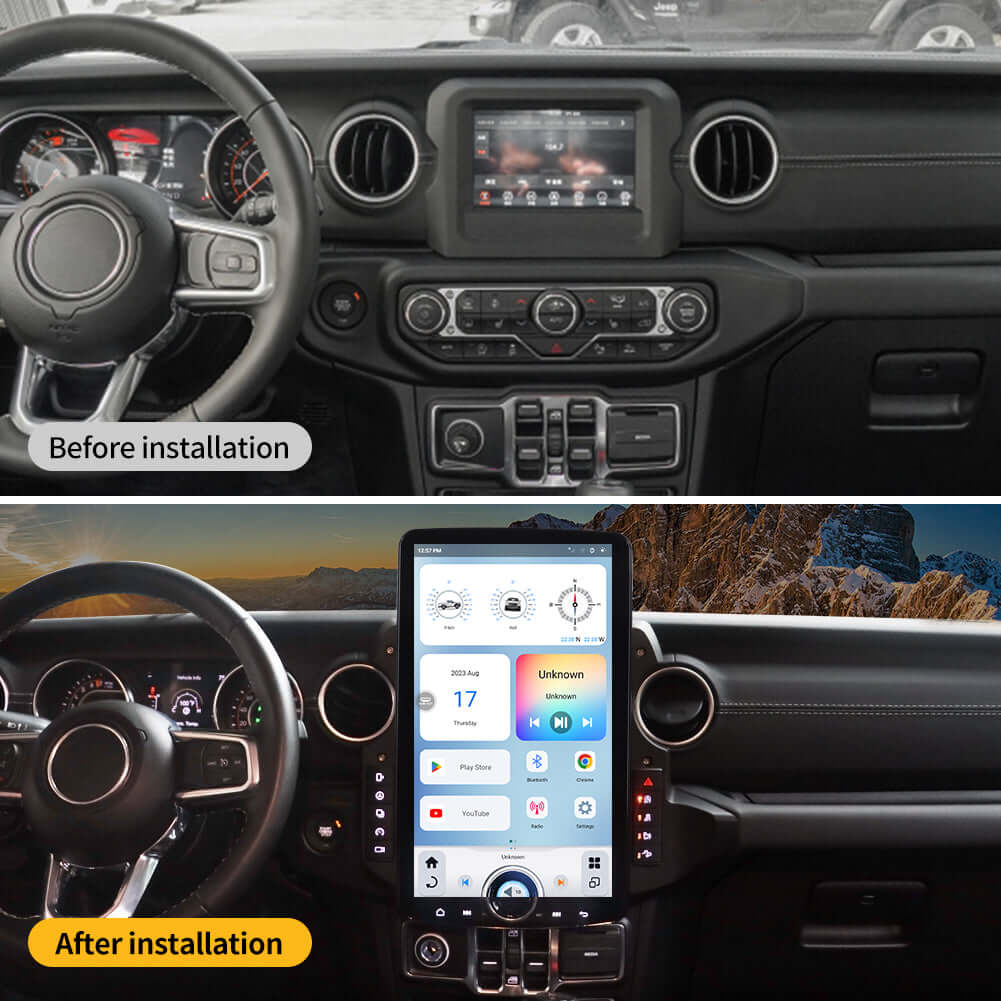
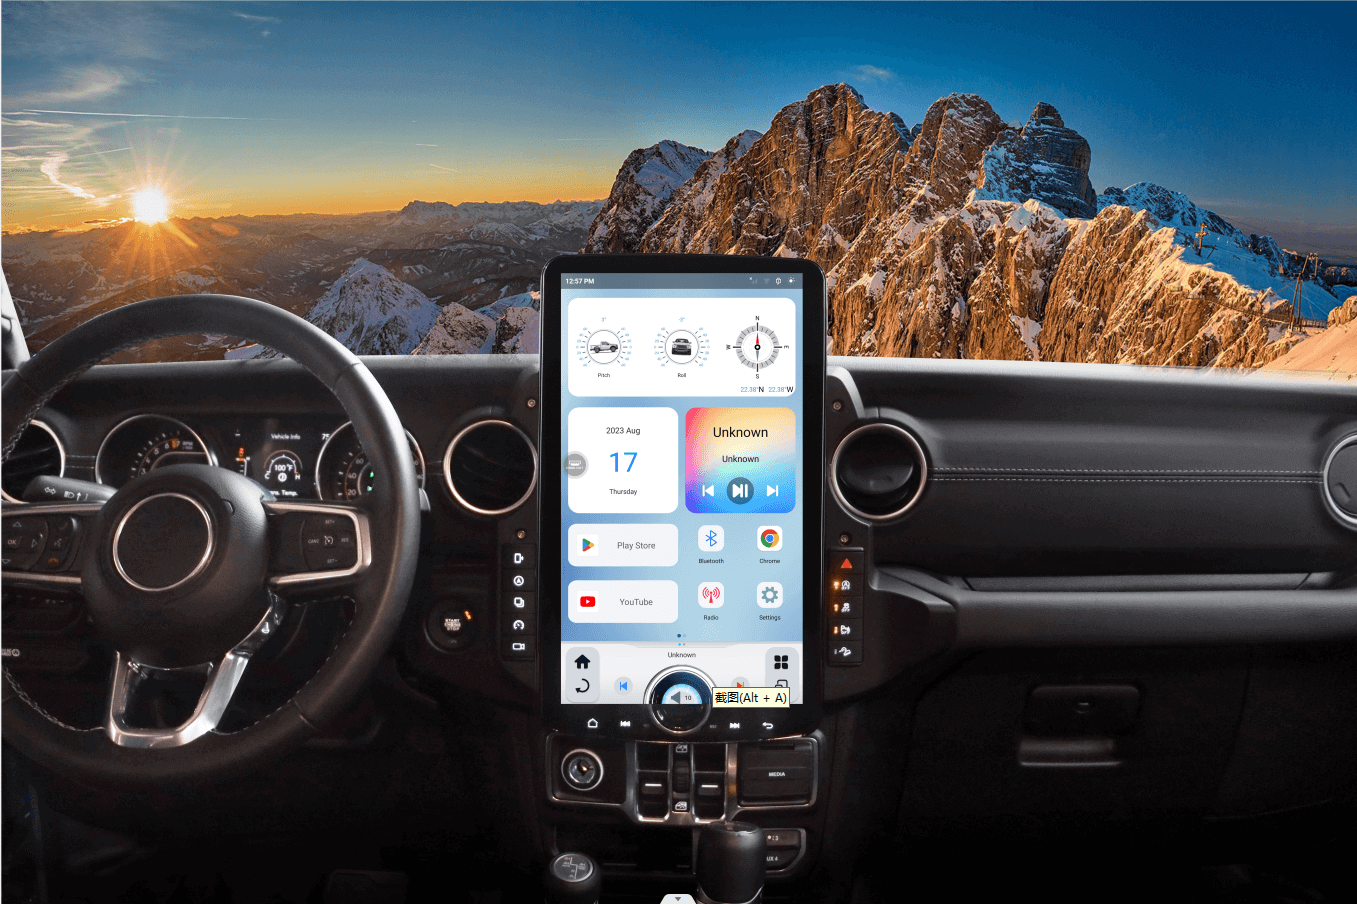
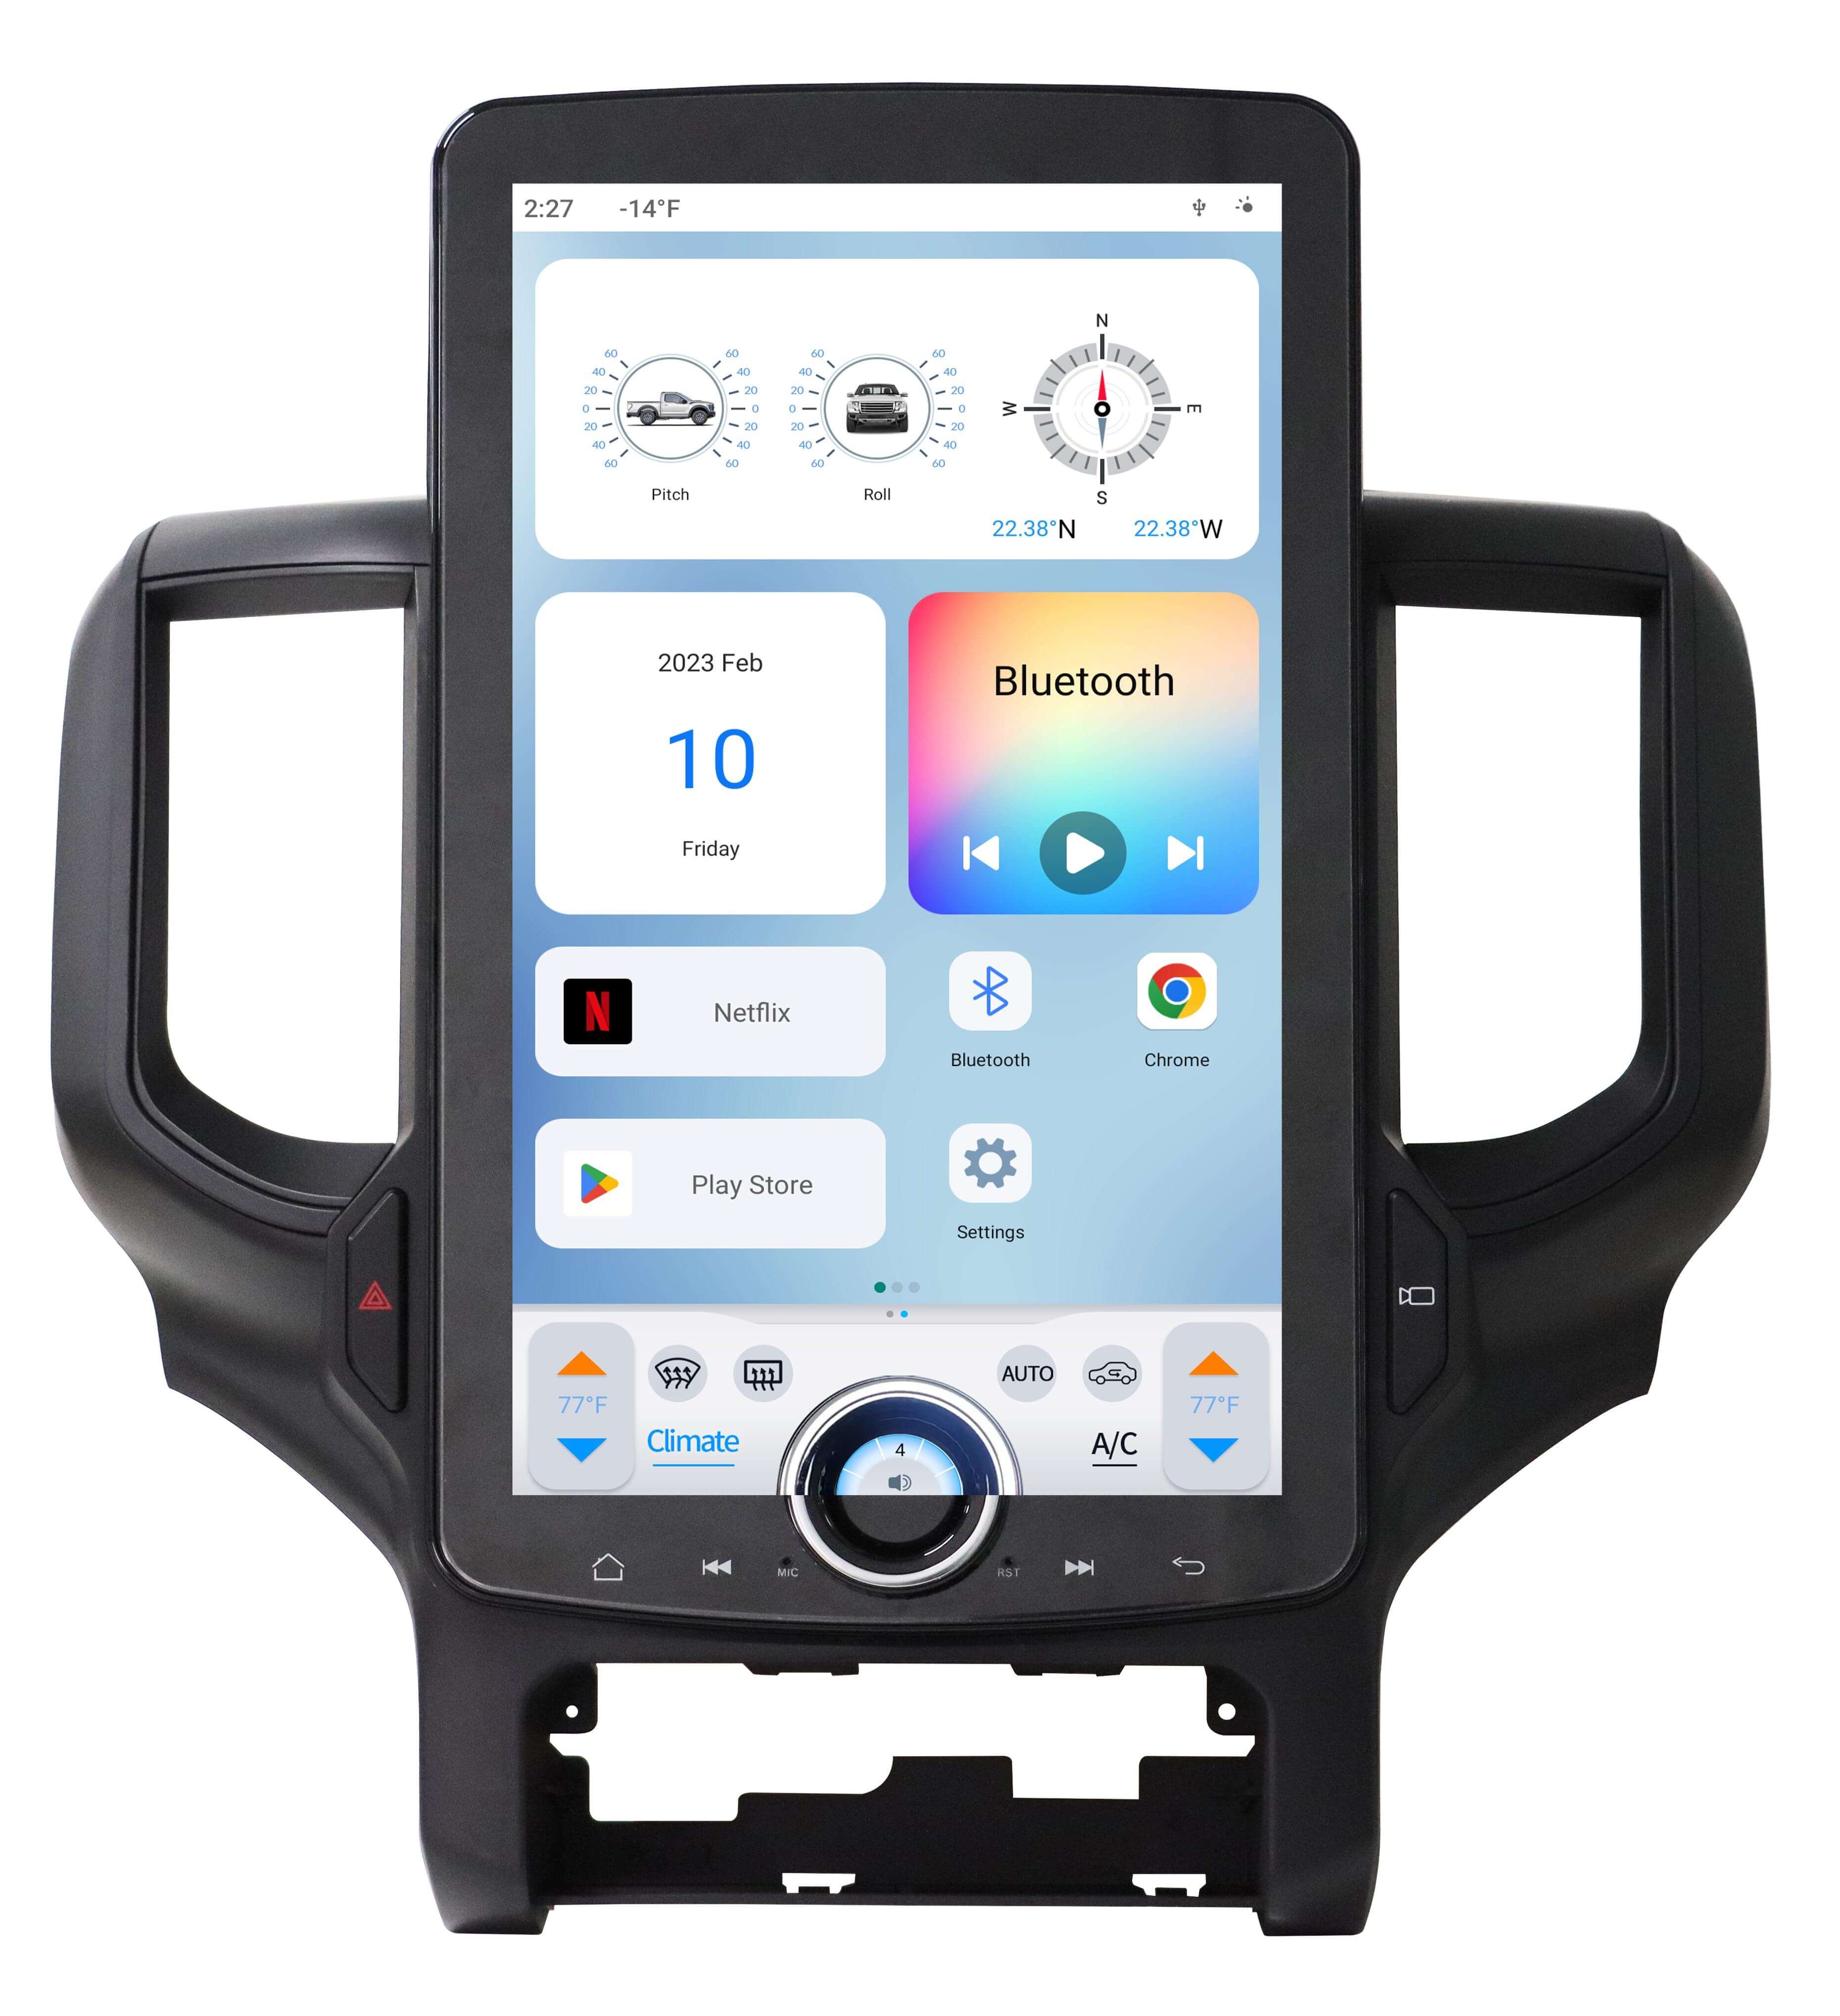
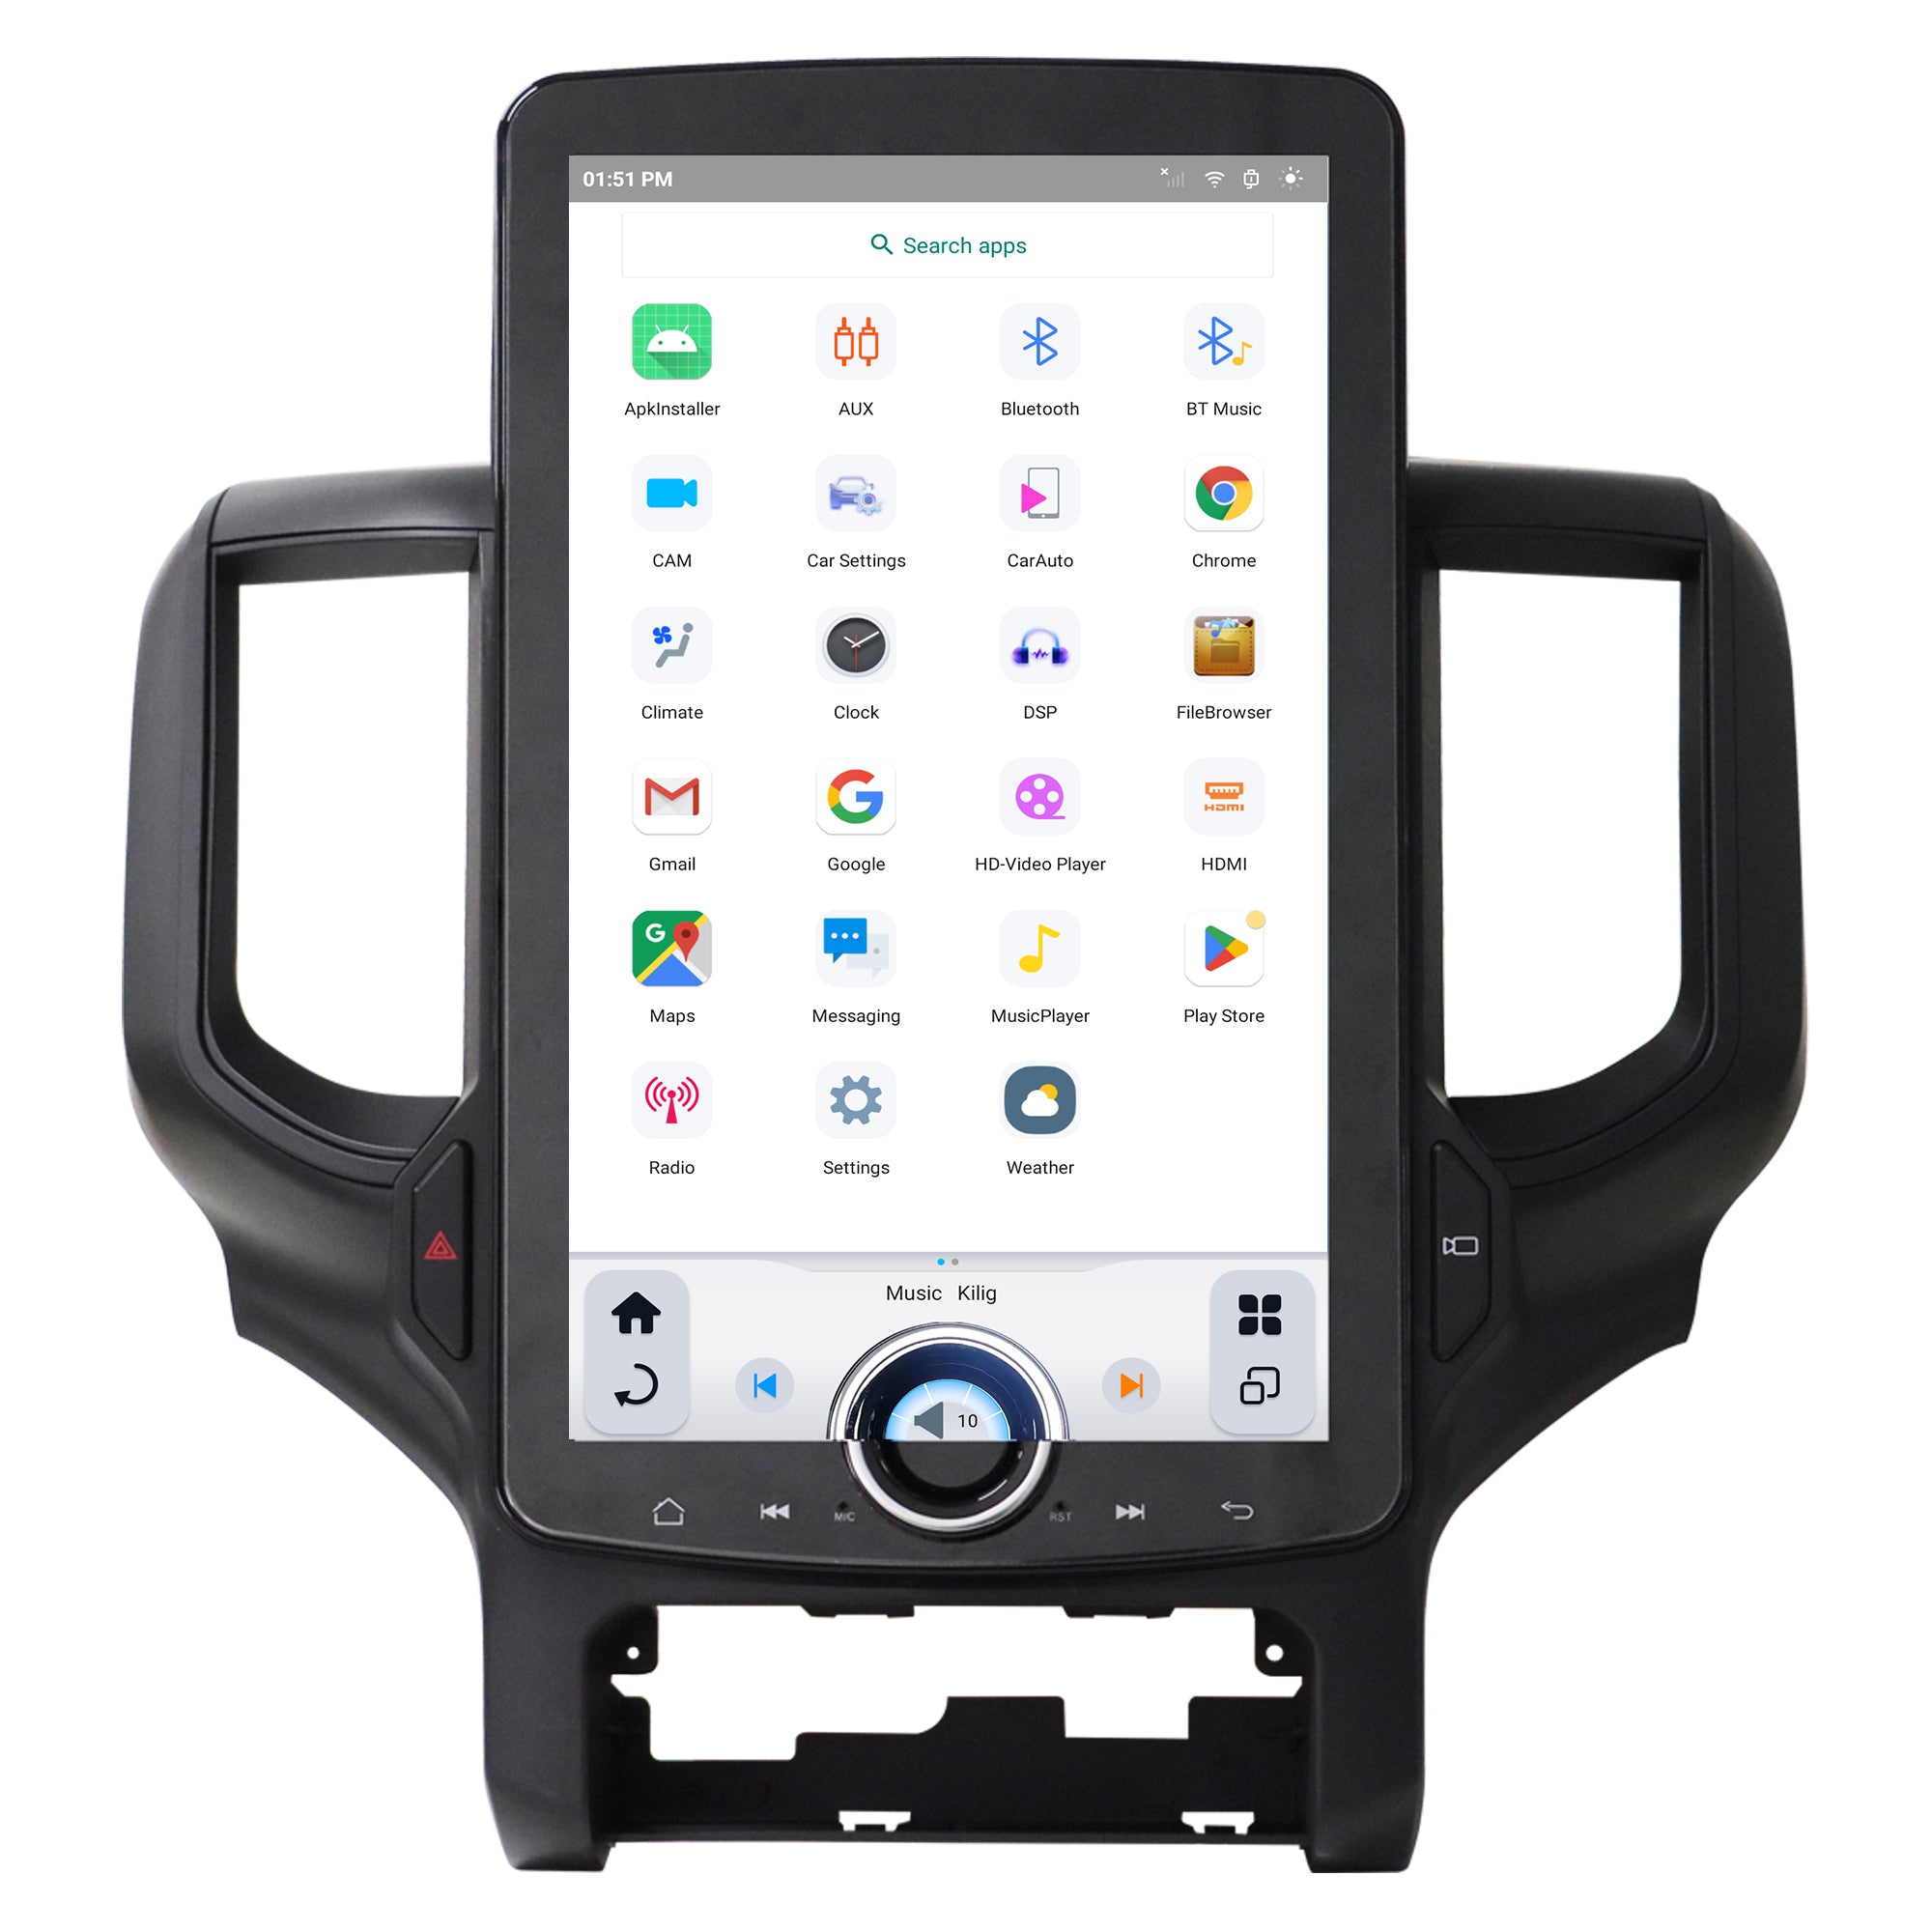
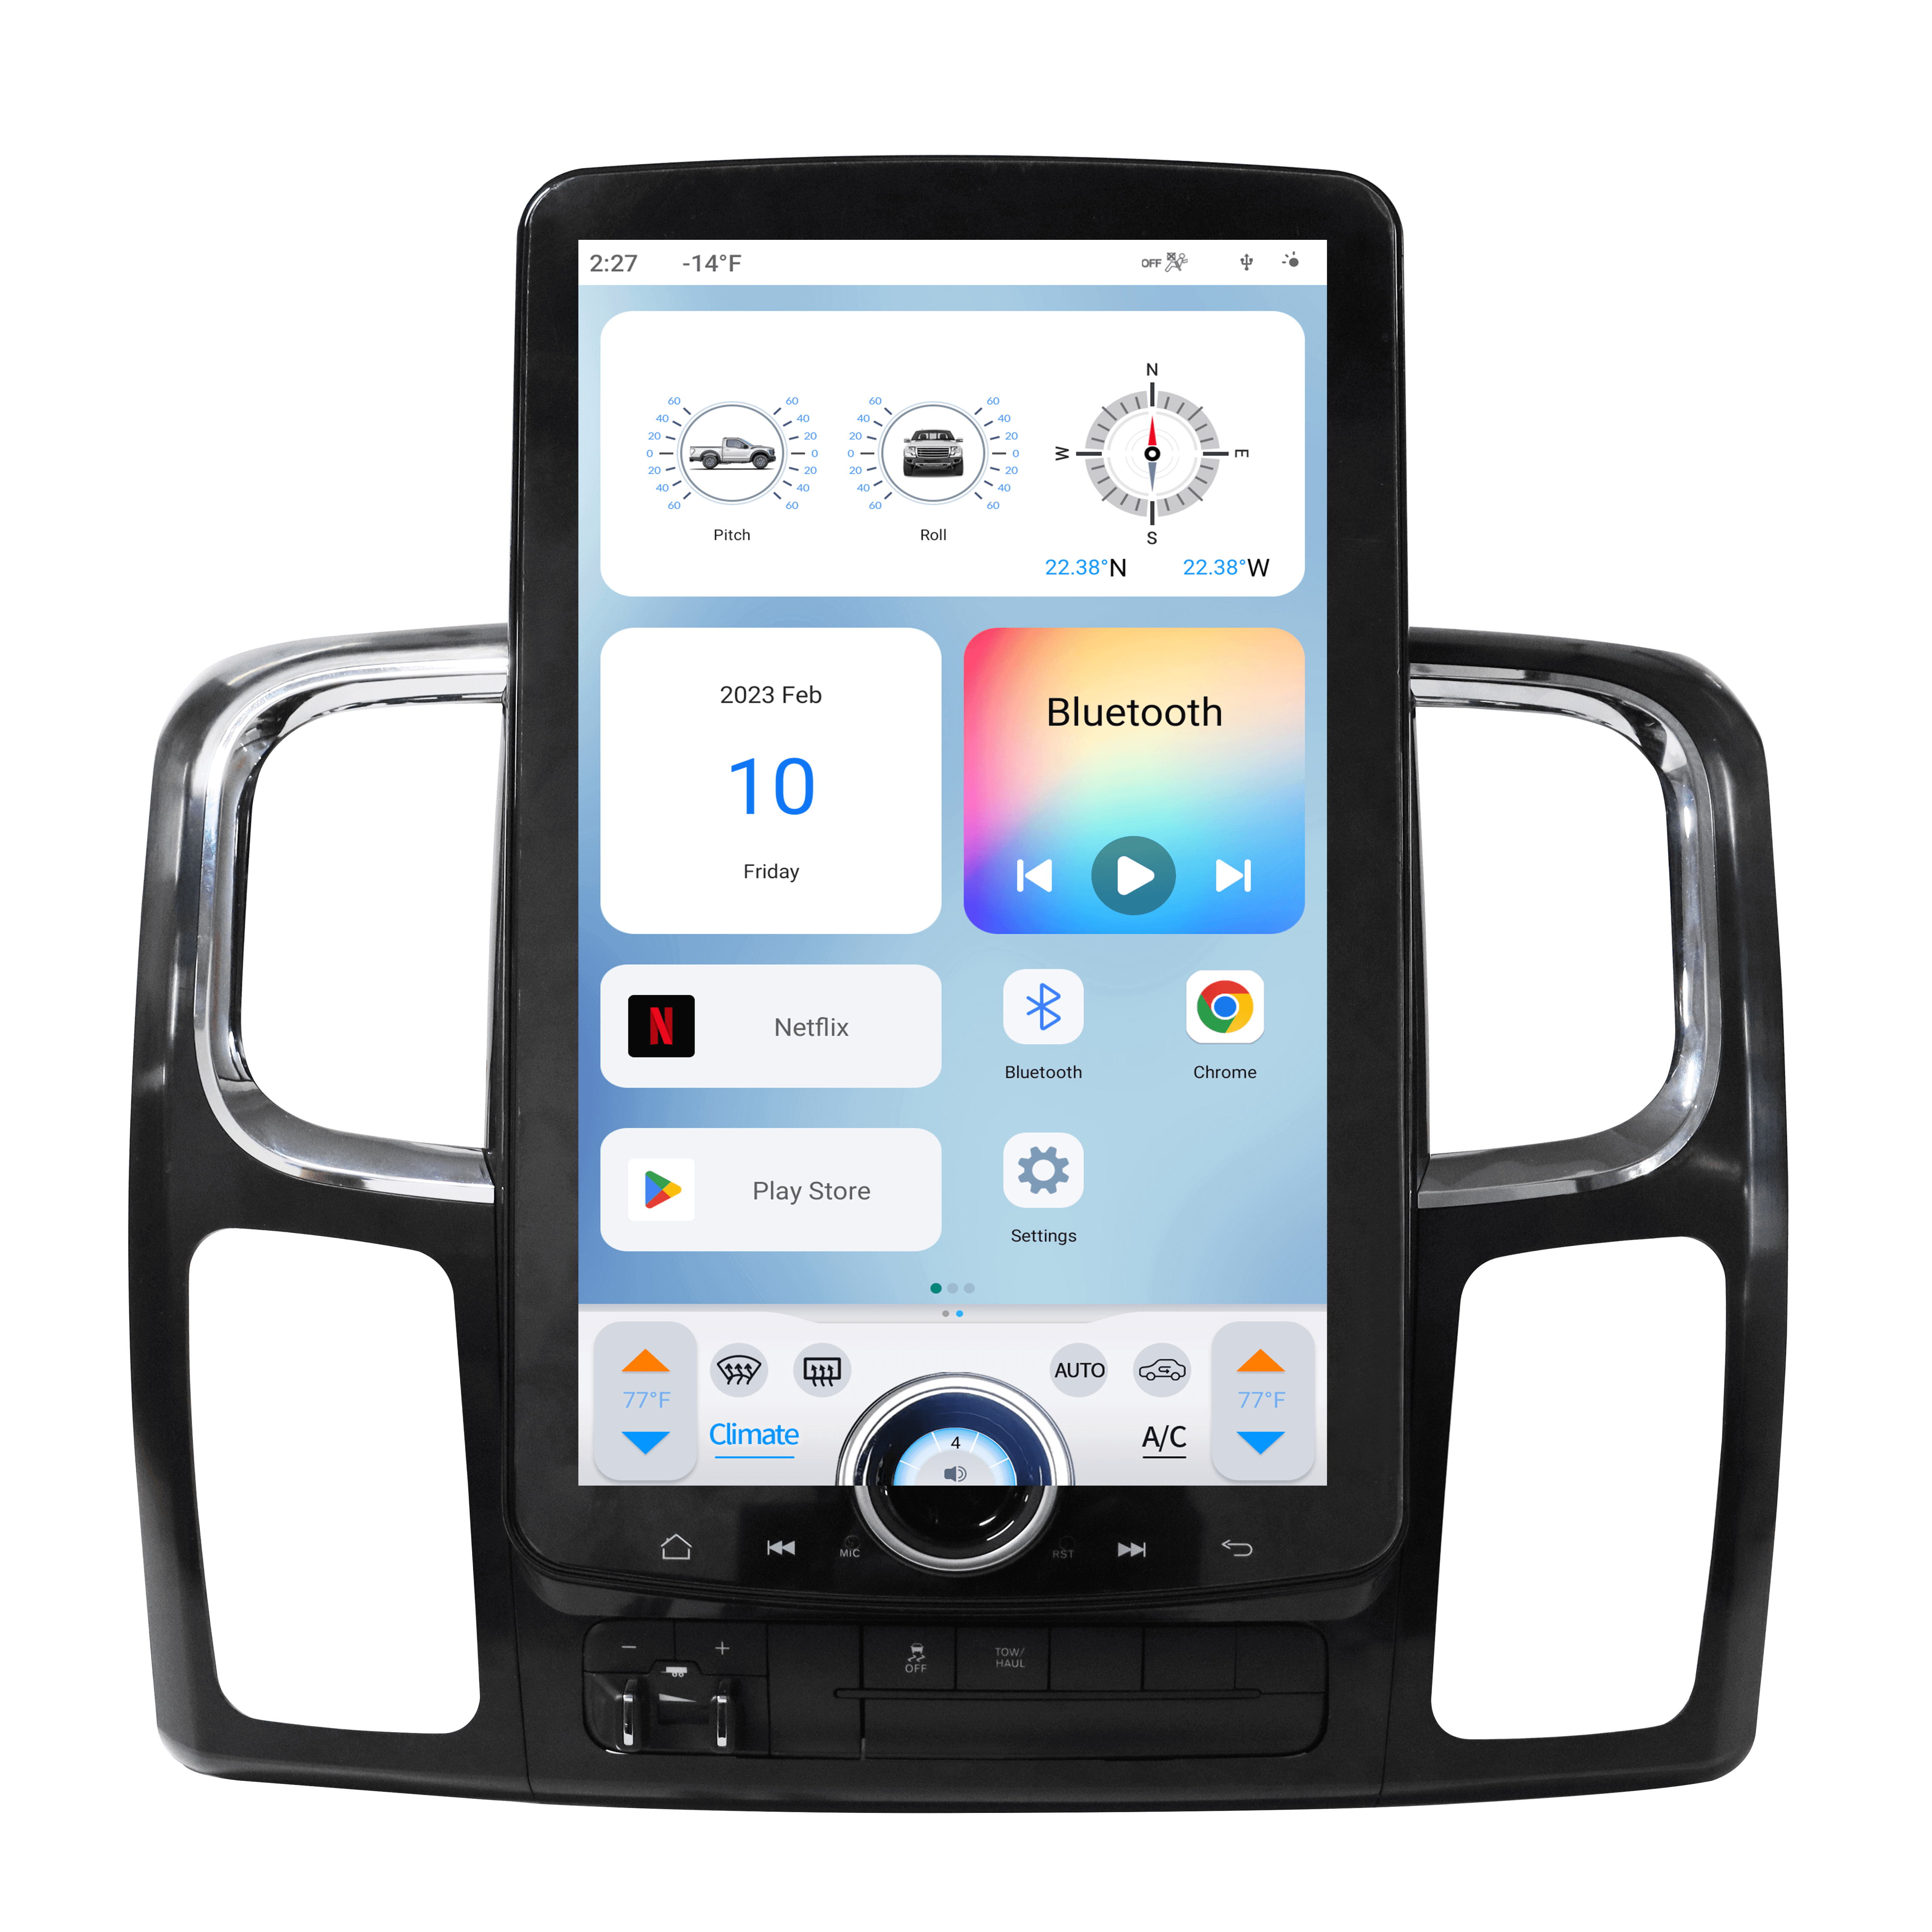
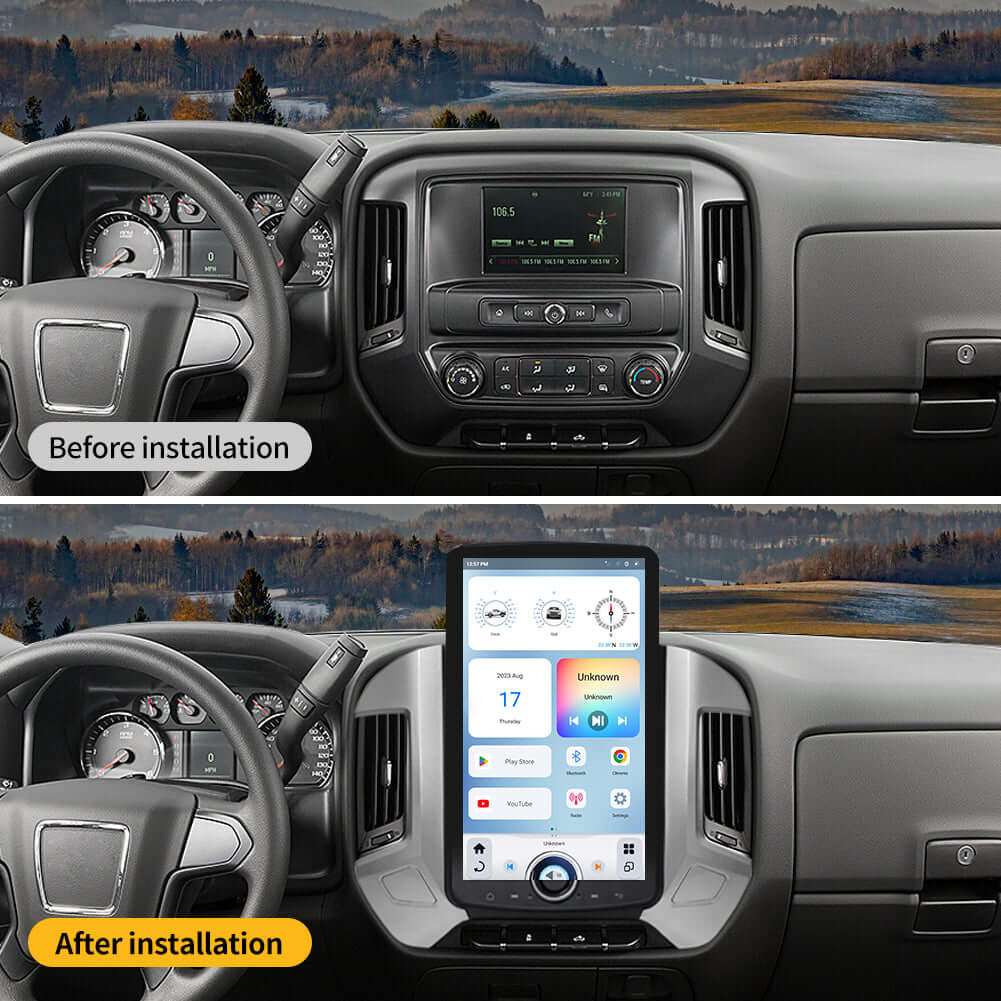
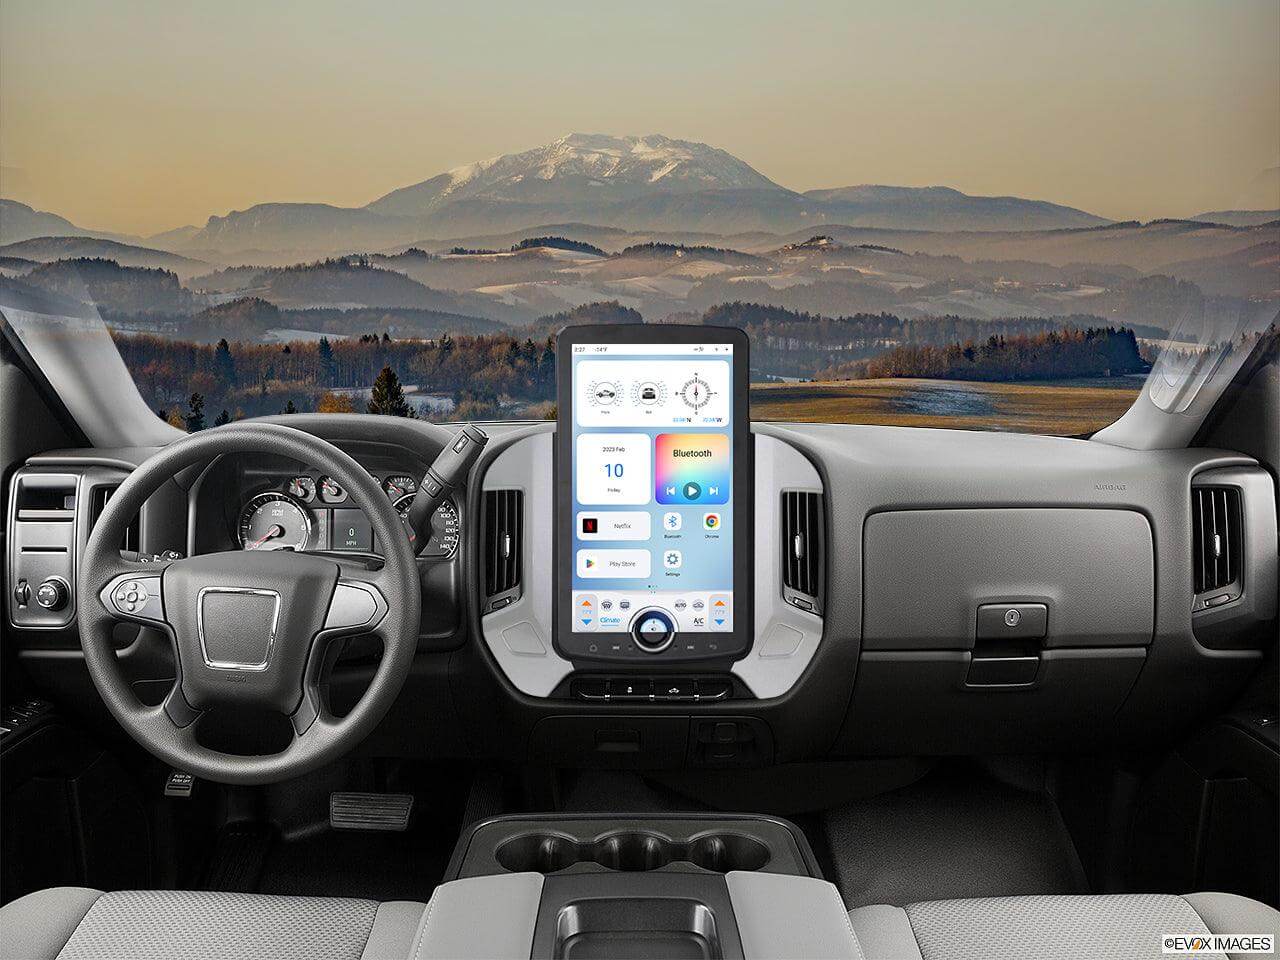
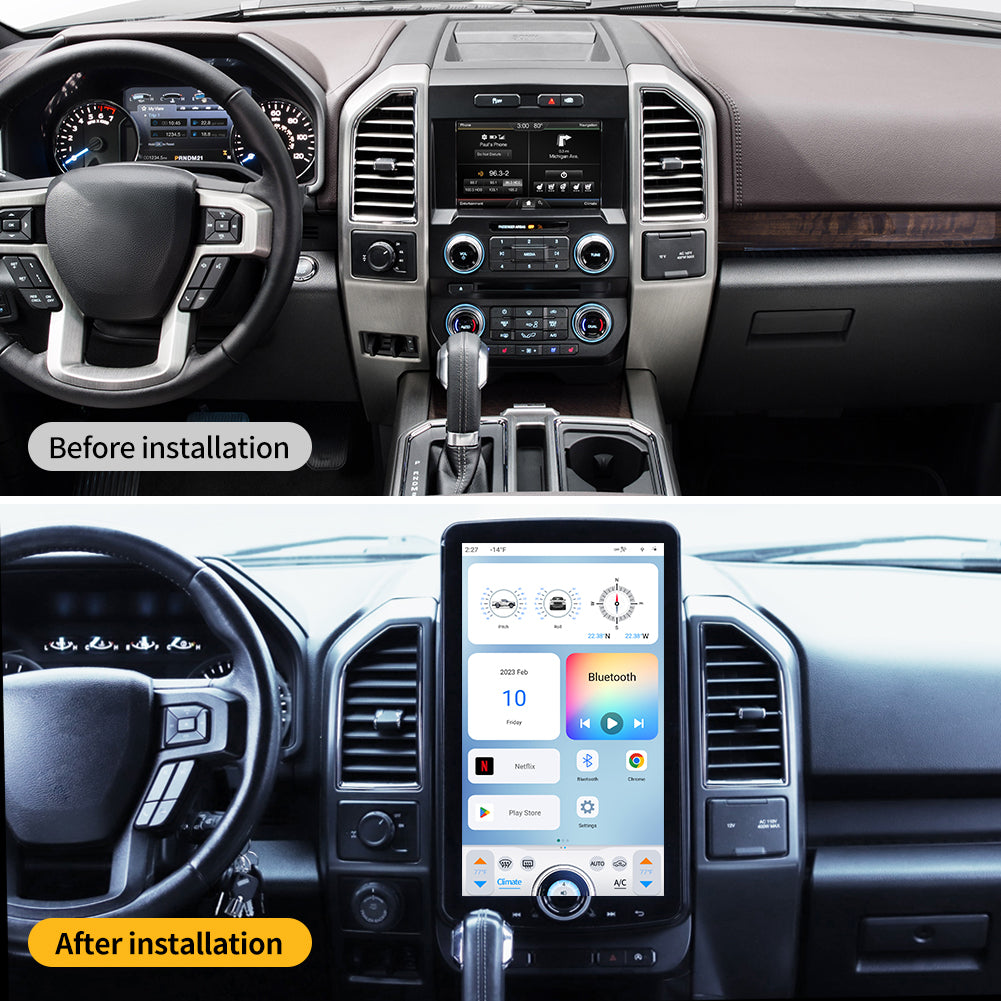
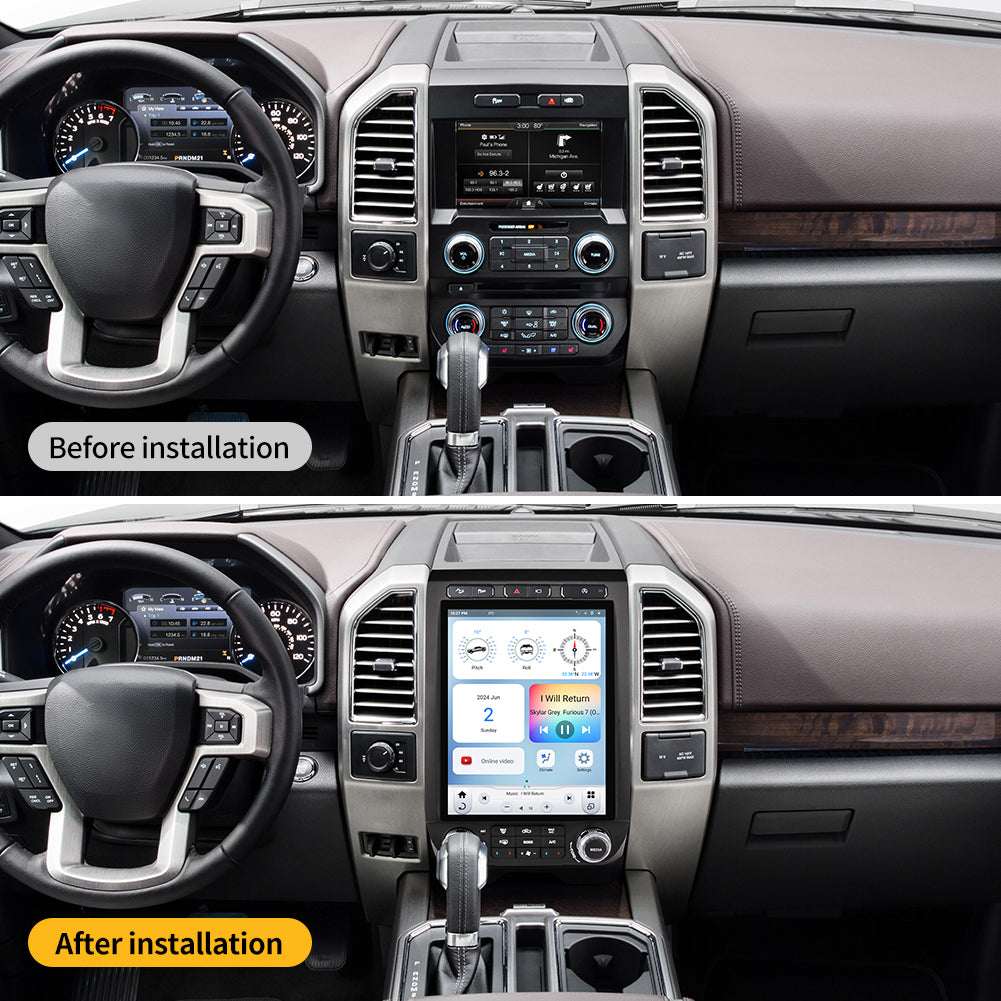
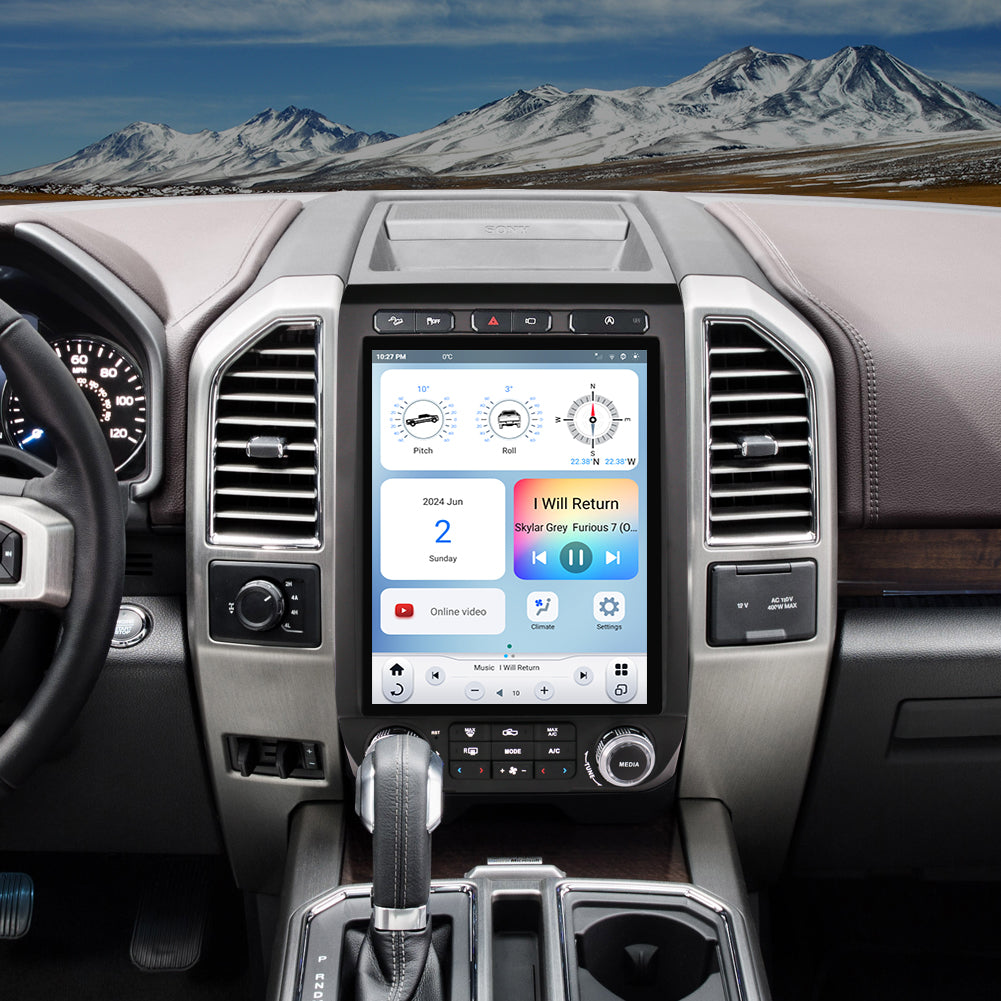
Upgrading the radio system in your 2014-2018 Chevrolet Silverado or GMC Sierra can significantly enhance your driving experience by providing modern features and improved functionality. One popular aftermarket option is the XAutoStereo 15.6" XL T-Style Radio, which offers a sleek, tablet-like interface reminiscent of Tesla's infotainment systems. This article provides a step-by-step guide to installing the XL T-Style unit in your vehicle, ensuring a seamless integration with your truck's existing systems.

Preparation and Tools Required
Before beginning the installation, gather the necessary tools and equipment:
- Trim removal tools: To safely detach panels without causing damage.
- Screwdrivers: Both Phillips and flat-head screwdrivers are essential.
- Socket wrench set: Typically, 7mm and 10mm sockets are needed.
- Electrical tape and zip ties: For organizing and securing wiring.
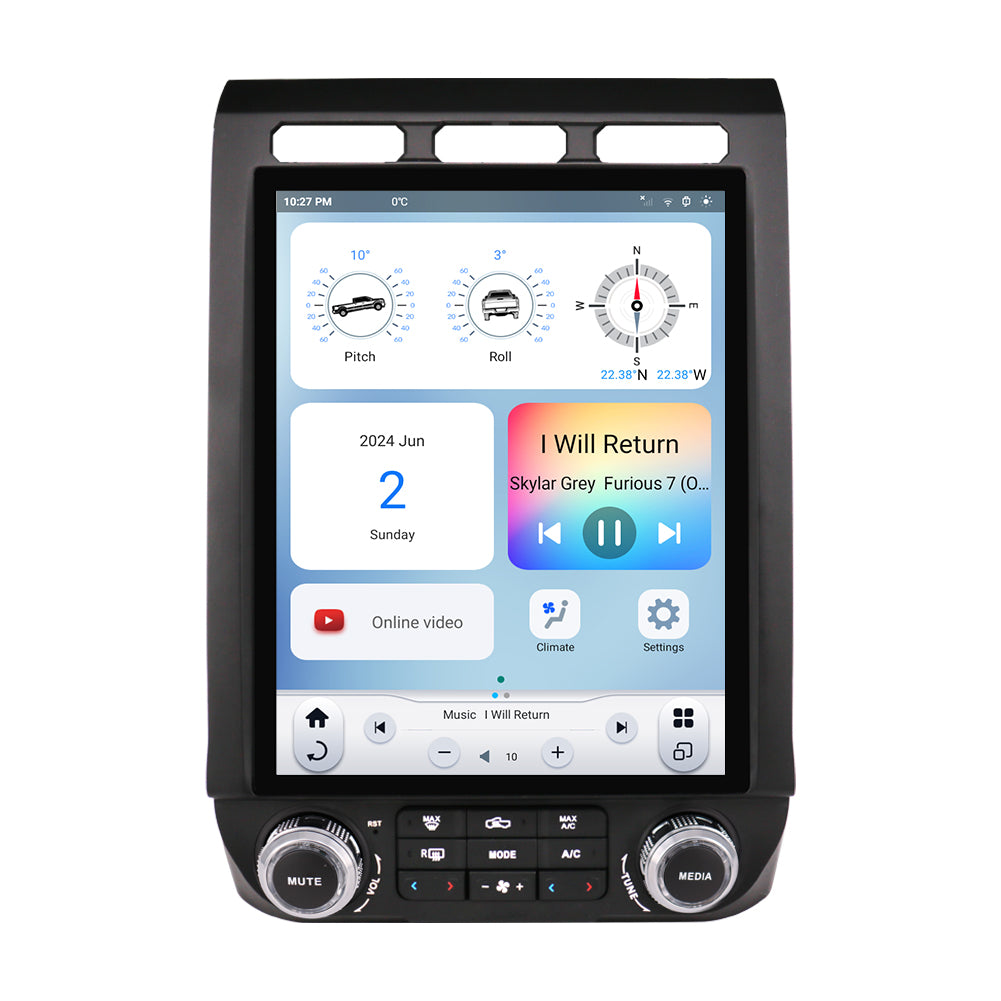
- XL T-Style head unit: Ensure it's compatible with your vehicle's make and model.
Step 1: Disconnect the Battery
Safety first—disconnect the negative terminal of your vehicle's battery to prevent any electrical mishaps during the installation.
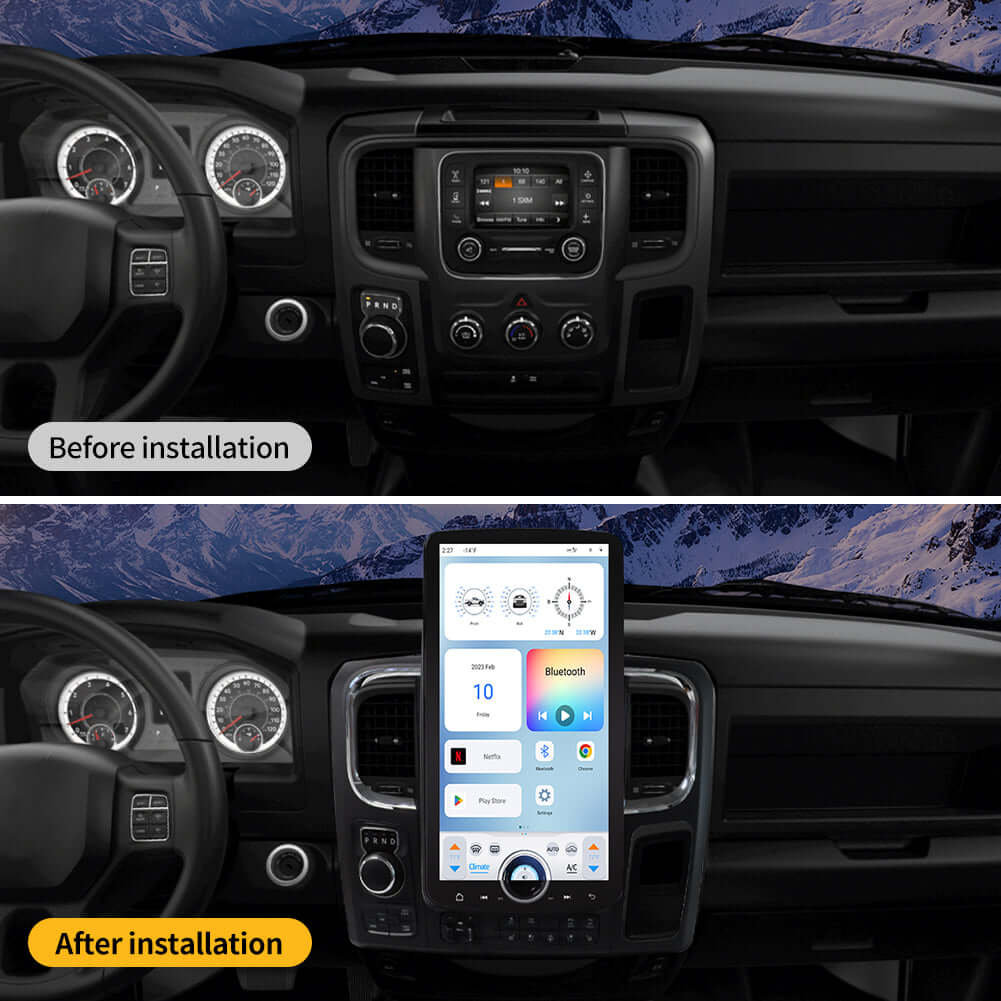
Step 2: Remove the Factory Radio and Trim
- Detach the trim panels: Use trim removal tools to carefully remove the dashboard panels surrounding the factory radio. Start from the edges and work your way around to avoid breaking any clips.
- Unscrew the factory radio: Locate and remove the screws securing the radio unit using the appropriate socket wrench.
- Disconnect wiring harnesses: Gently pull out the radio and unplug all connected wiring harnesses and antenna cables.
Step 3: Prepare the XL T-Style Unit
- Check compatibility: Ensure the wiring harnesses provided with the XAutoStereo XL match your vehicle's connectors.
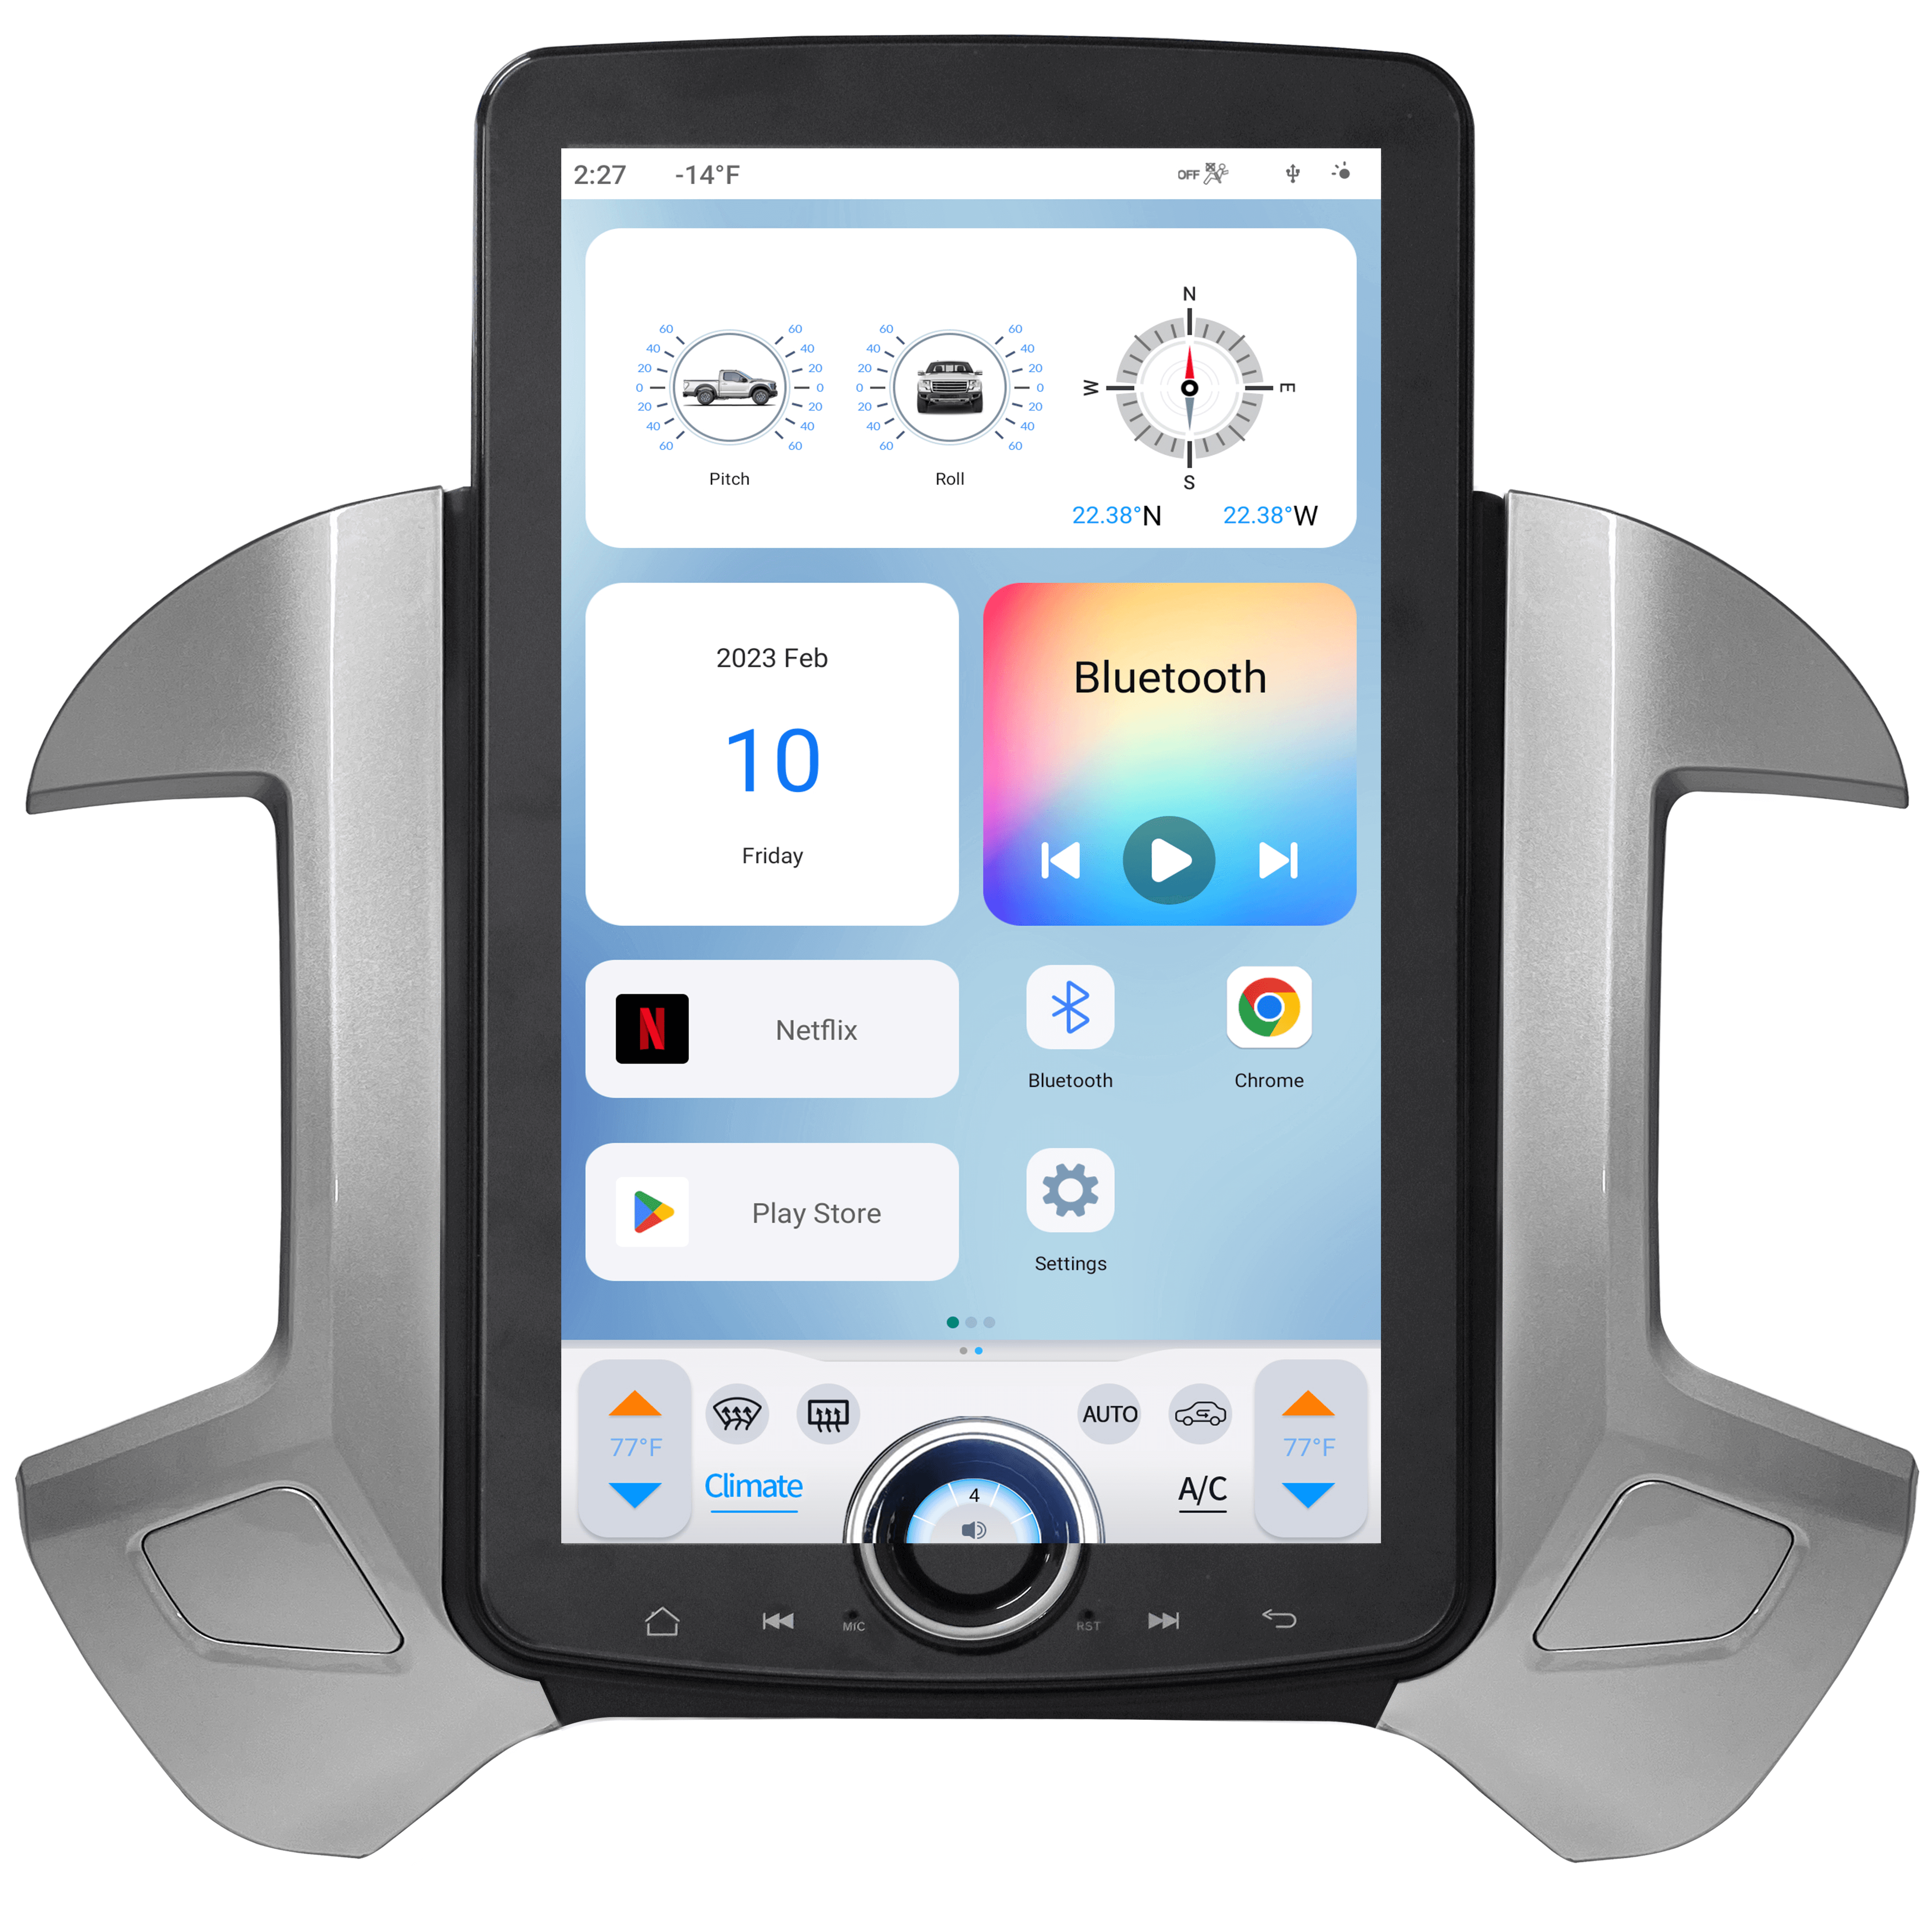
- Transfer mounting brackets: If necessary, attach the mounting brackets from the factory unit to the new XL T-Style to ensure a proper fit.
Step 4: Connect the Wiring Harnesses
- Main harness connection: Connect the XL T-Style's main wiring harness to the vehicle's factory connectors. These are typically plug-and-play, but consult the installation manual for specific instructions.
- CAN bus integration: If the unit includes a CAN bus decoder, connect it to enable communication with your vehicle's systems, such as steering wheel controls and backup cameras.
- Additional accessories: Connect any additional accessories, such as USB ports, GPS antennas, or external microphones, as per the manufacturer's instructions.

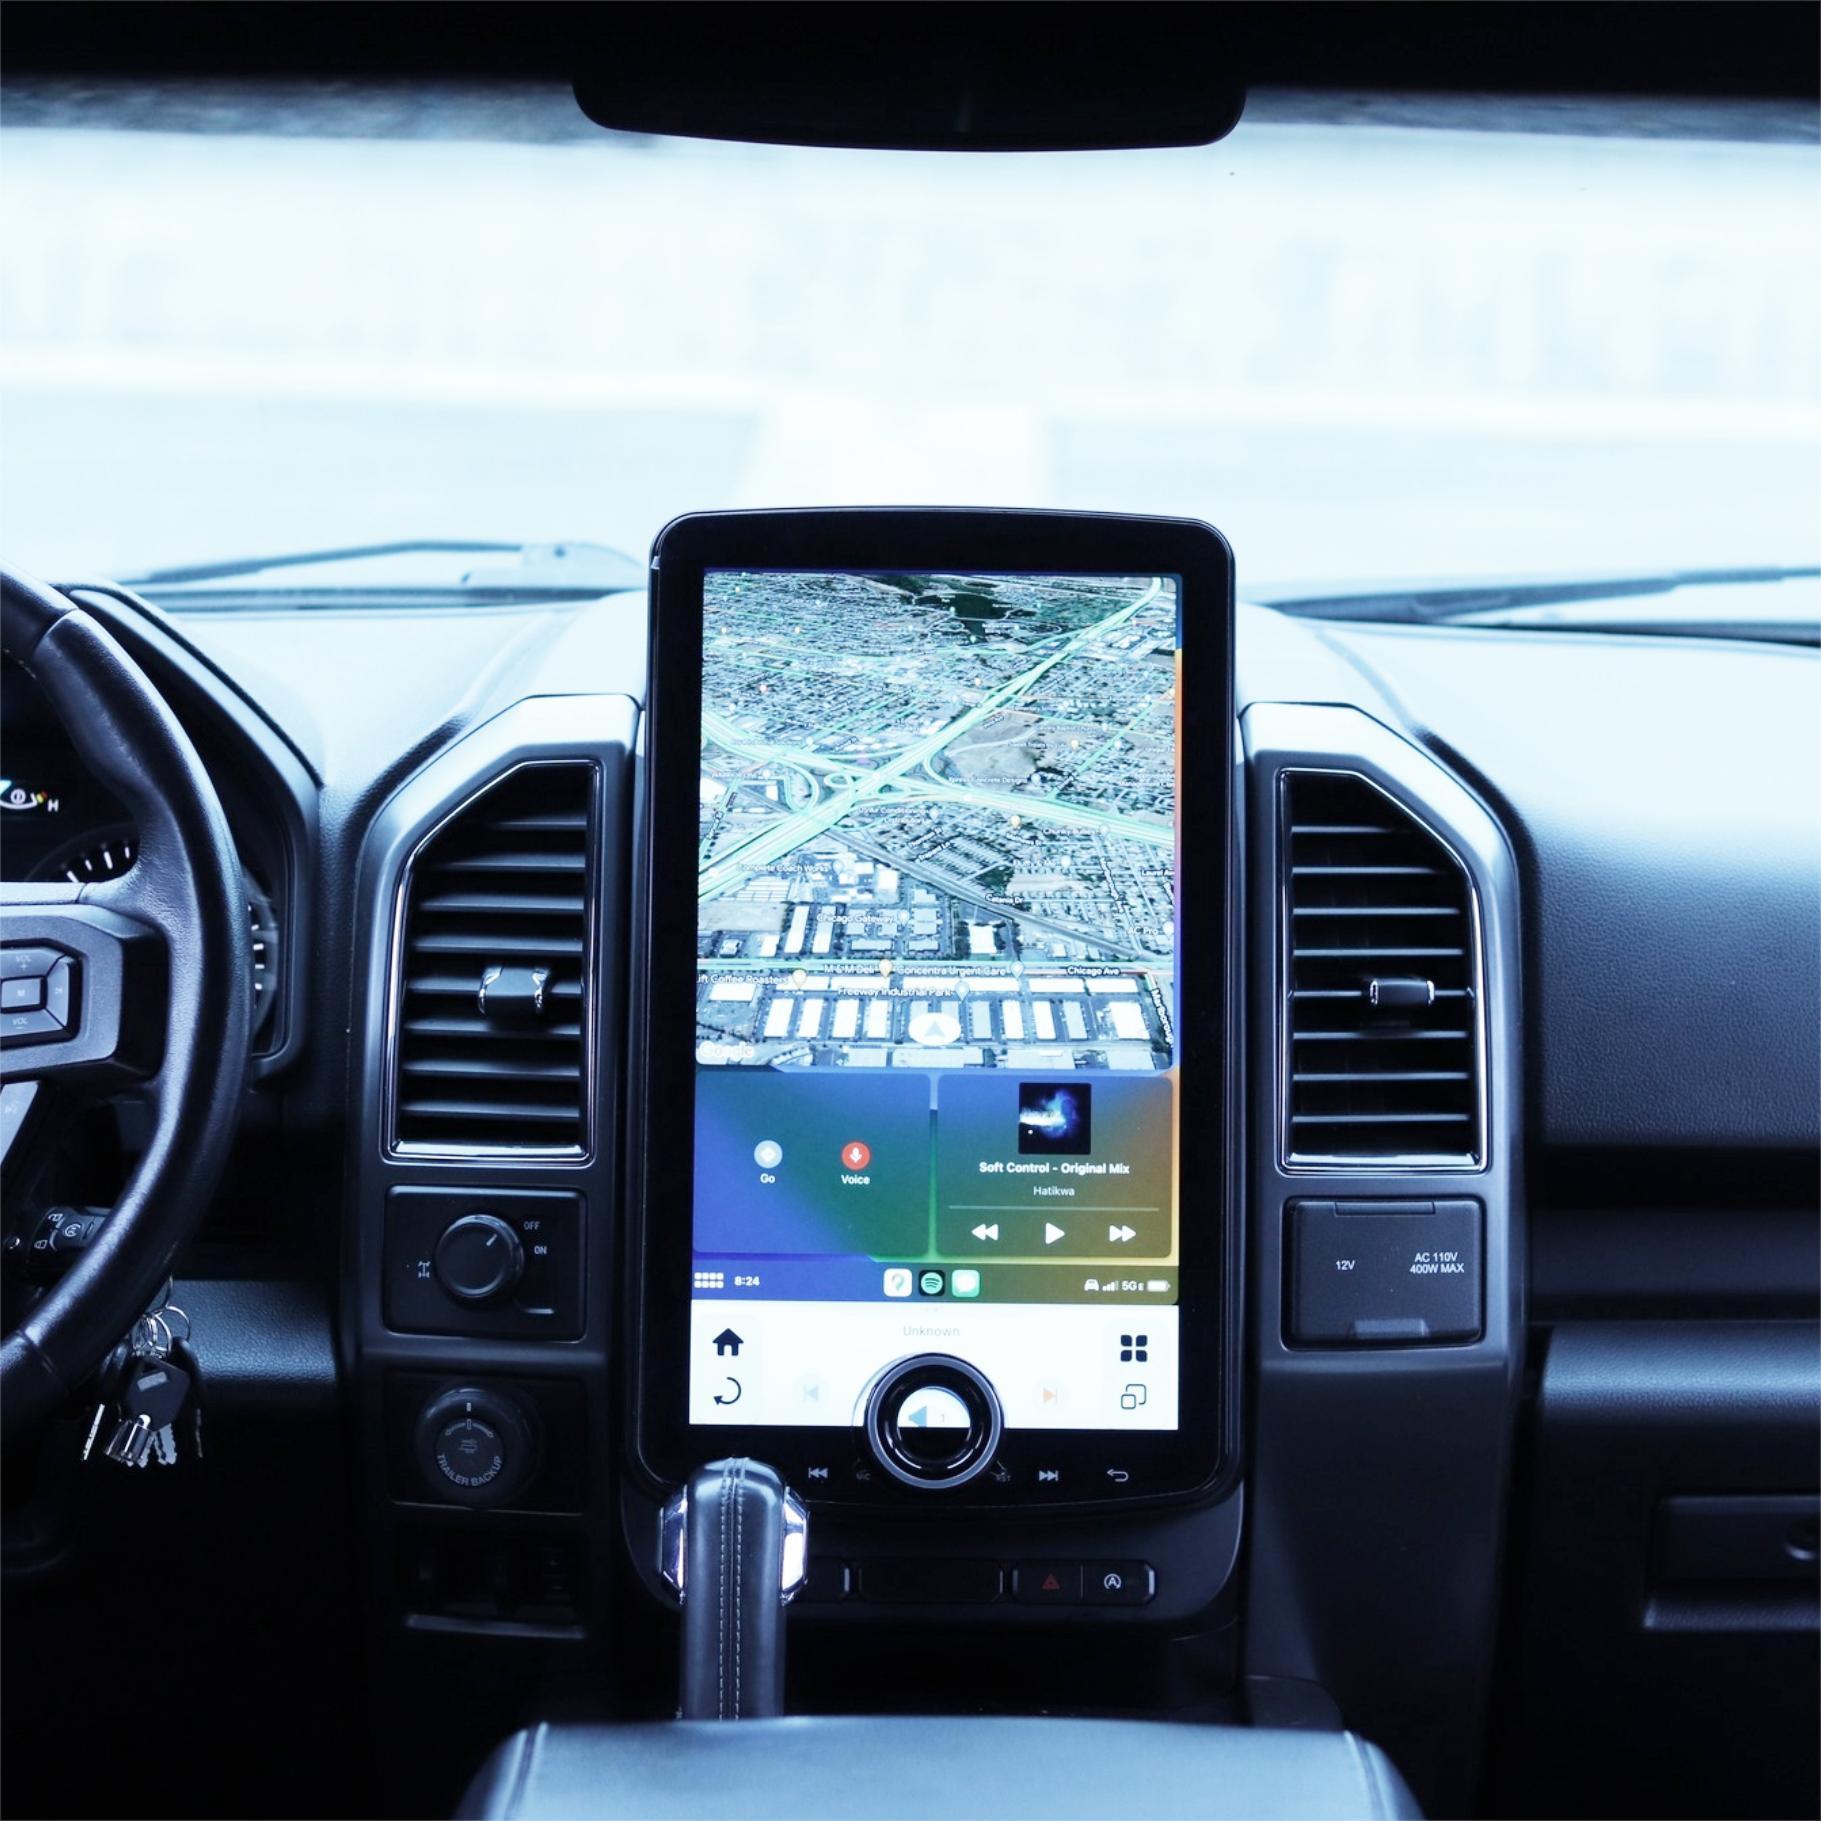
Step 5: Install the XL T-Style Radio
- Position the unit: Carefully place the XL T-Style radio head unit into the dashboard, aligning it with the mounting points.
- Secure the unit: Use the screws removed from the factory radio to secure the new unit in place. Ensure it's firmly attached but avoid overtightening, which could damage the unit or mounting brackets.
Step 6: Test the System
- Reconnect the battery: Reattach the negative terminal of the battery.
- Power on the unit: Start your vehicle and turn on the XL T-Style radio system to verify it powers up correctly.
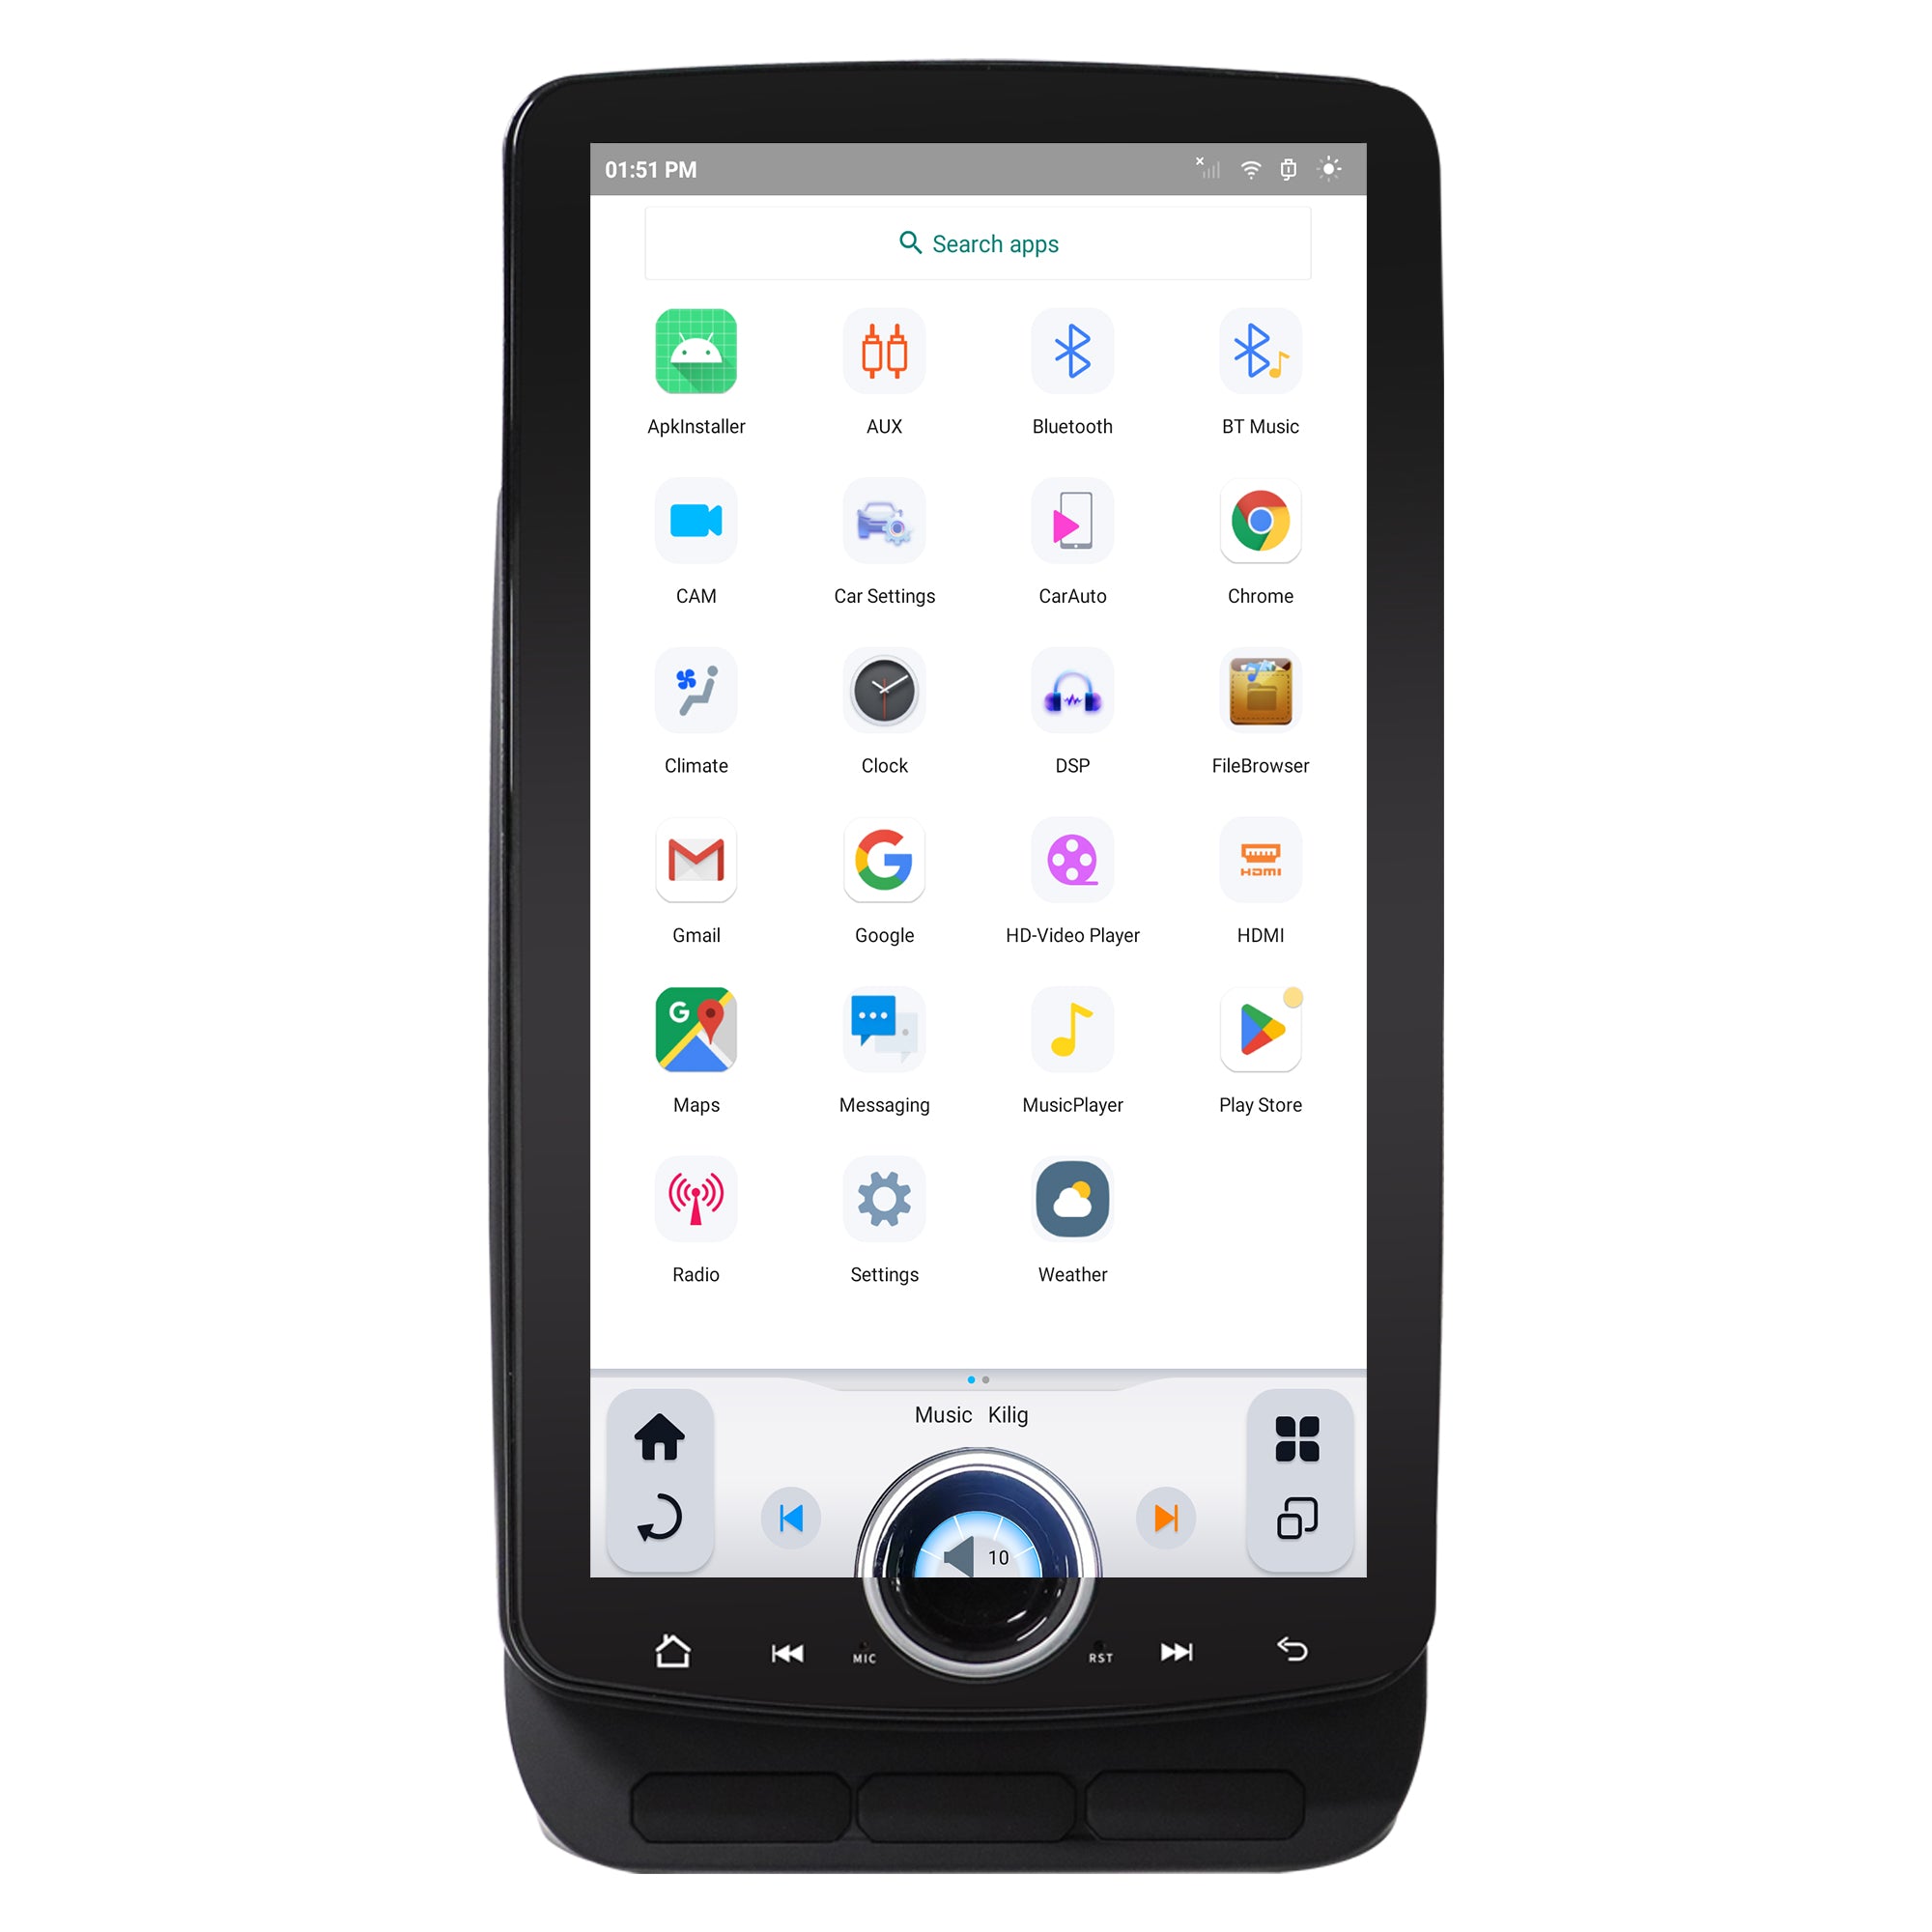
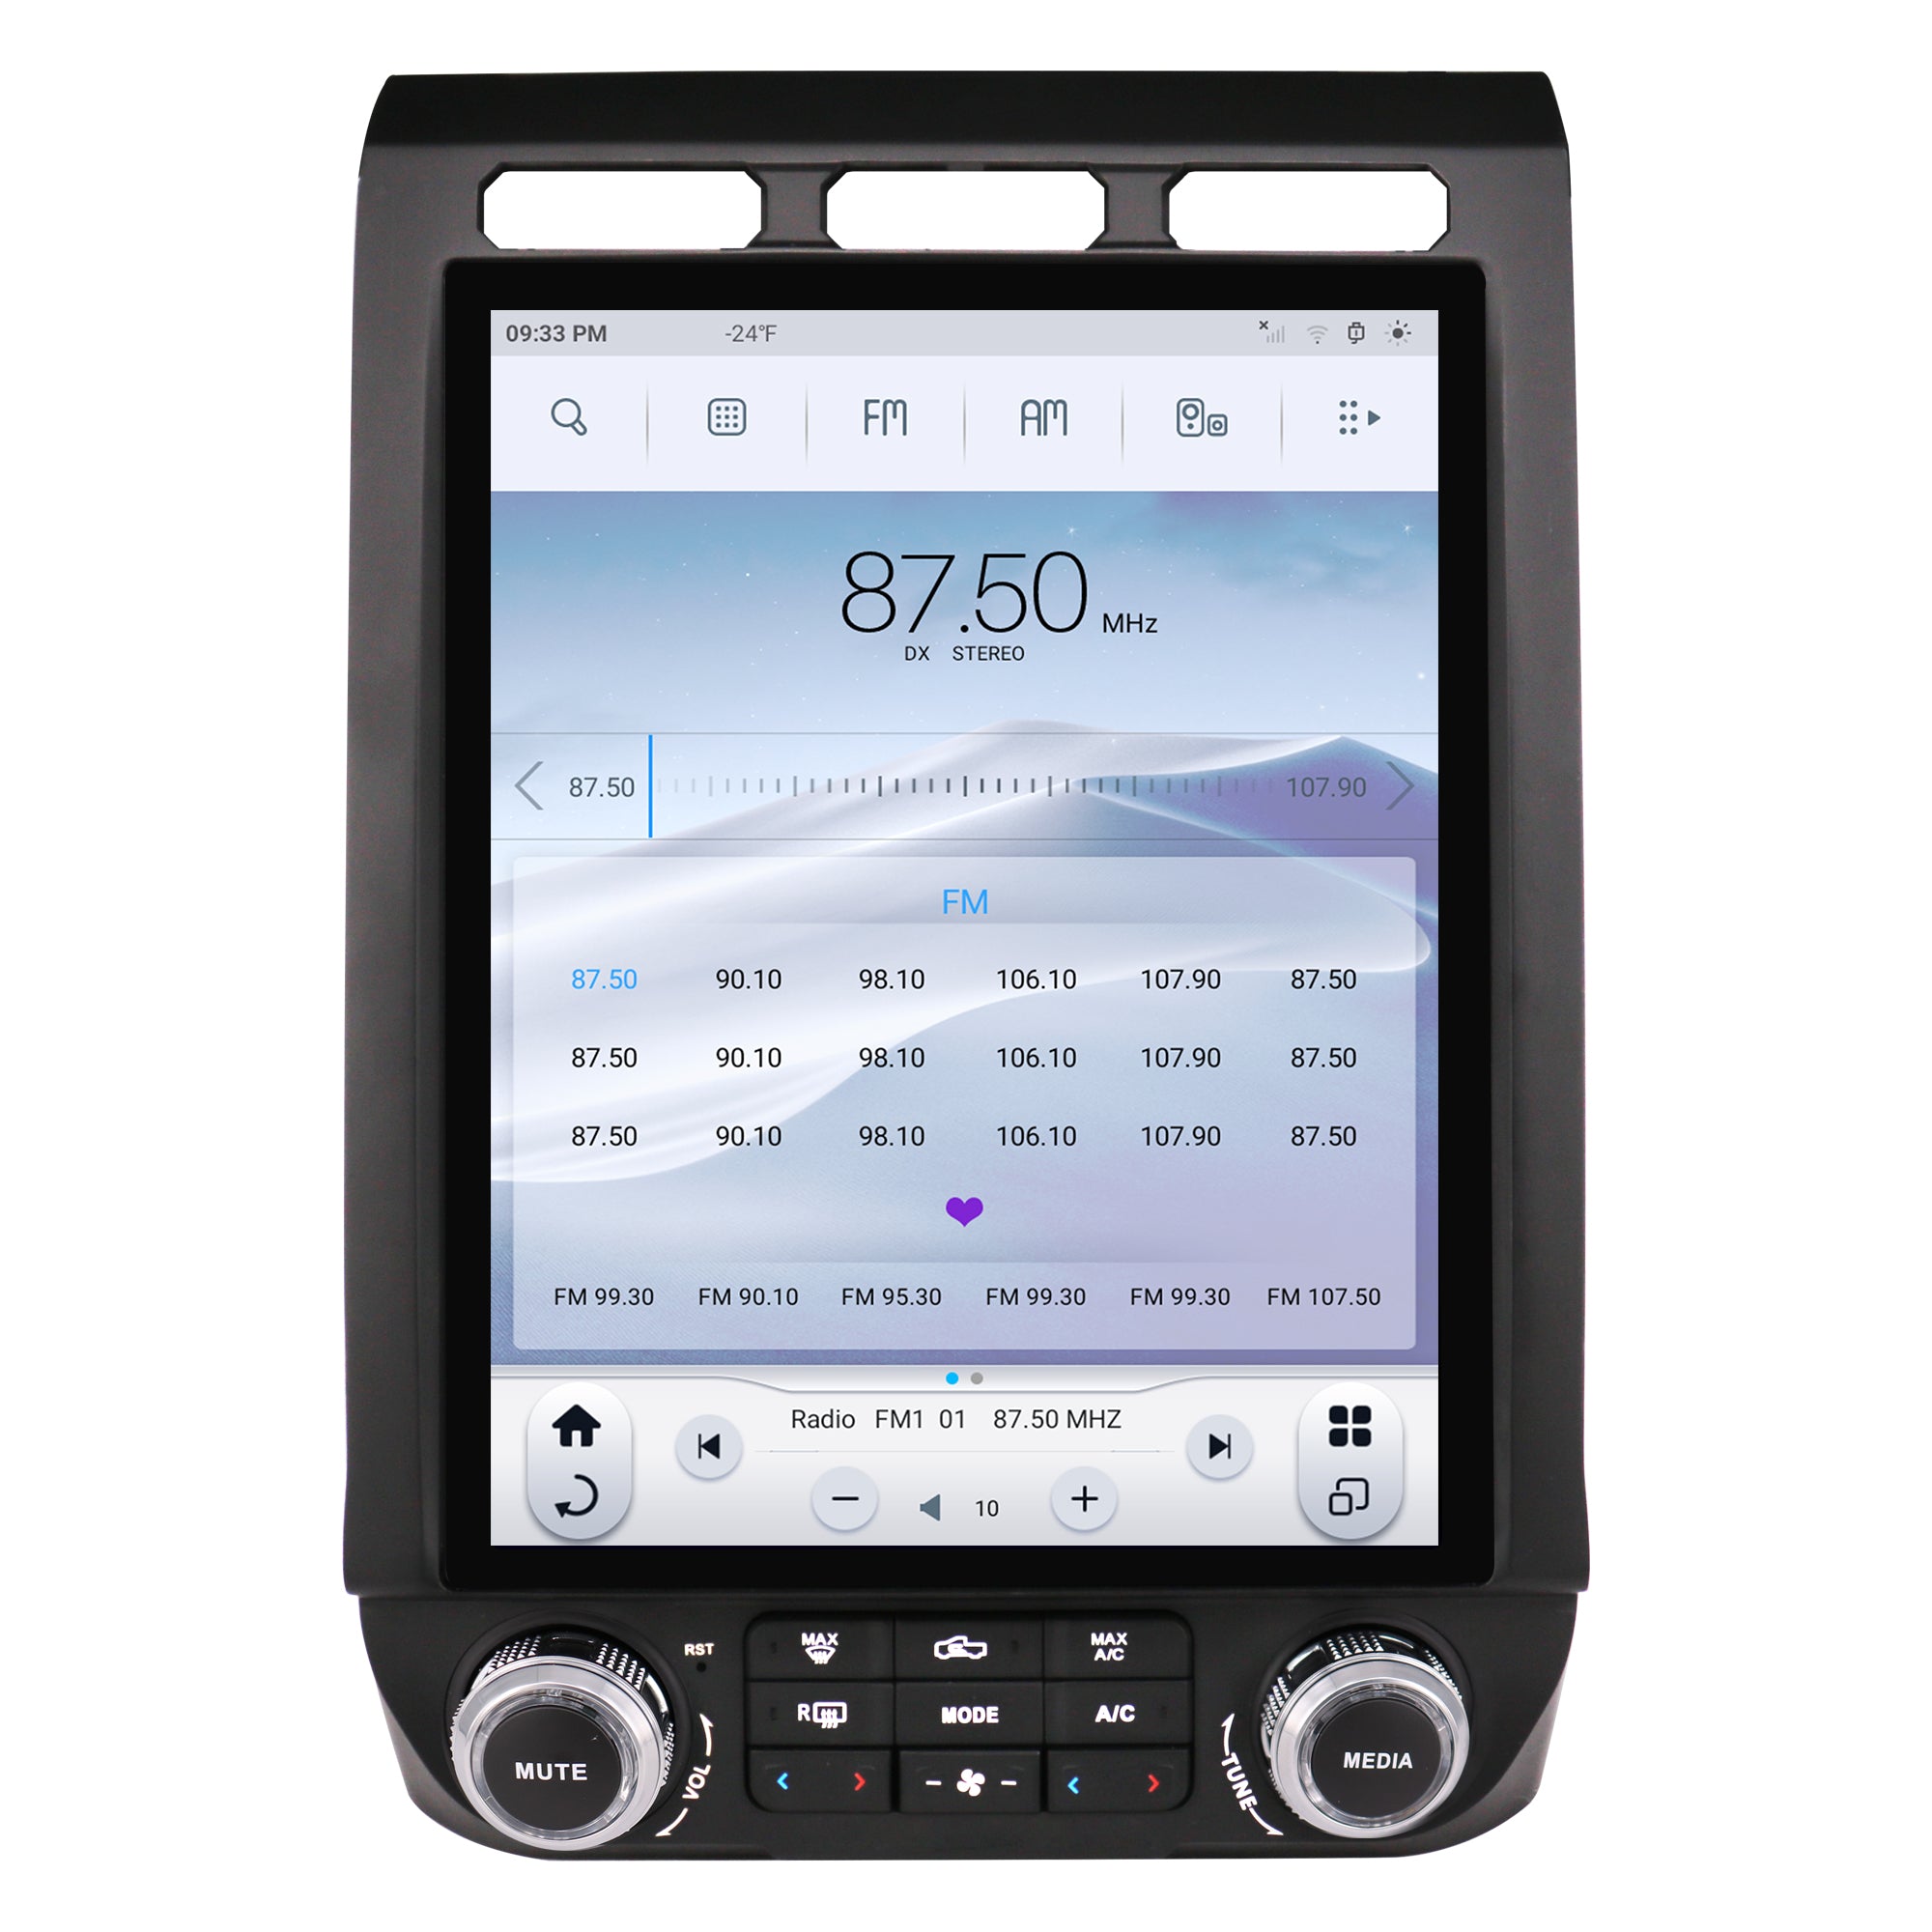
- Functionality check: Test all features, including audio output, touchscreen responsiveness, Bluetooth connectivity, steering wheel controls, and any integrated cameras, to ensure everything operates as expected.
Step 7: Reassemble the Dashboard
- Reattach trim panels: Once you've confirmed the unit functions properly, reattach the dashboard trim panels by aligning the clips and pressing them firmly into place.
- Organize wiring: Use zip ties and electrical tape to secure any loose wires behind the dashboard, preventing rattles or interference with other components.
Additional Considerations
- Firmware updates: Check if the manufacturer offers firmware updates for the XL T-Style radio to ensure optimal performance and access to the latest features.
- Professional assistance: If you're uncomfortable with any part of the installation process, consider seeking help from a professional installer to avoid potential damage to your vehicle or the new unit.
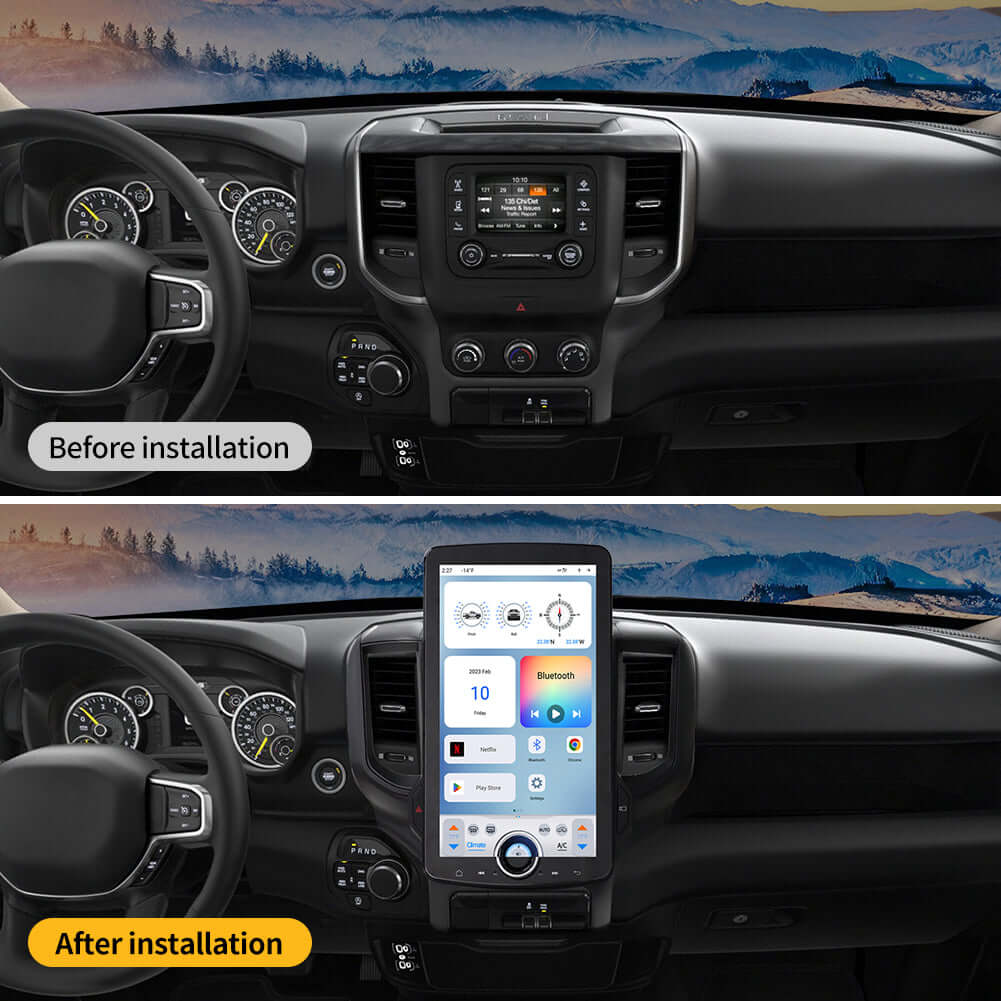
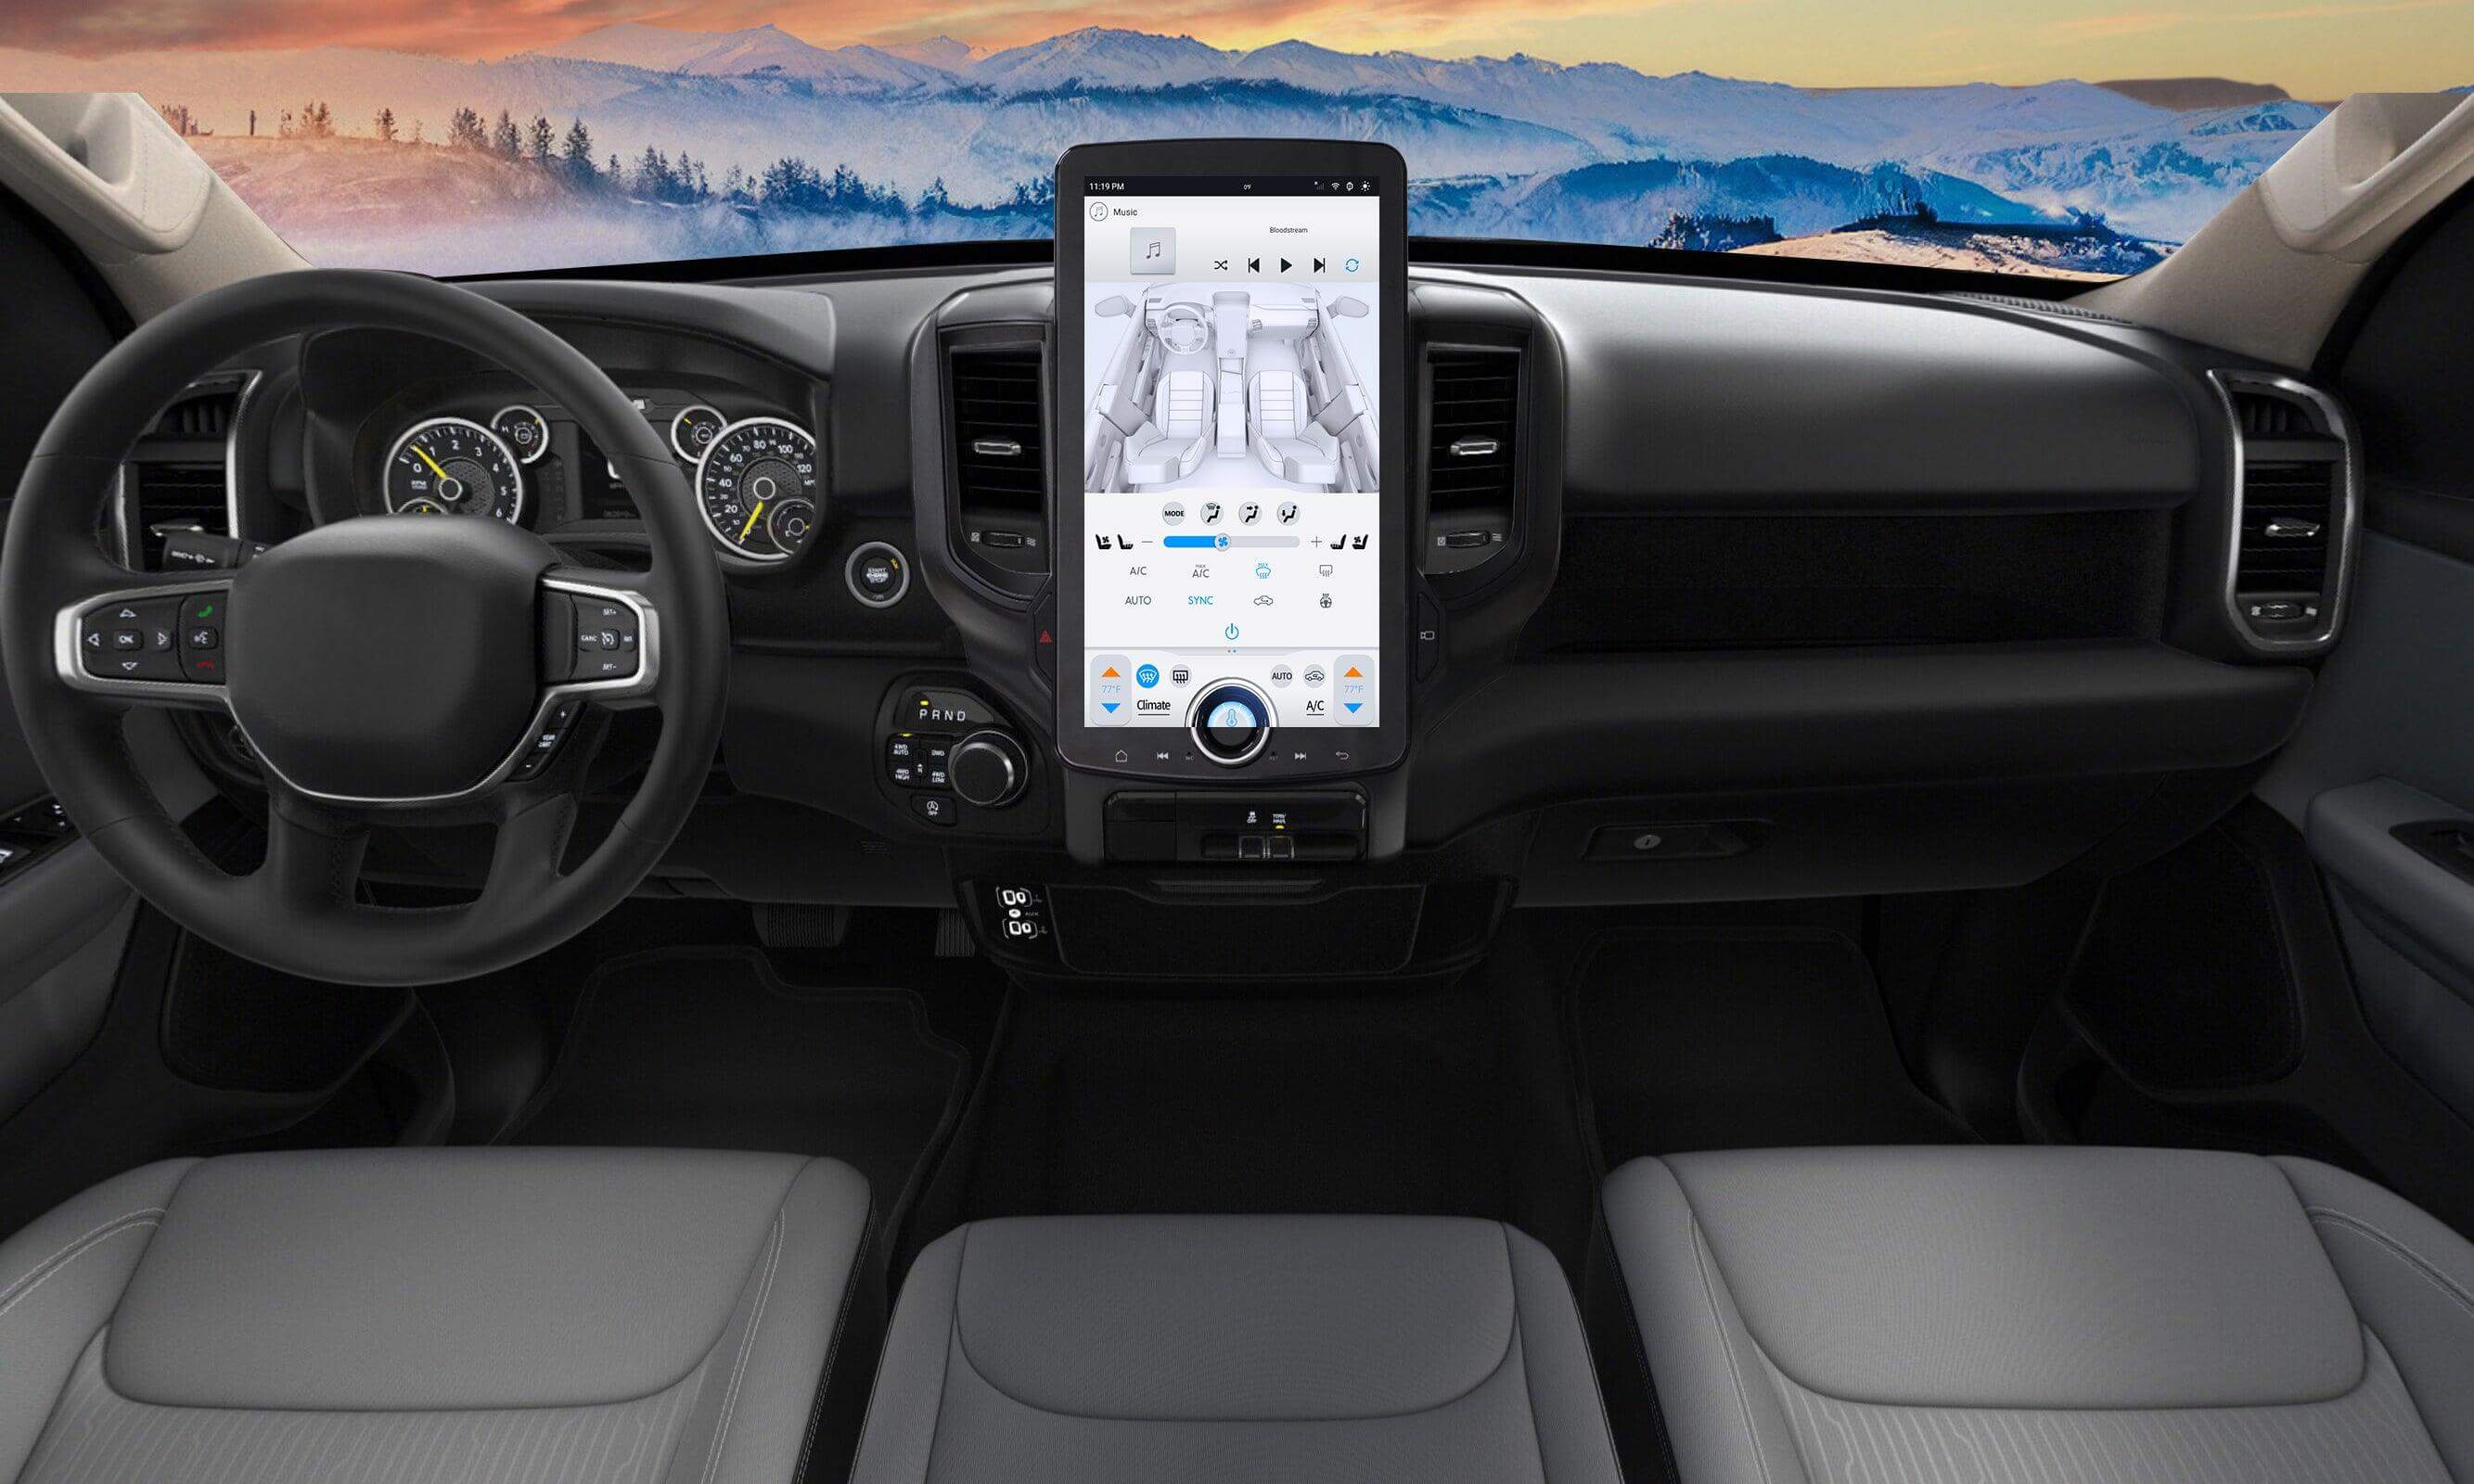
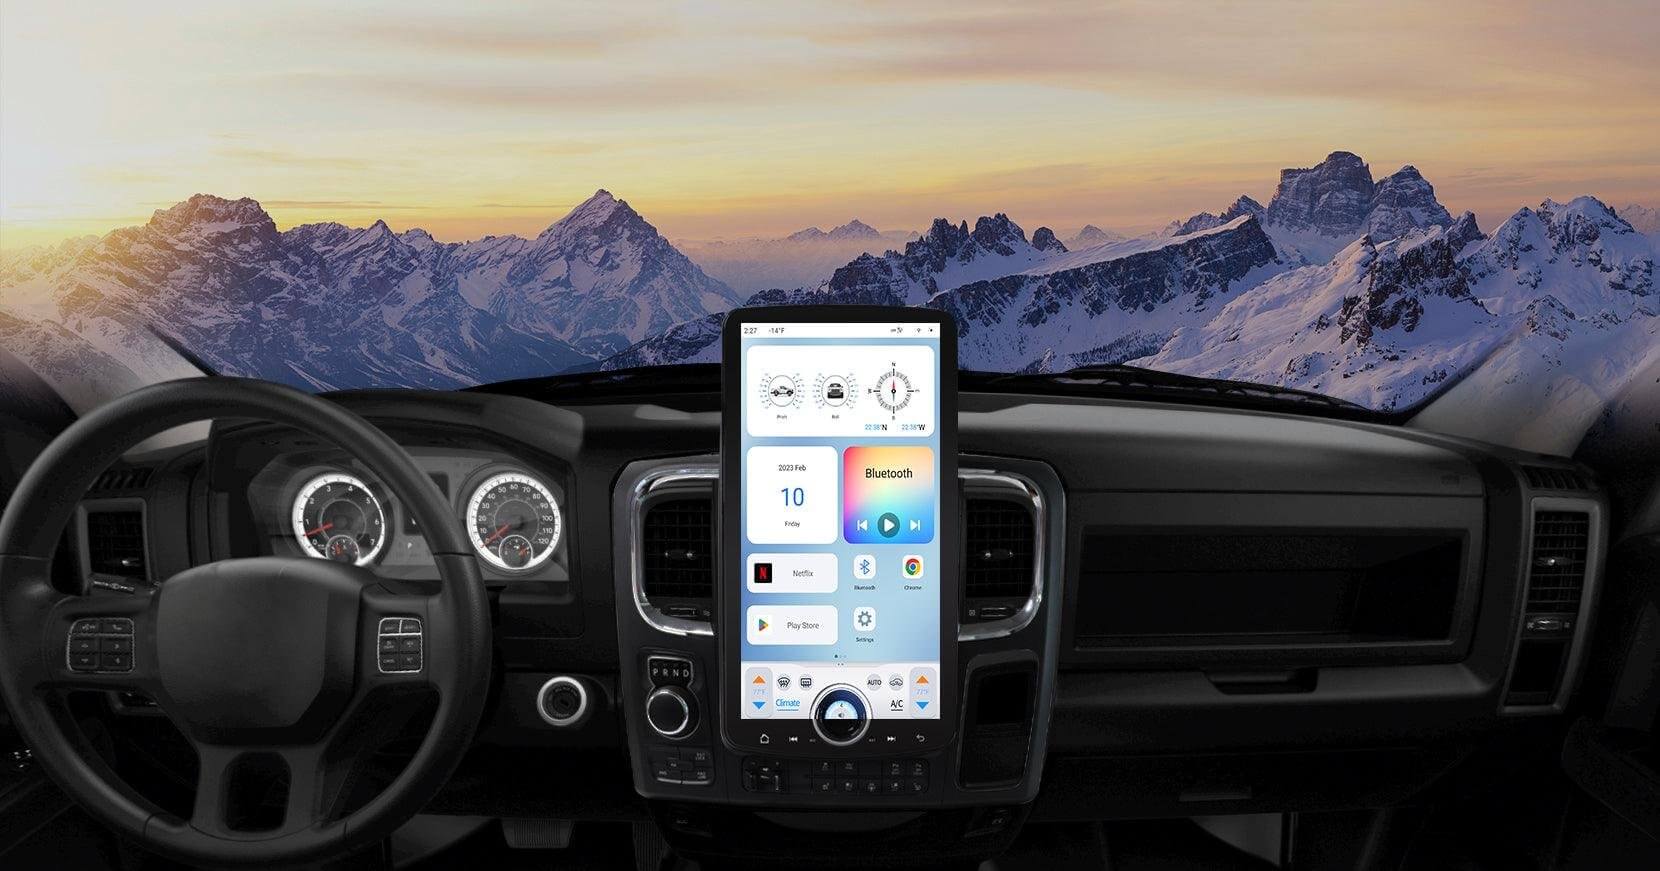
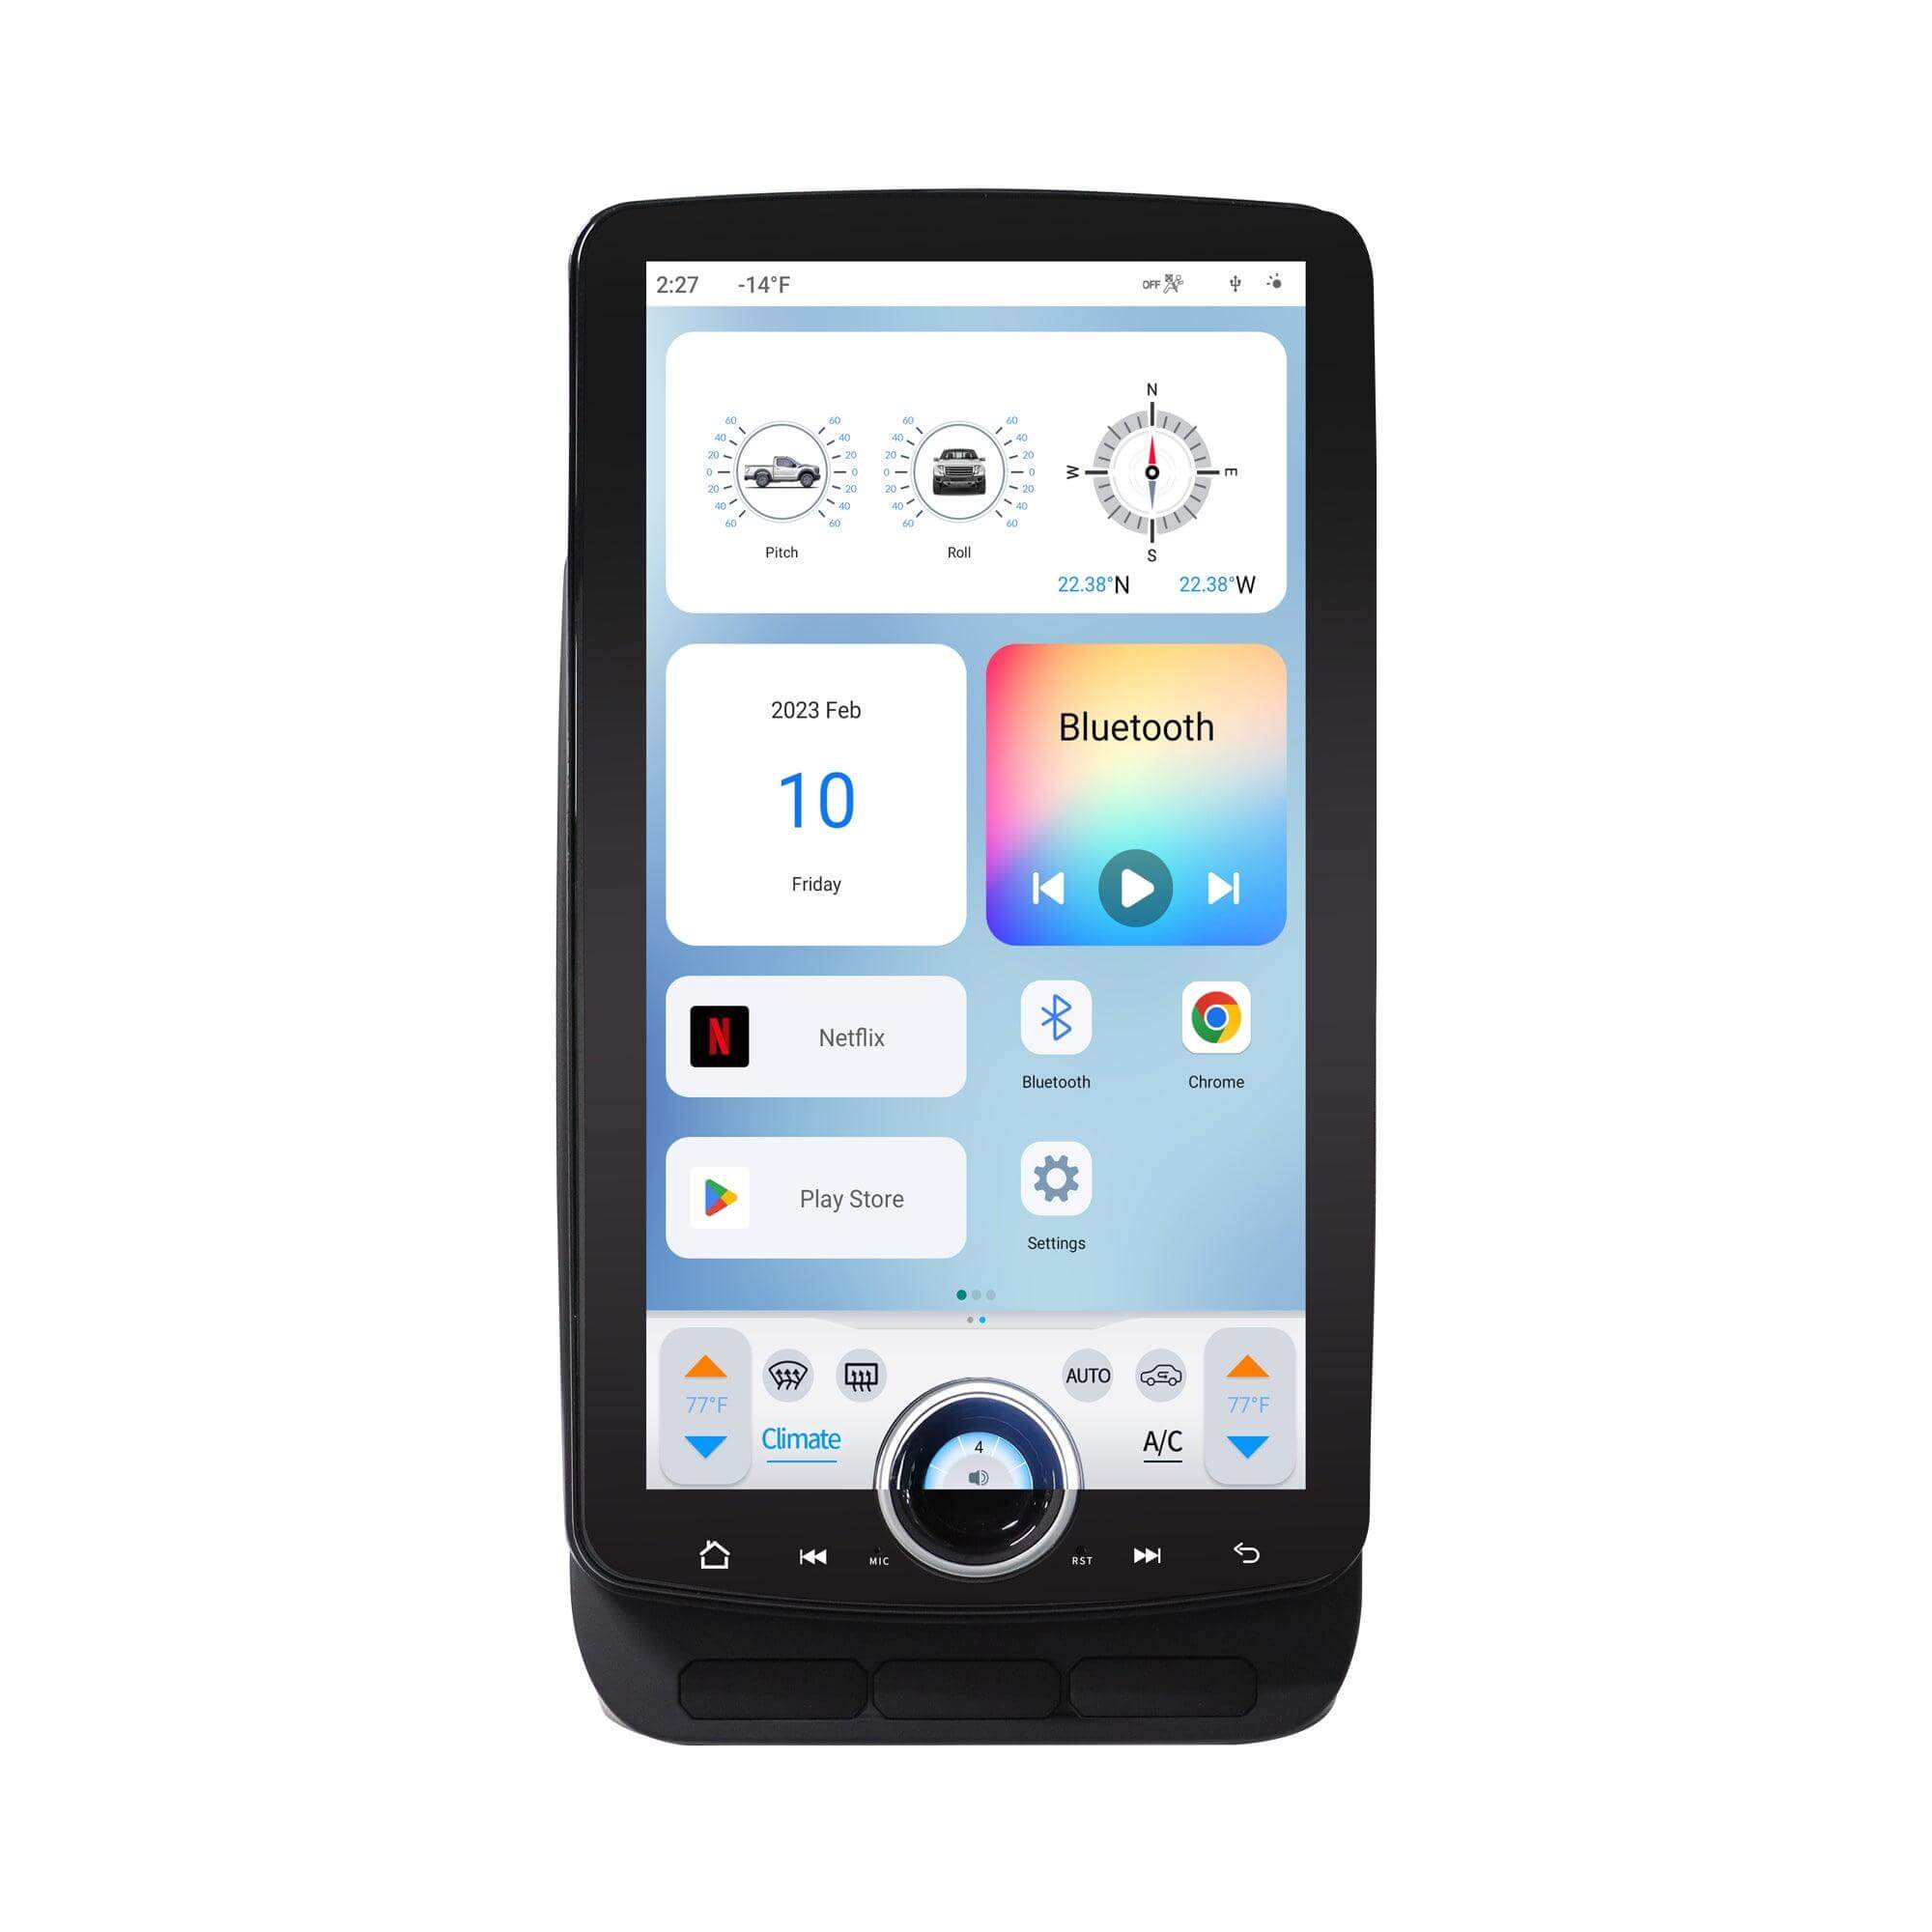
Upgrading to the XAutoStereo 15.6" XL T-Style radio system can modernize your Silverado or Sierra, providing a more intuitive and feature-rich infotainment experience. By following this installation guide, you can achieve a factory-like integration that enhances both the functionality and aesthetics of your vehicle's interior.
For a visual demonstration of the installation process, you can refer to the following video:


Share:
How to Prepare Your Ram 1500 for Wonderful Road Trip?
How to Choose a Reliable Car Radio Navigation System?