Upgrading your car radio can enhance your driving experience with better sound quality, advanced features, and seamless smartphone connectivity. If you are considering a DIY radio upgrade, this guide will walk you through the essential steps to get started efficiently.
Why Upgrade Your Car Radio?
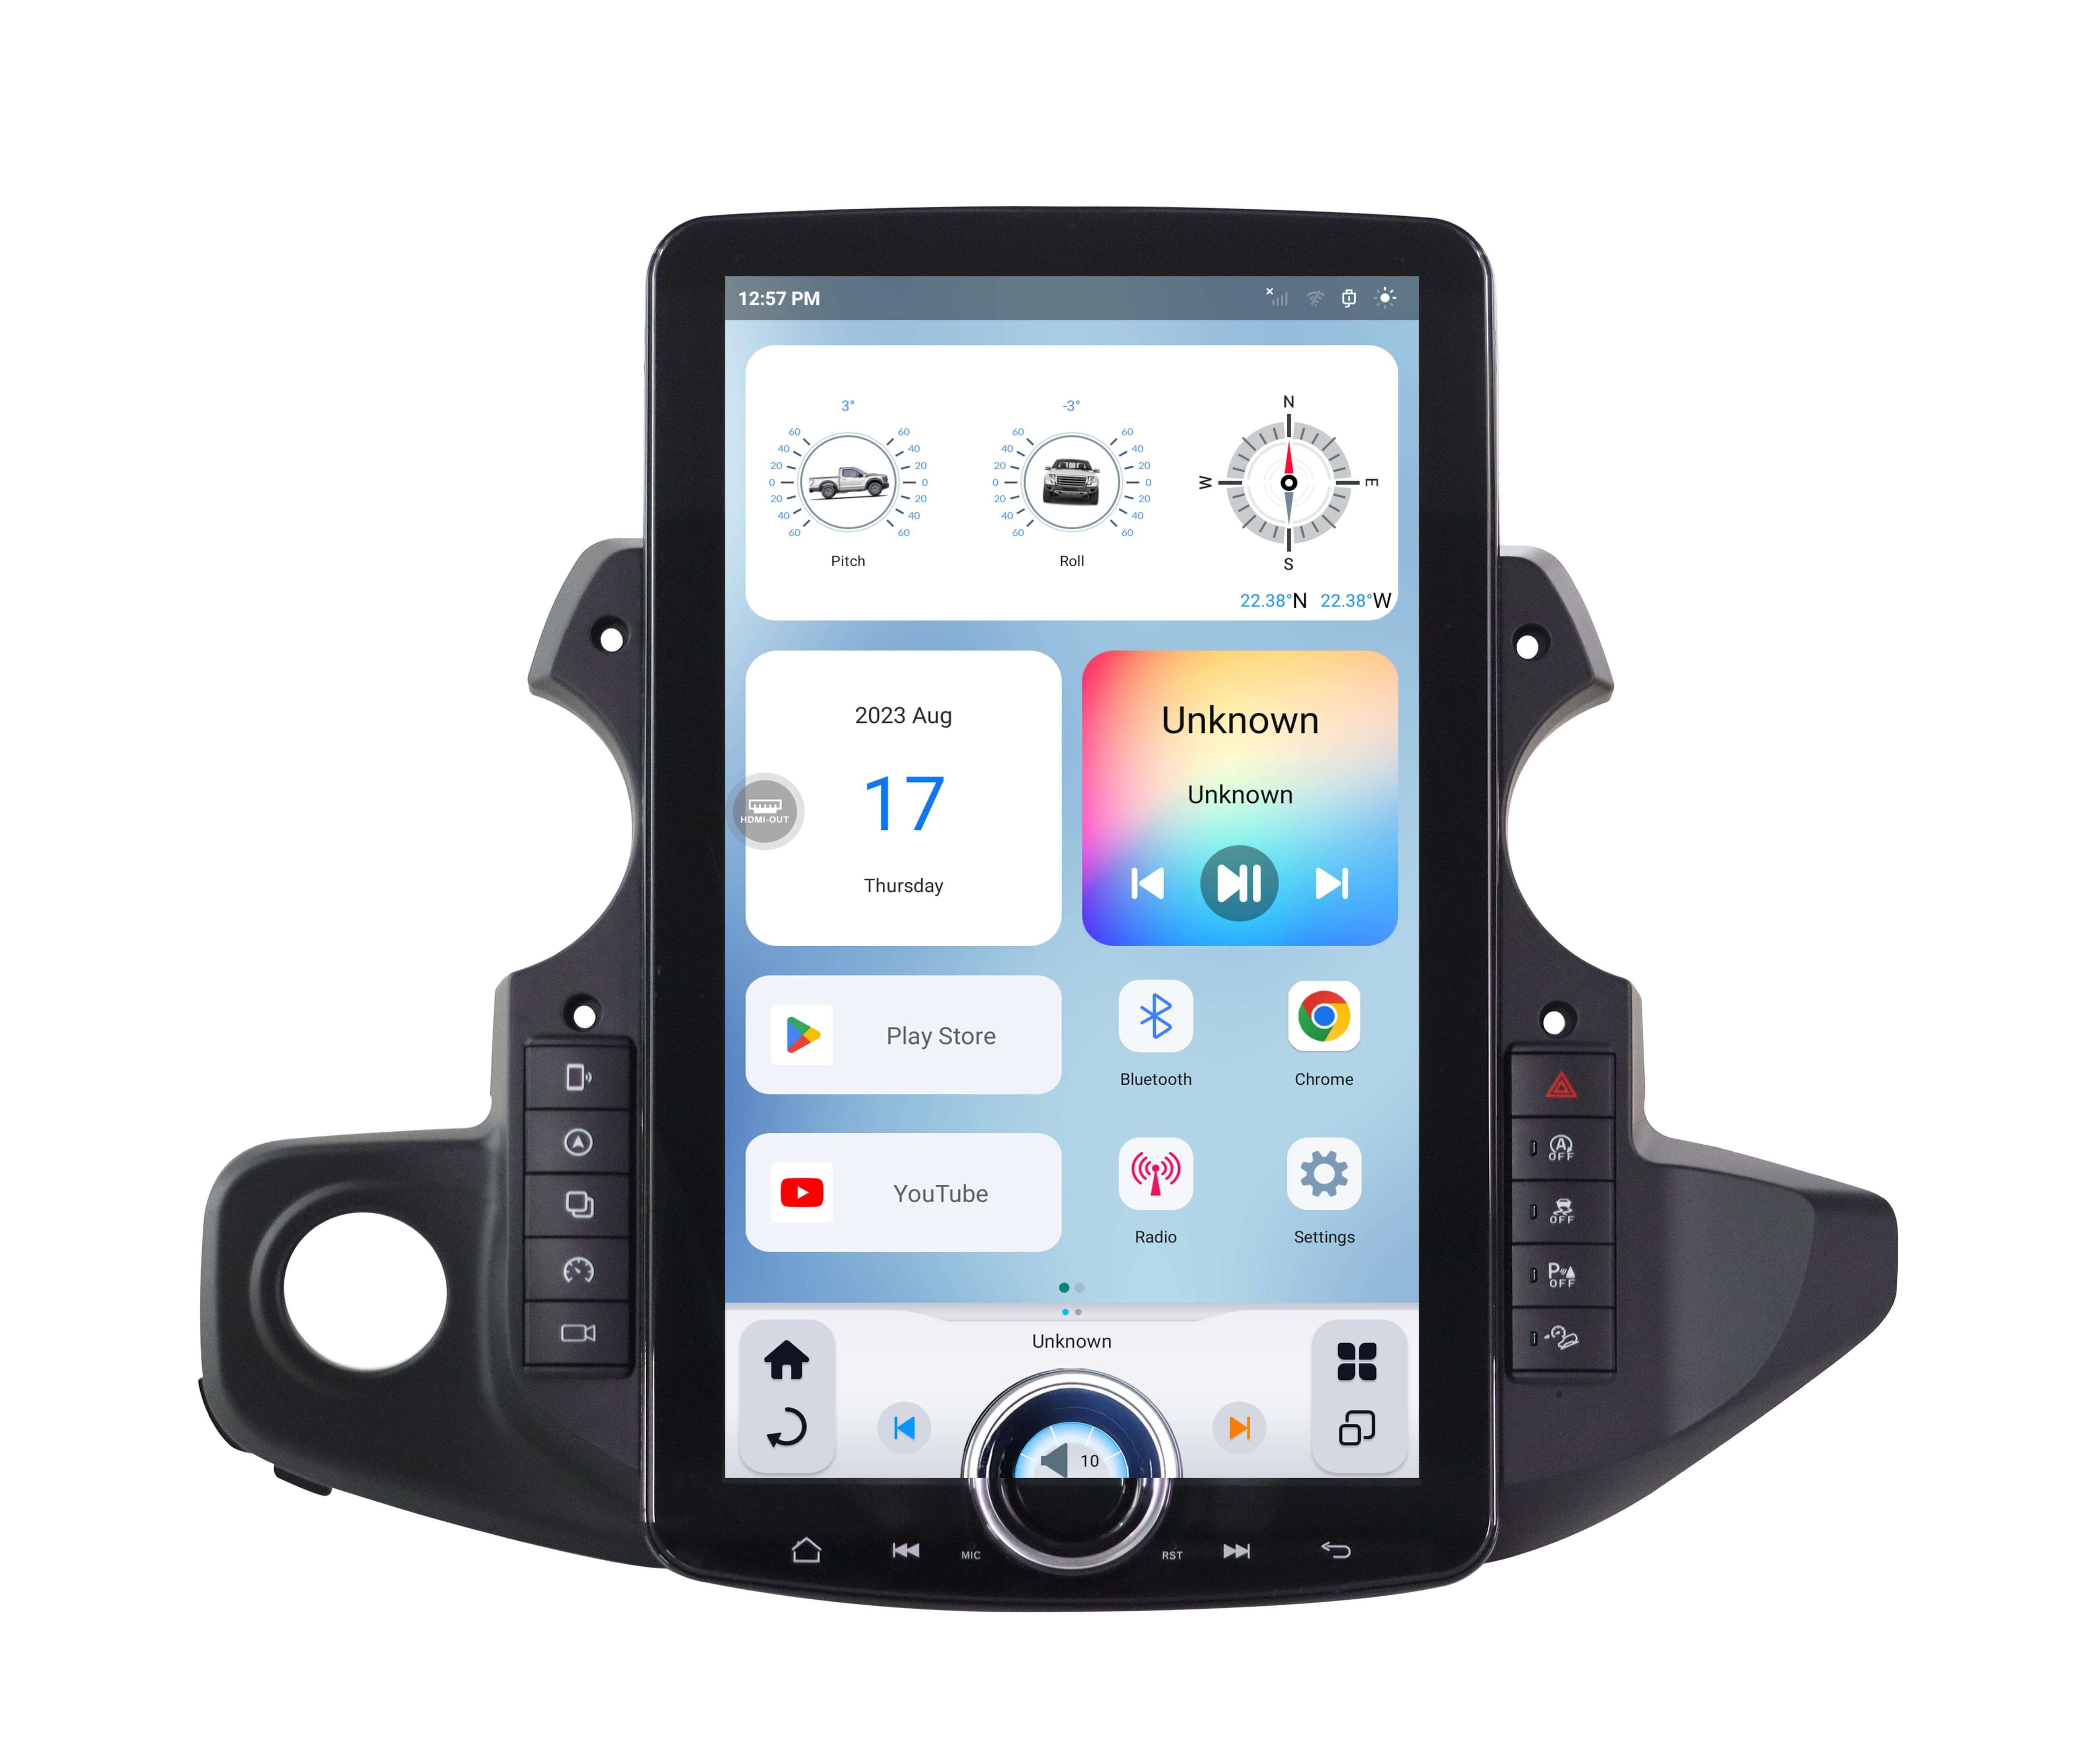
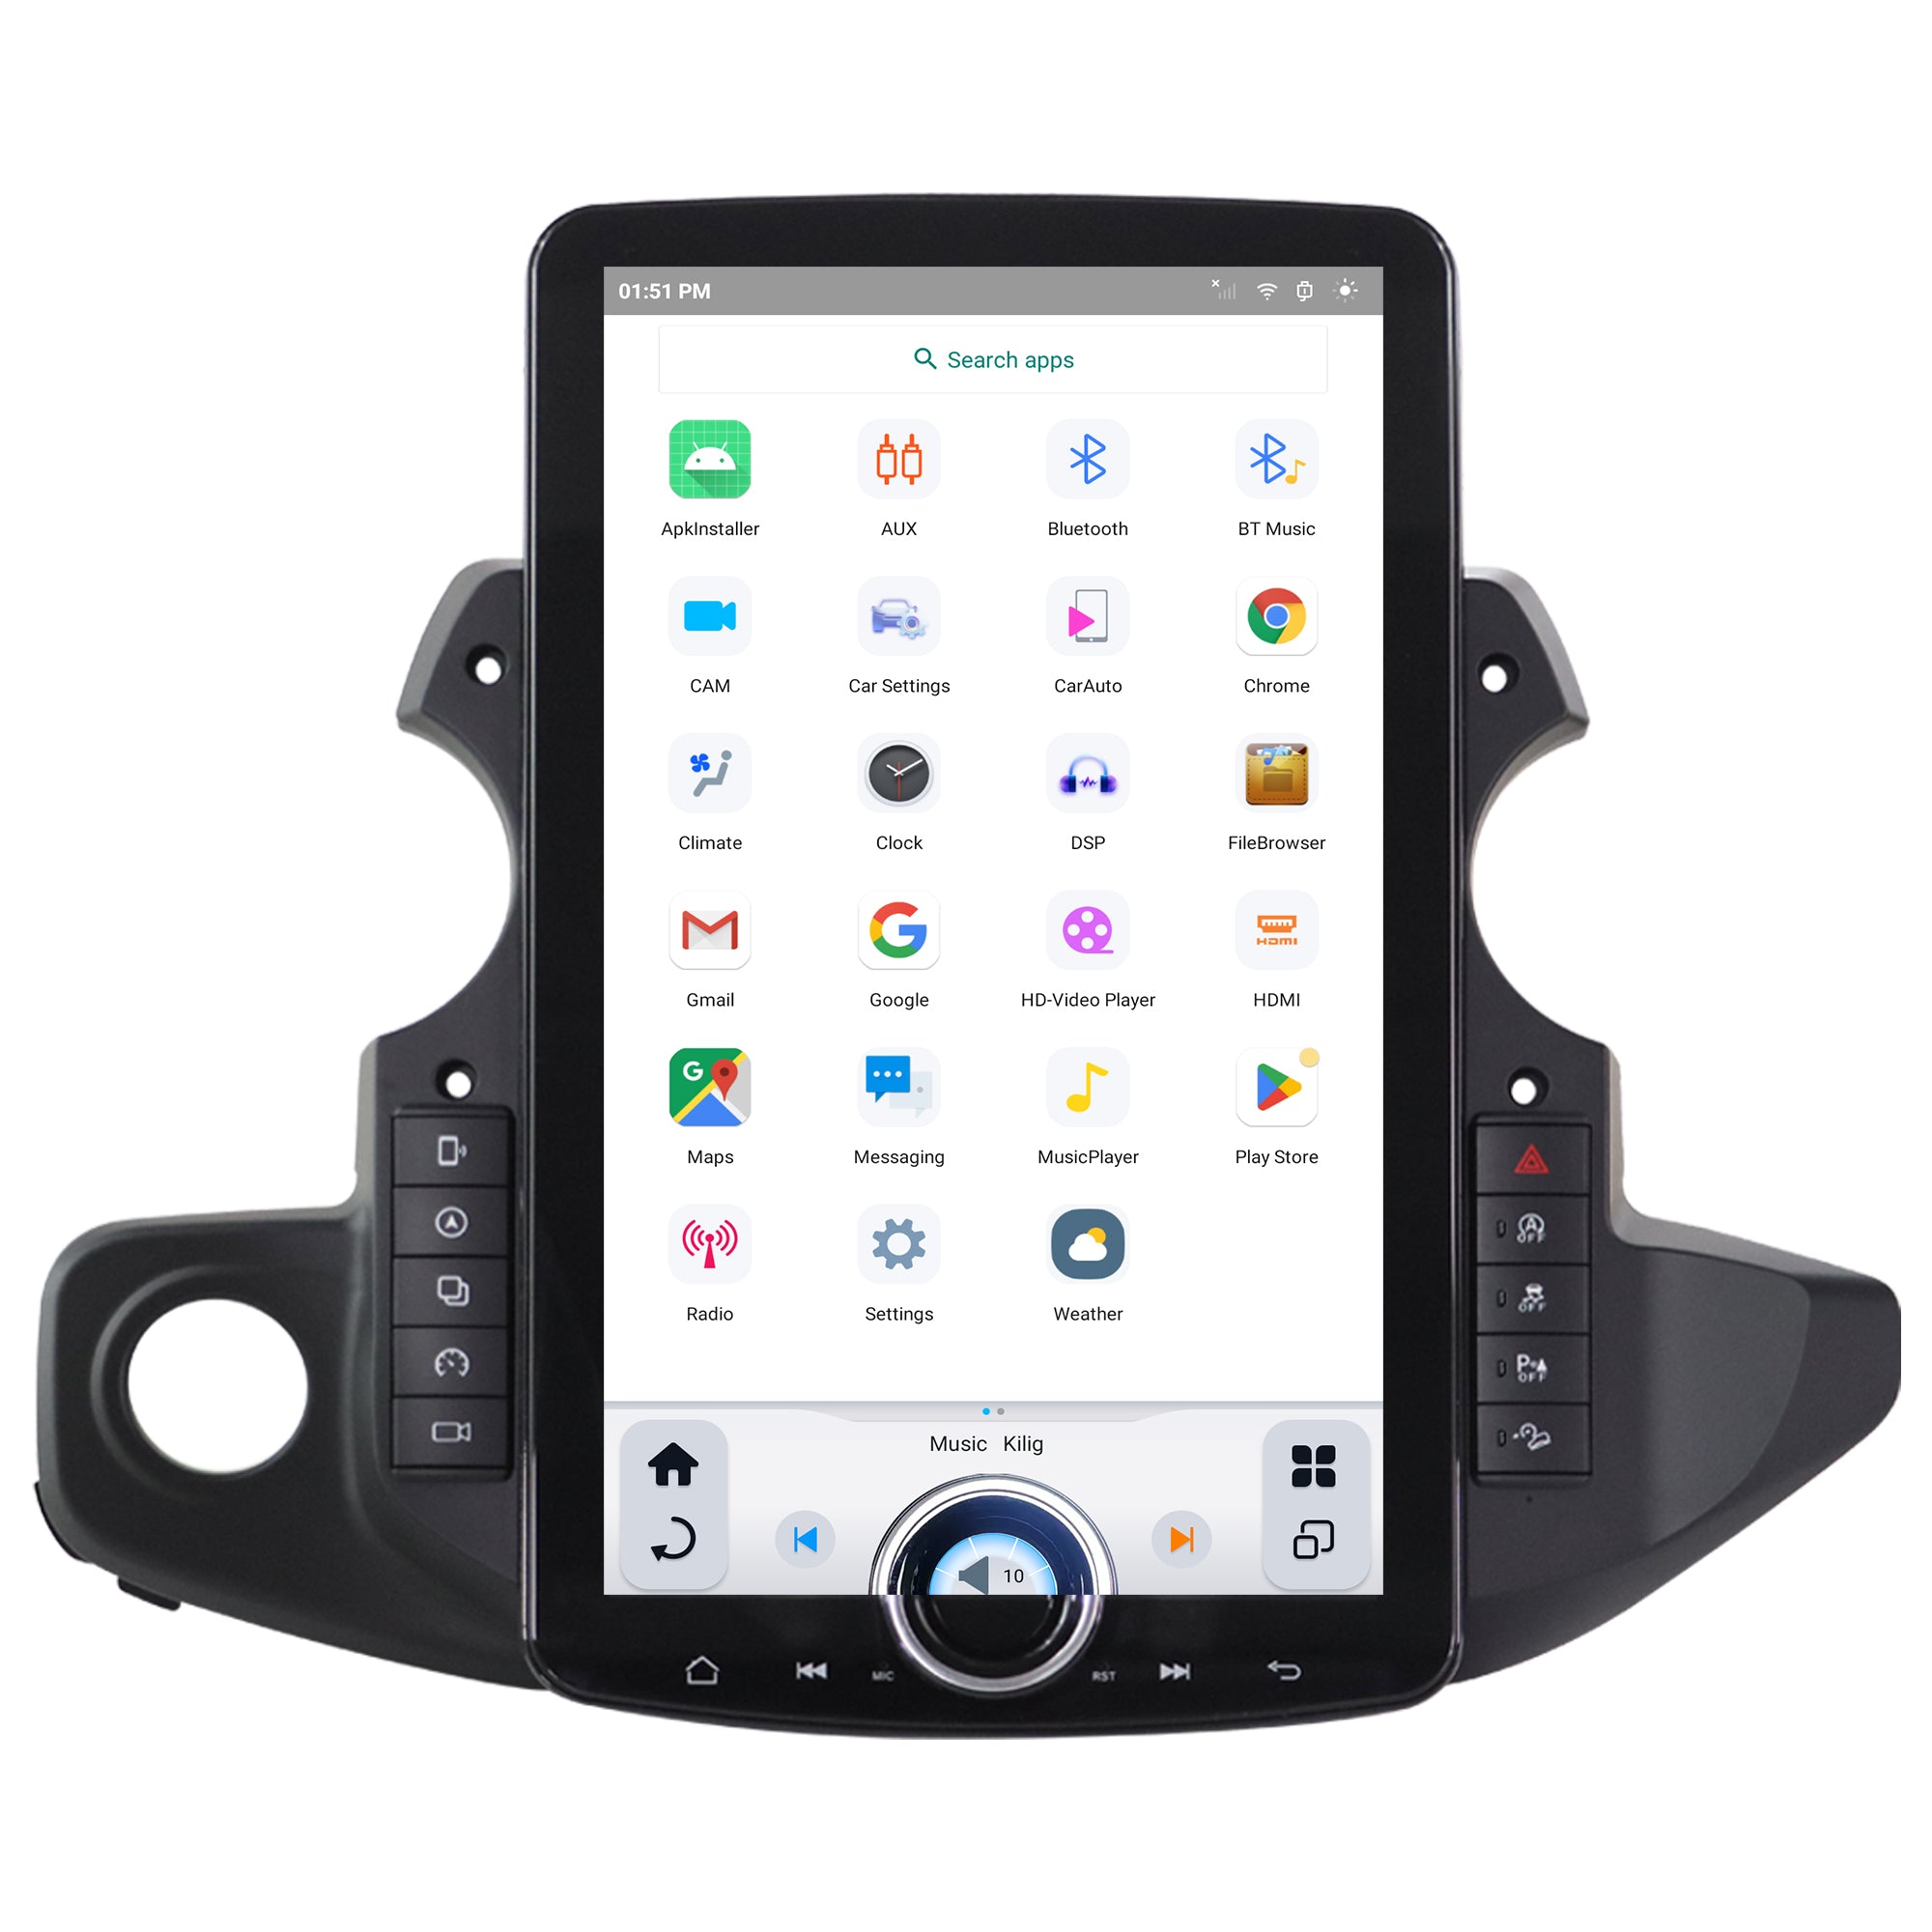
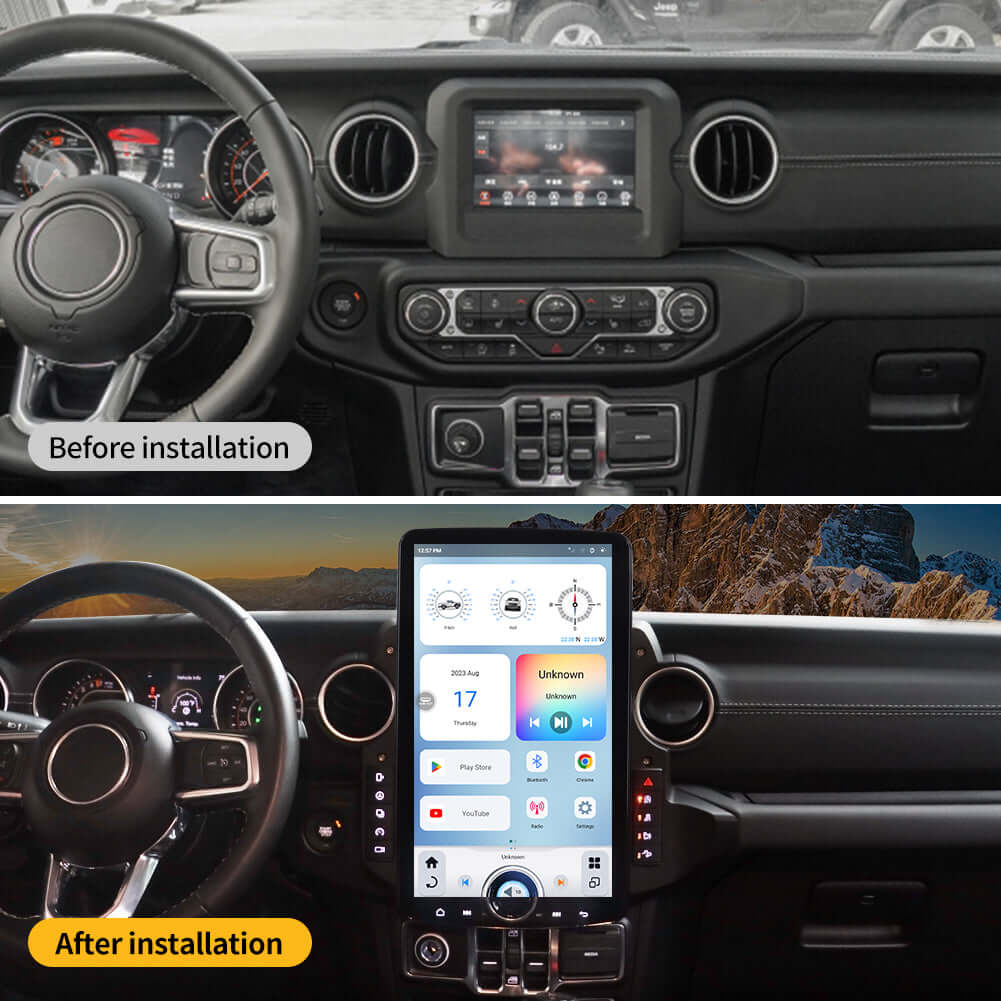
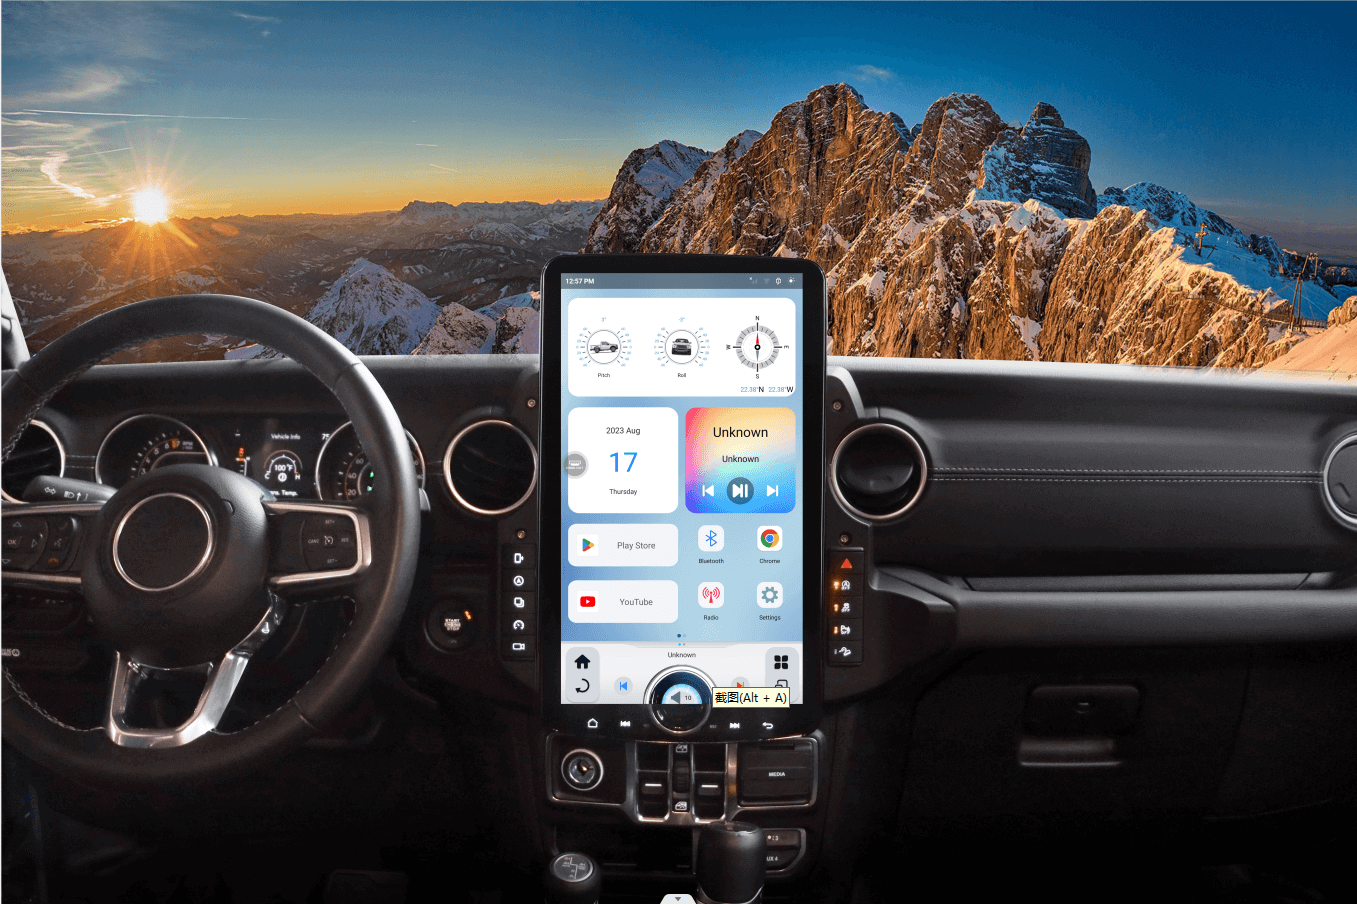
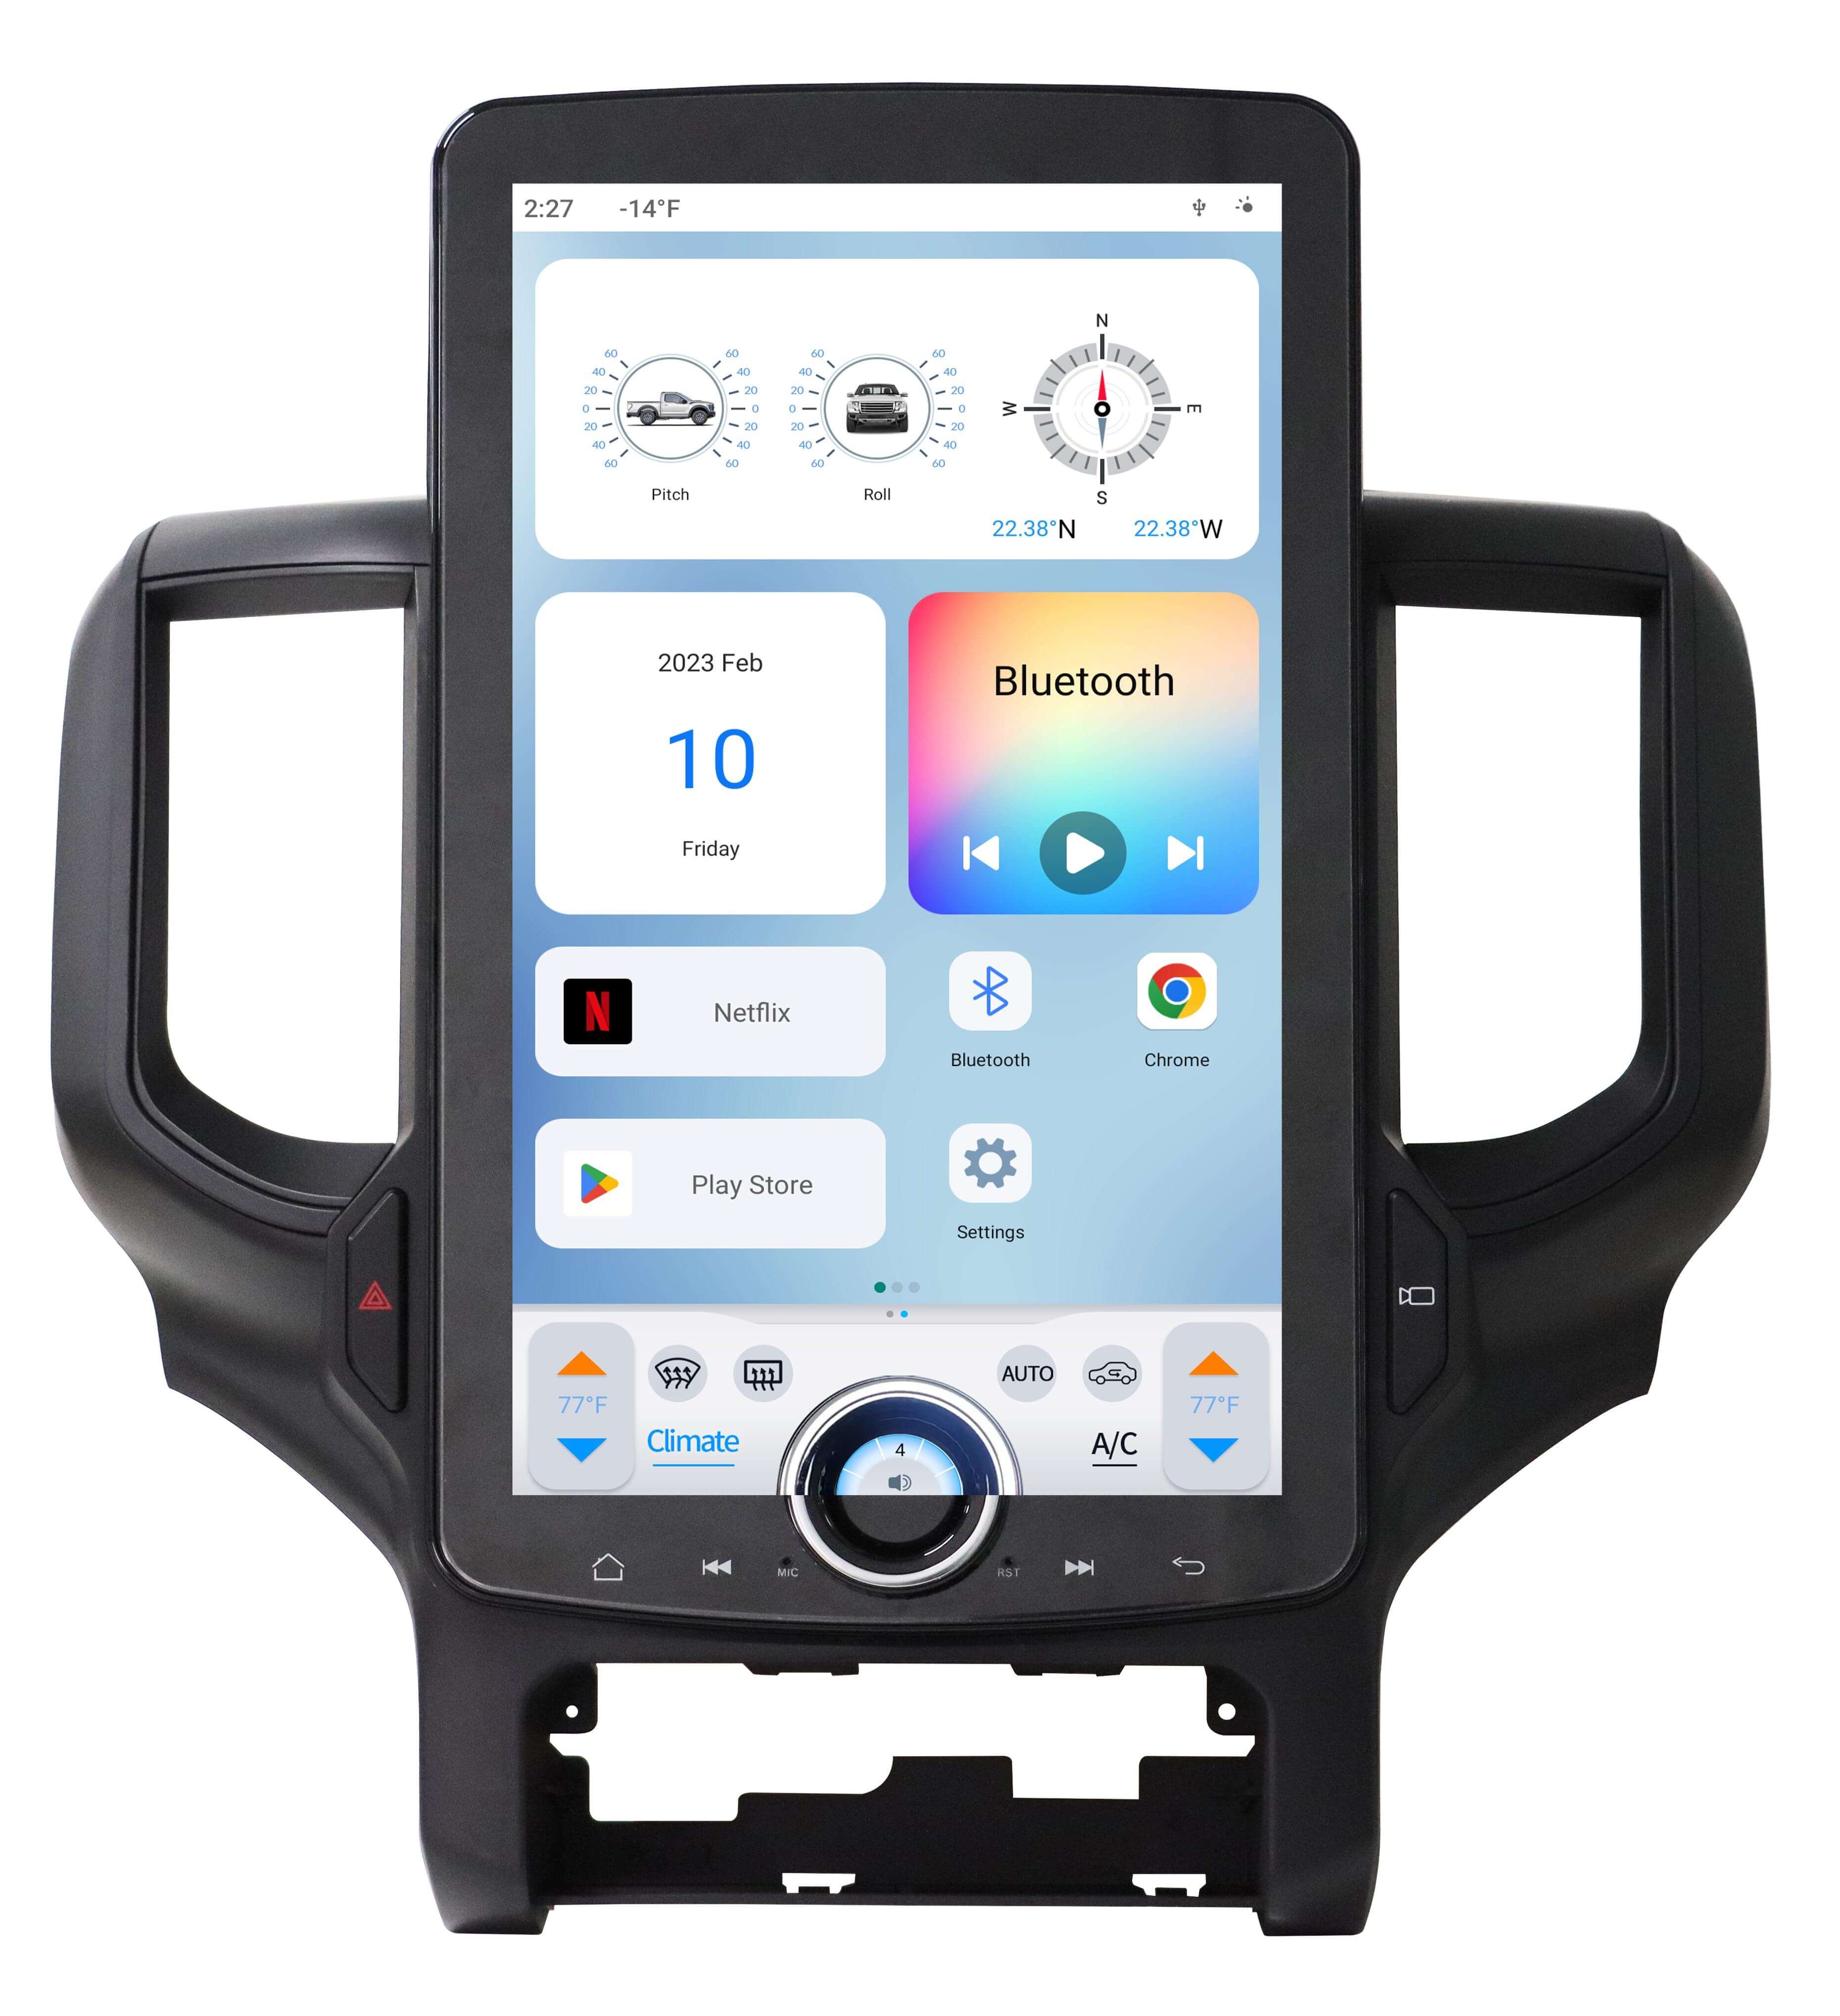
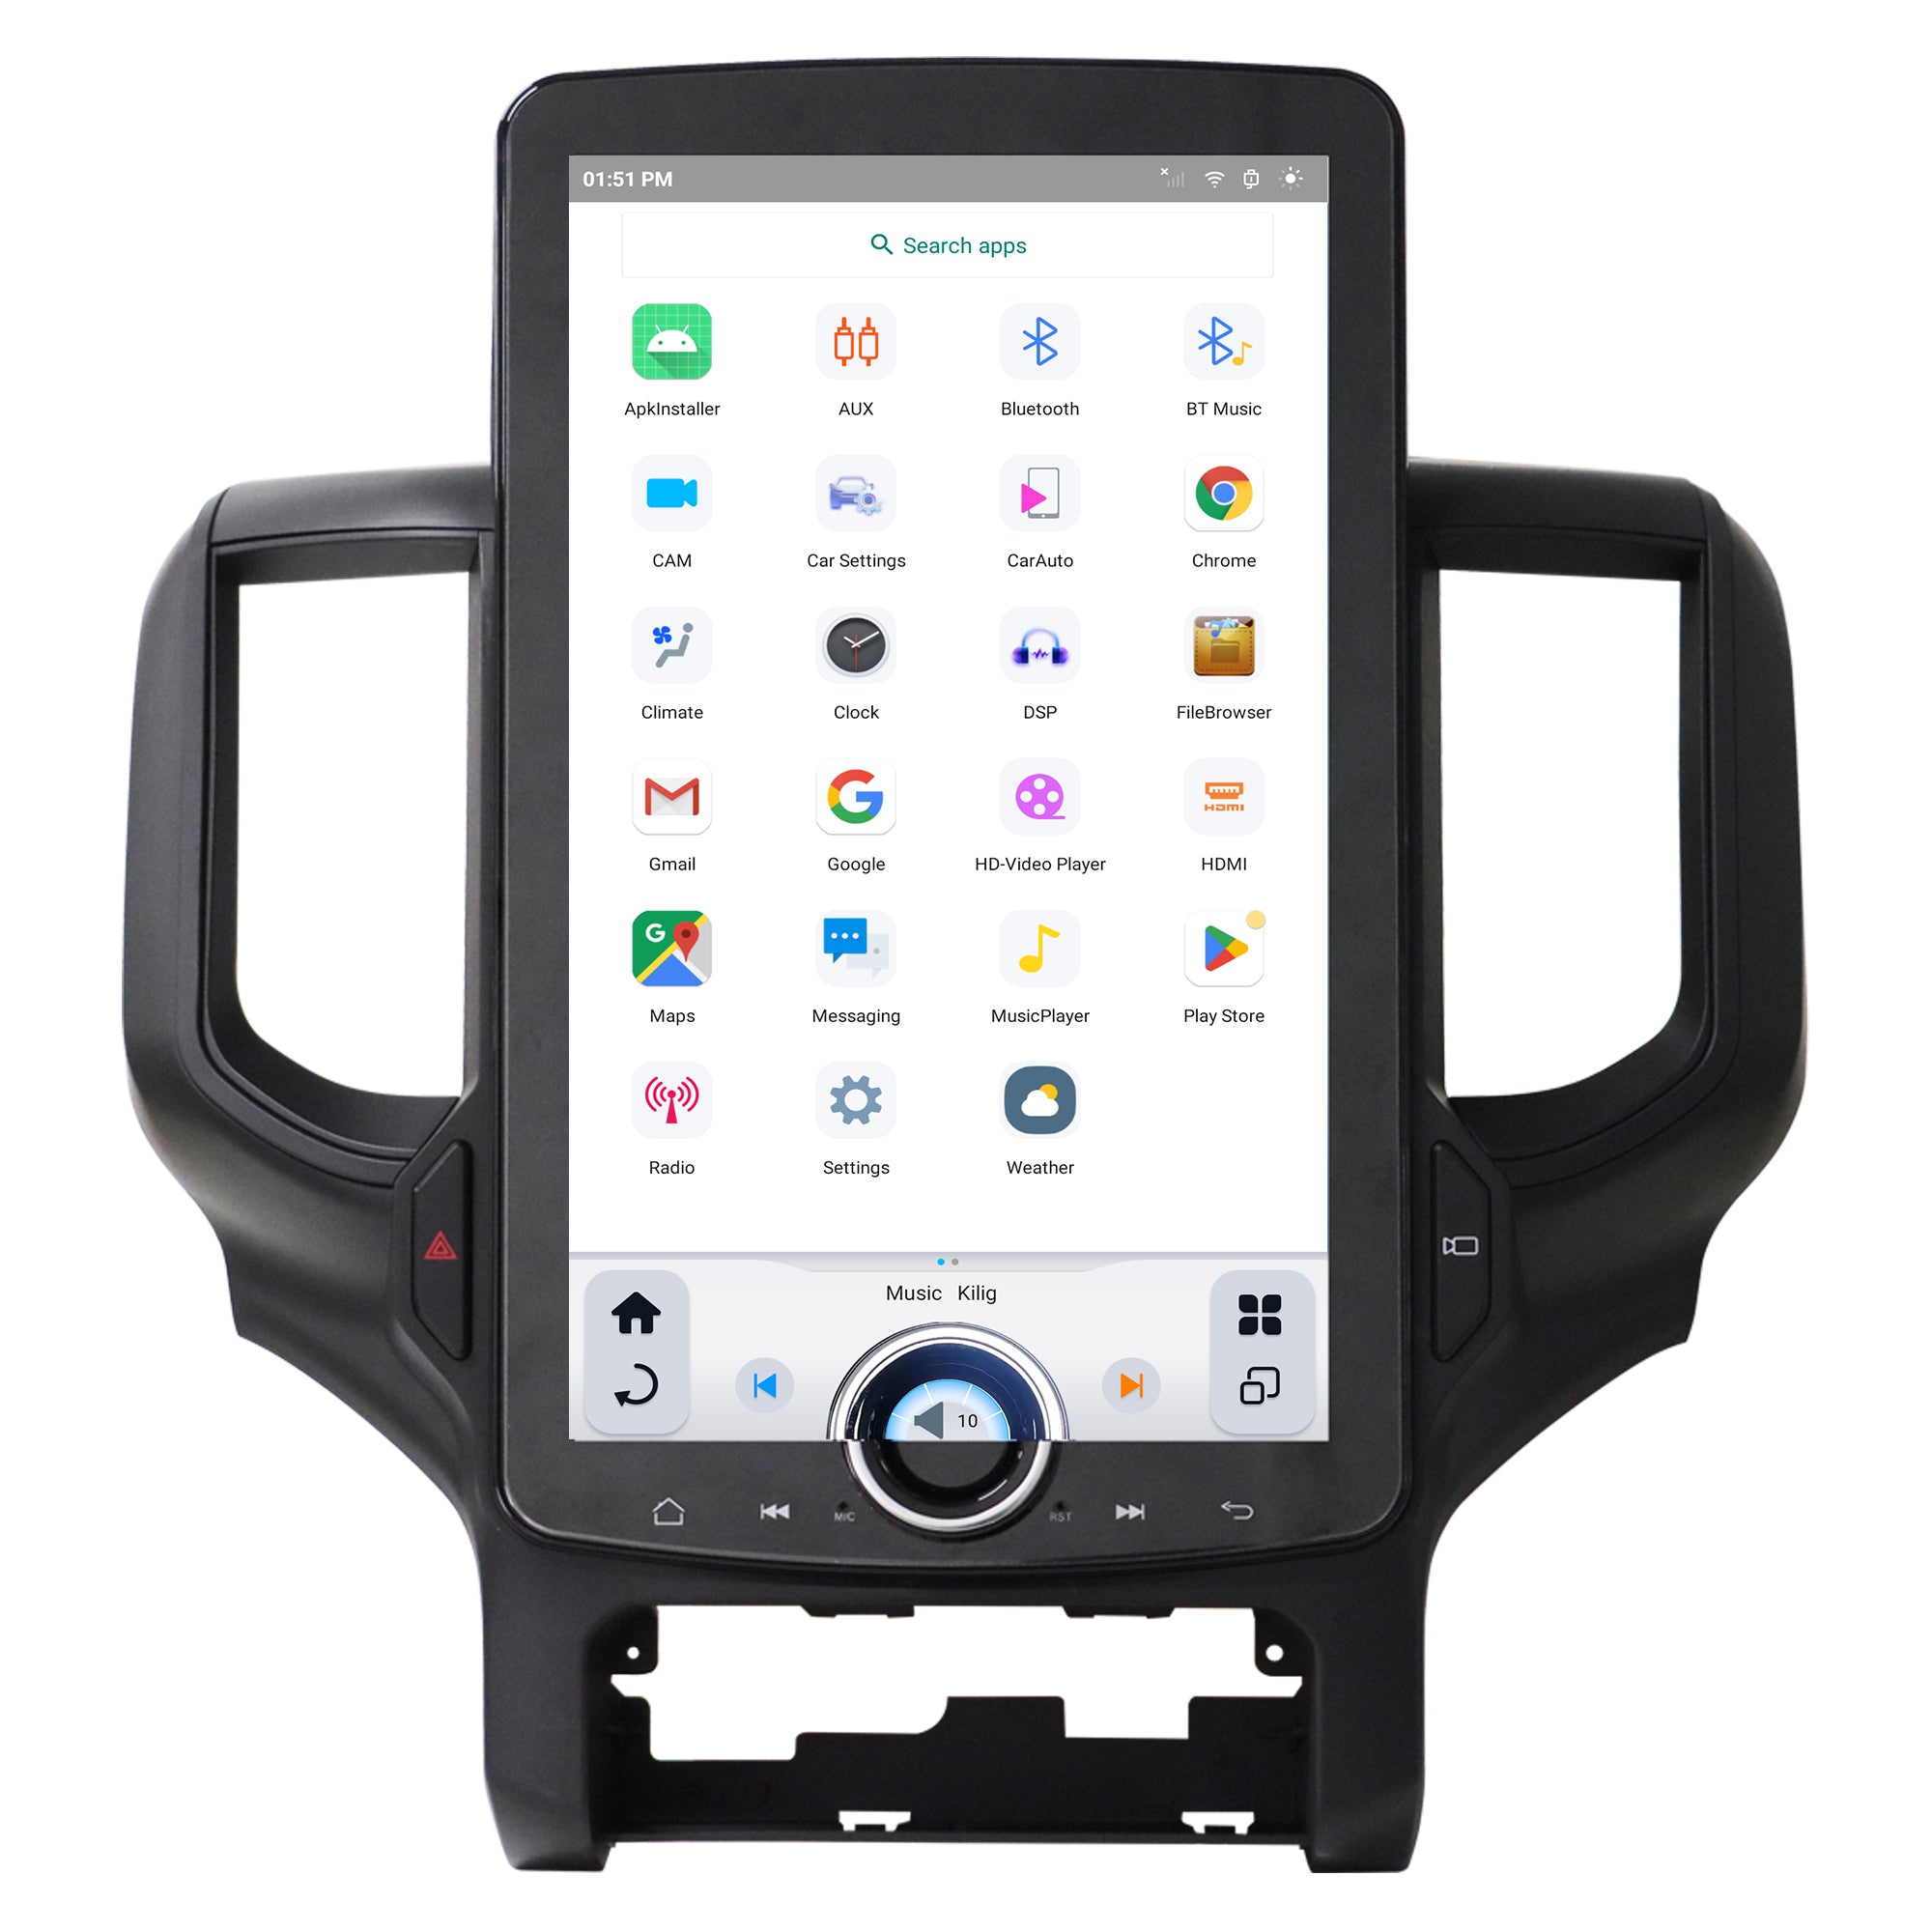
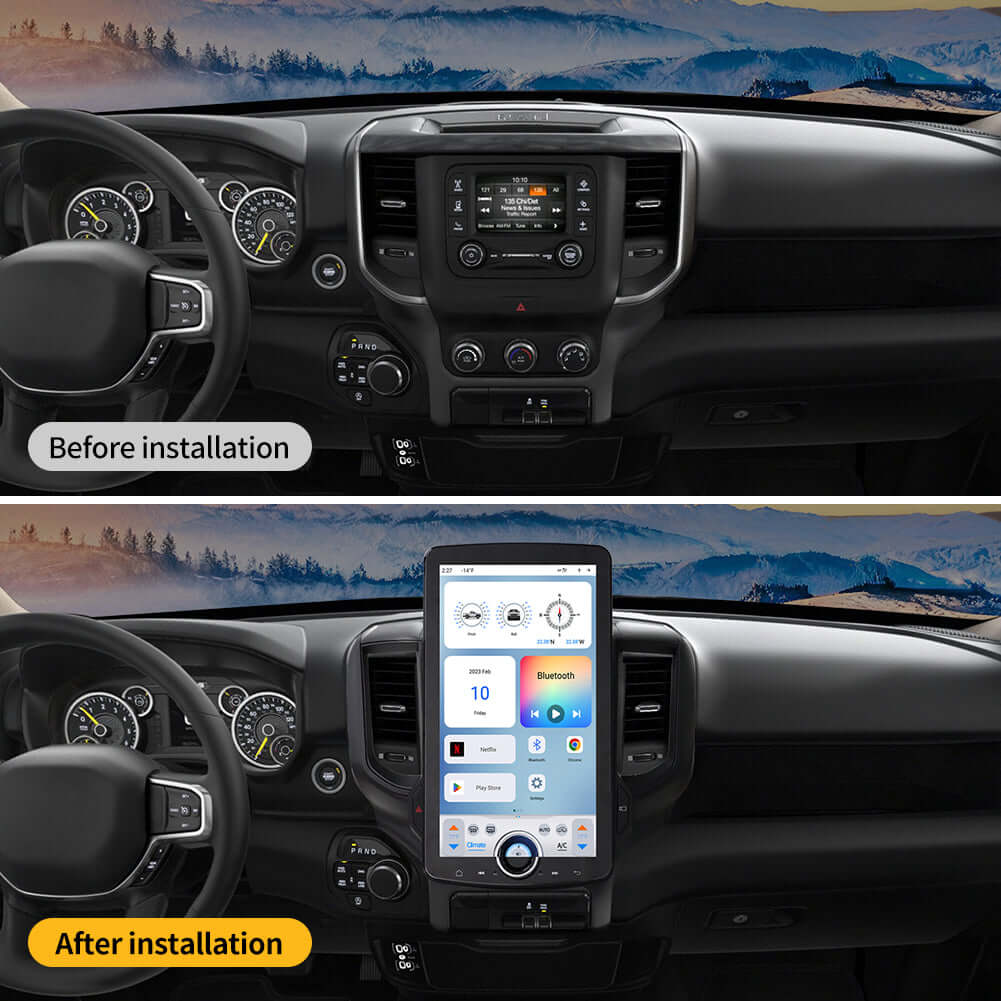
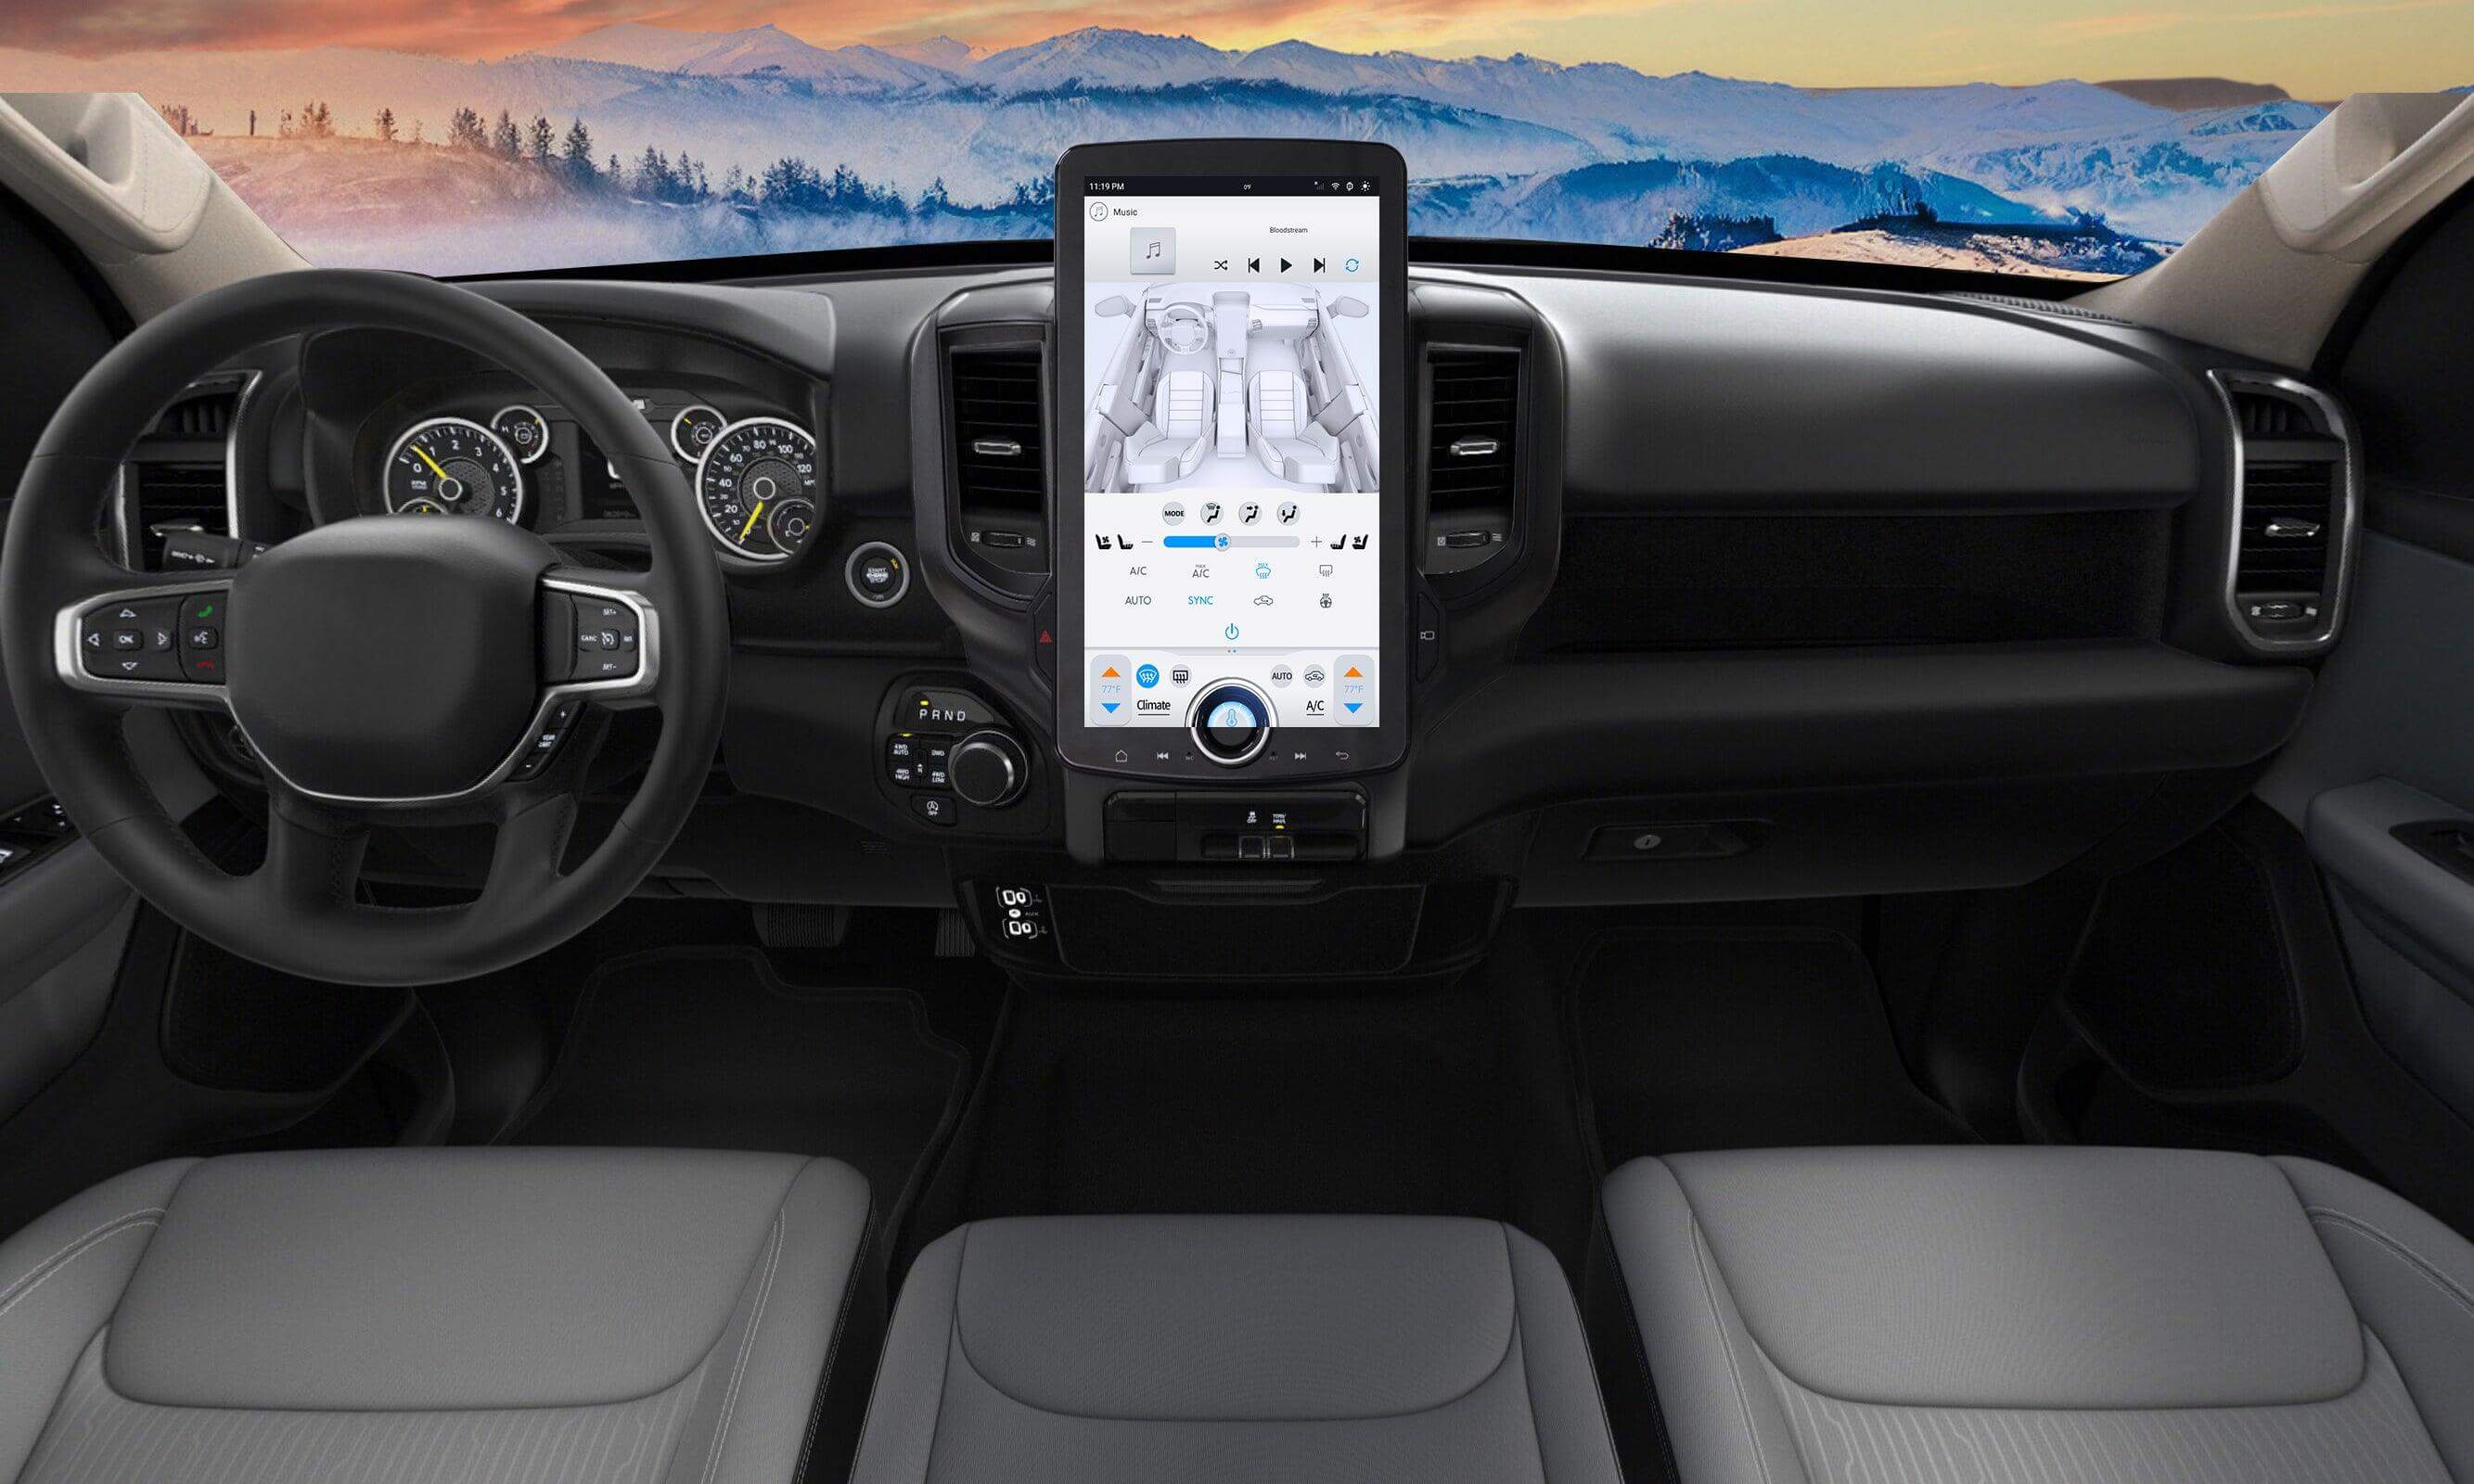
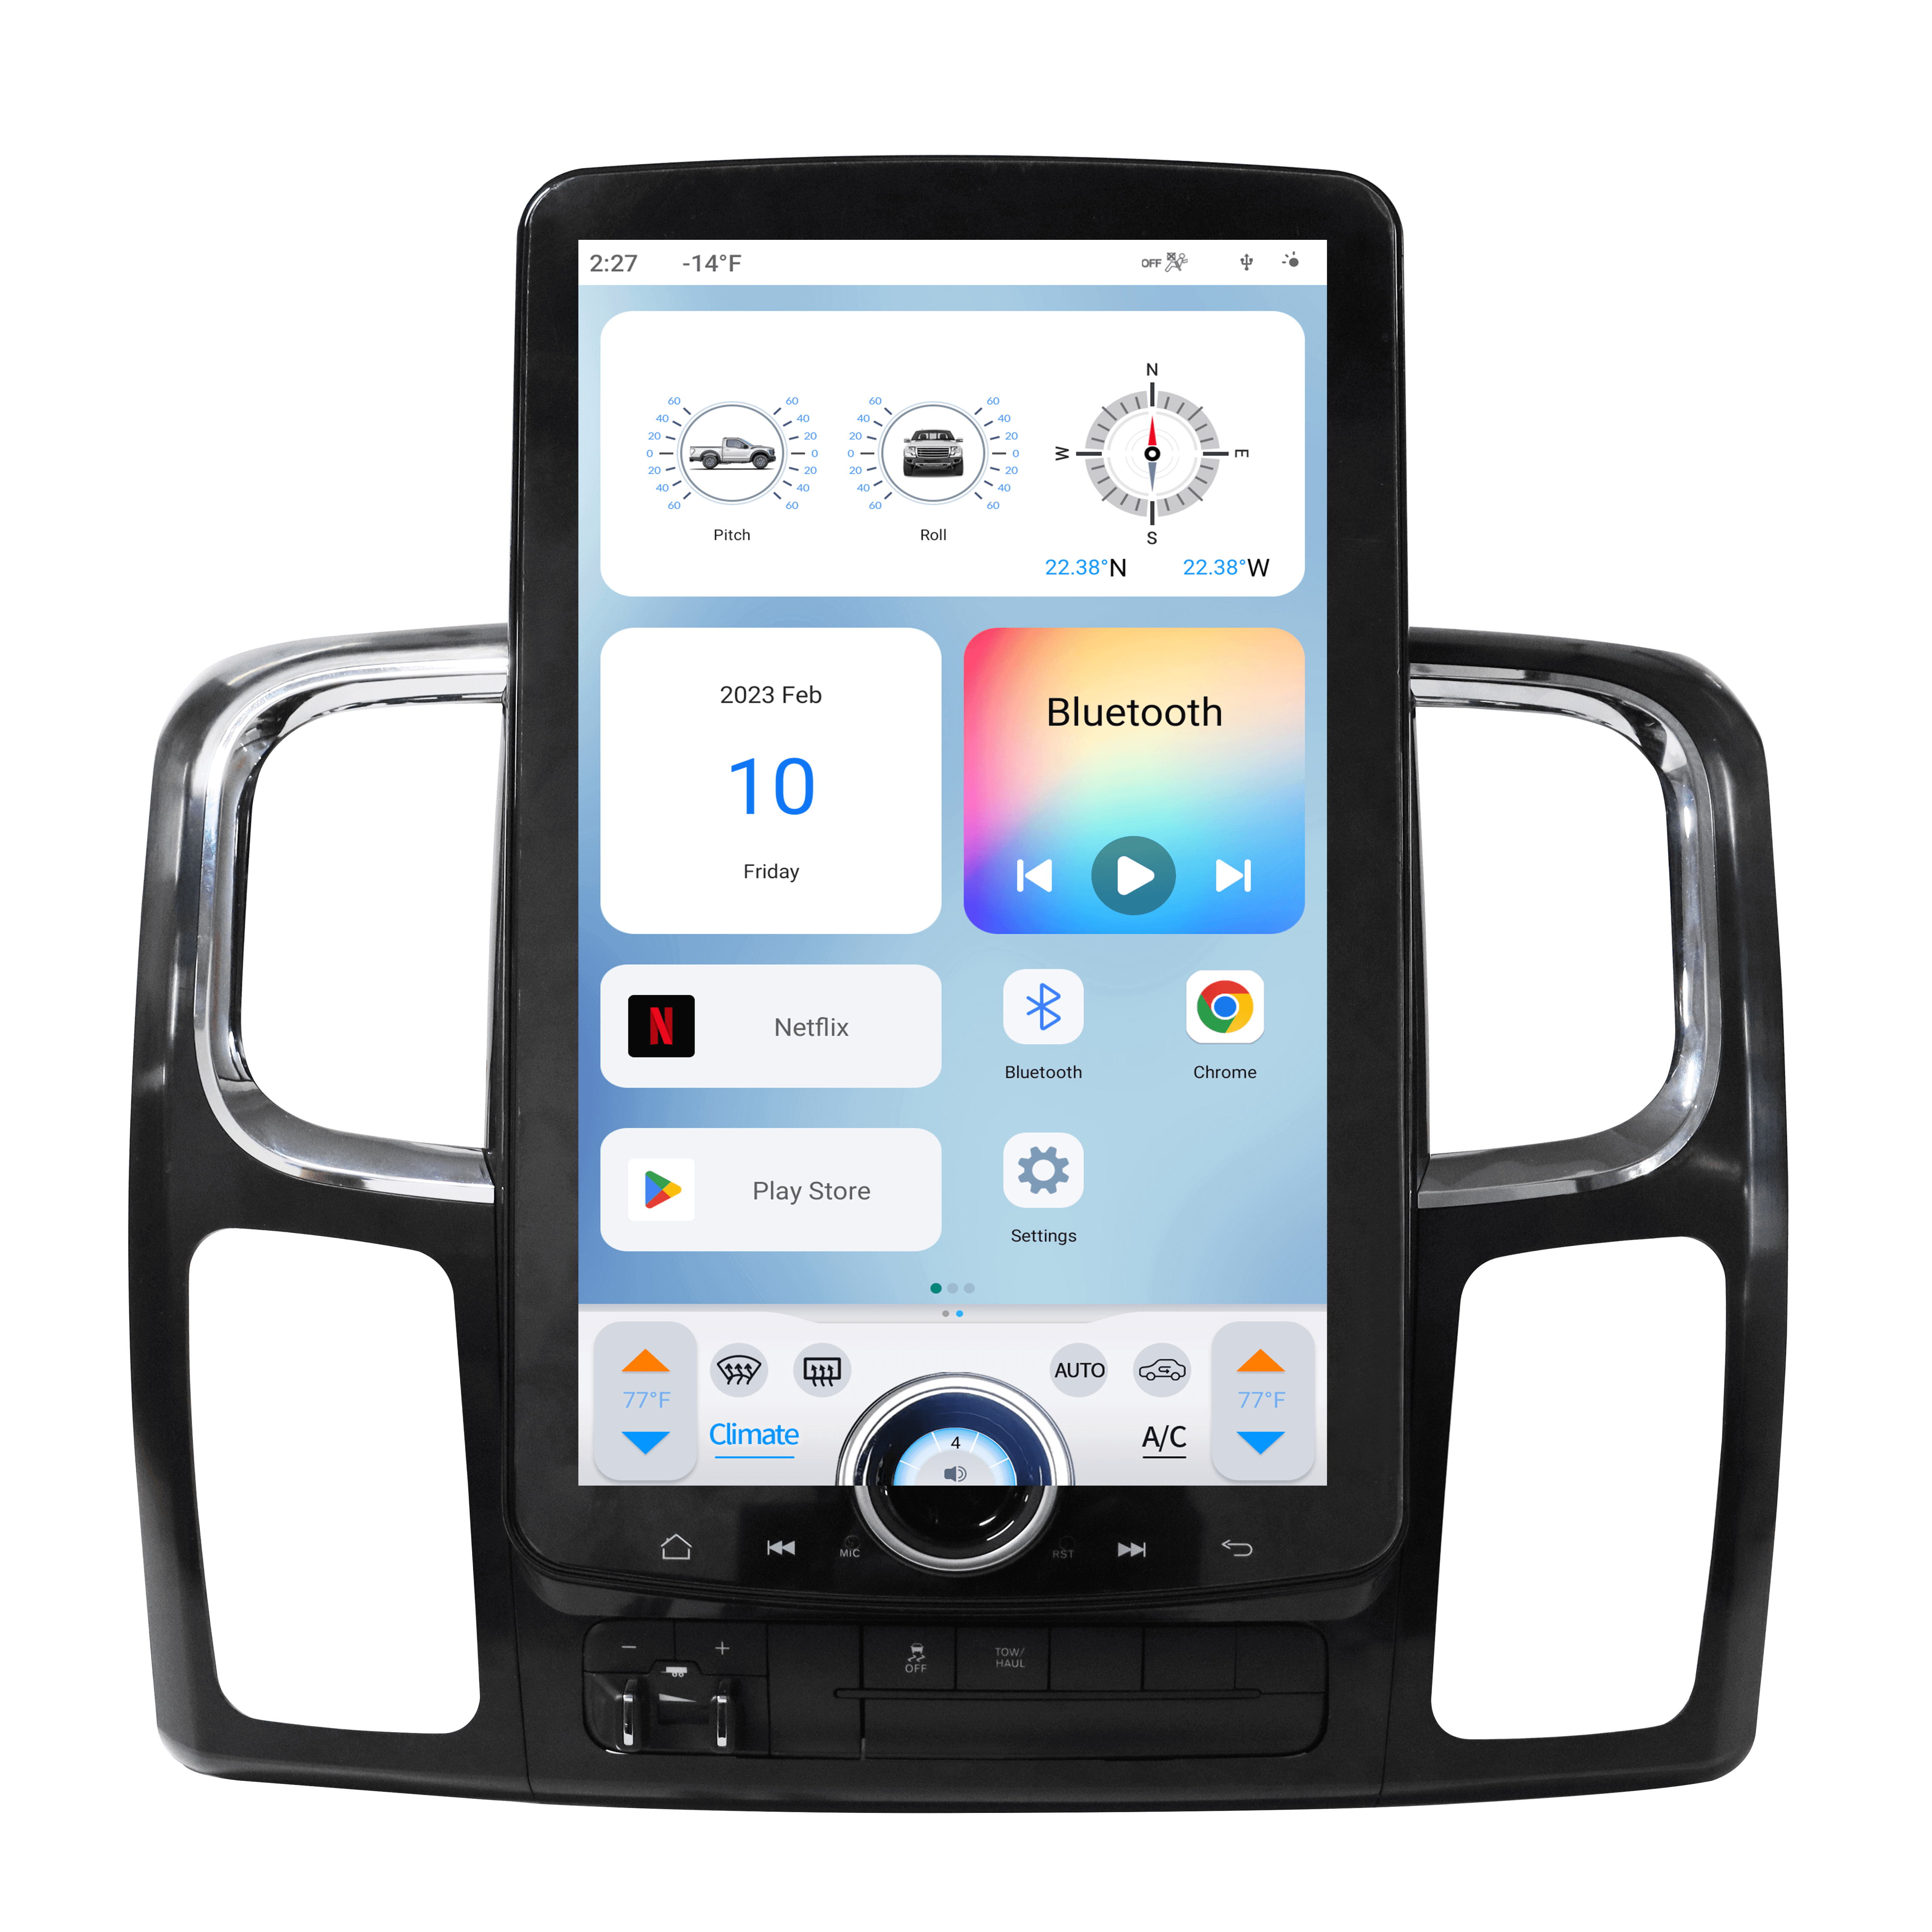
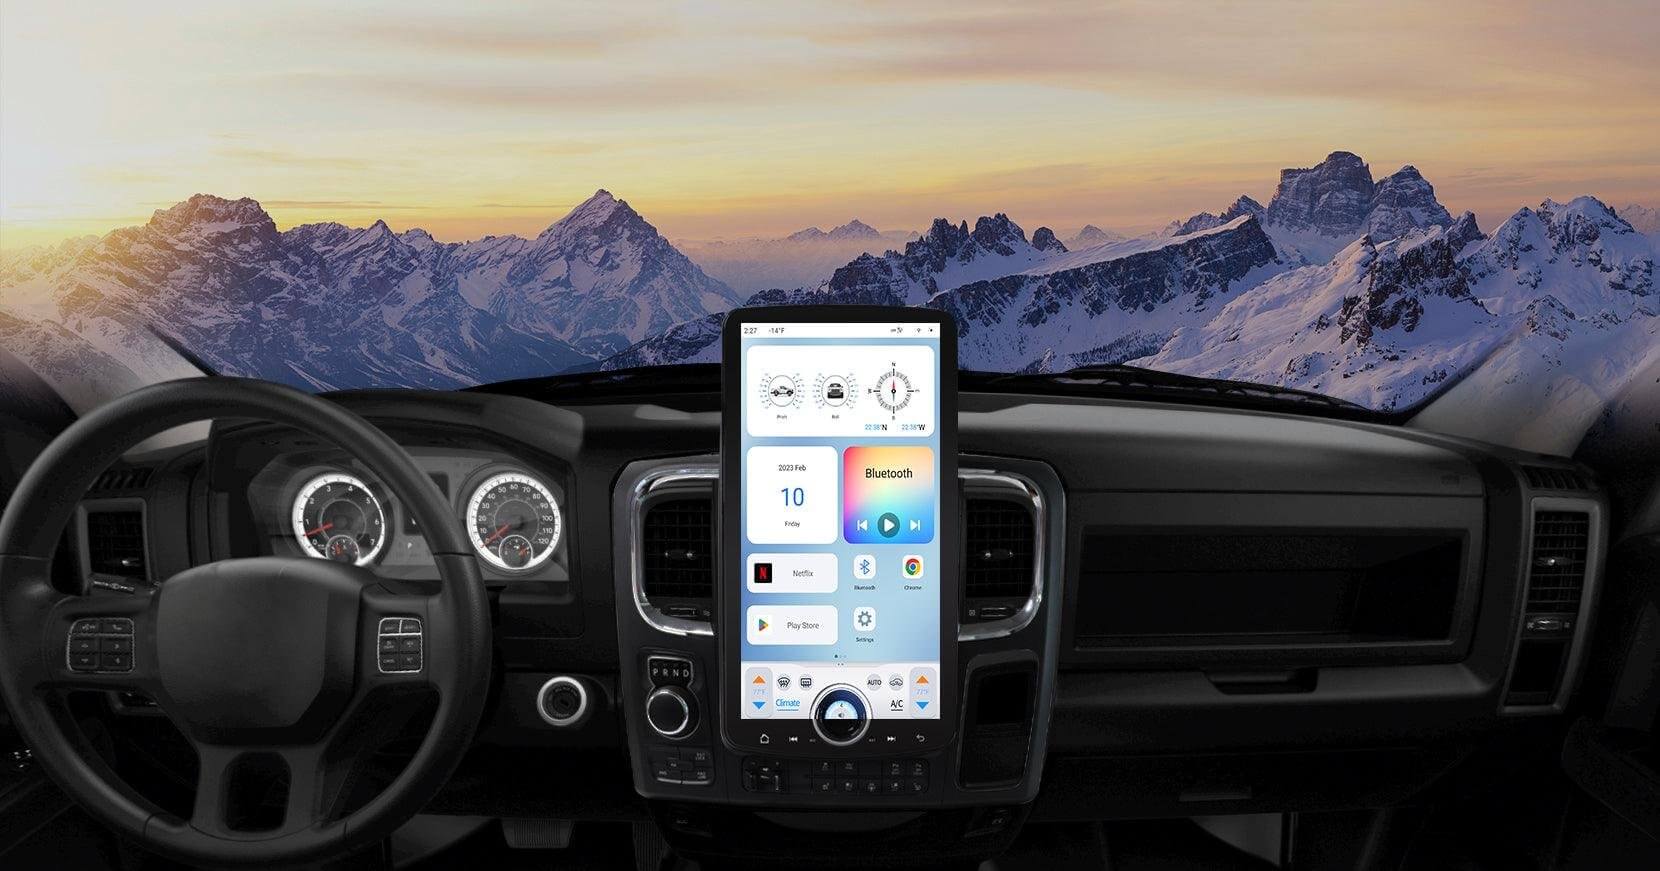
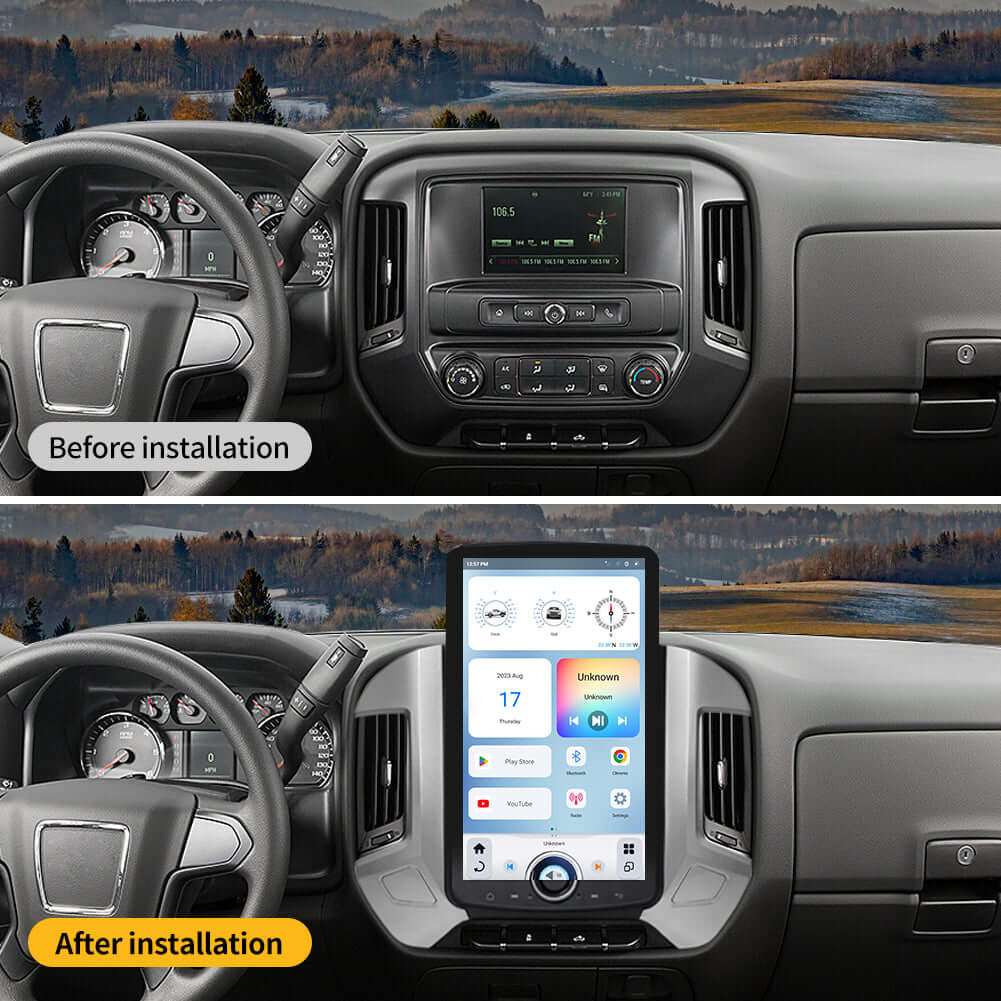
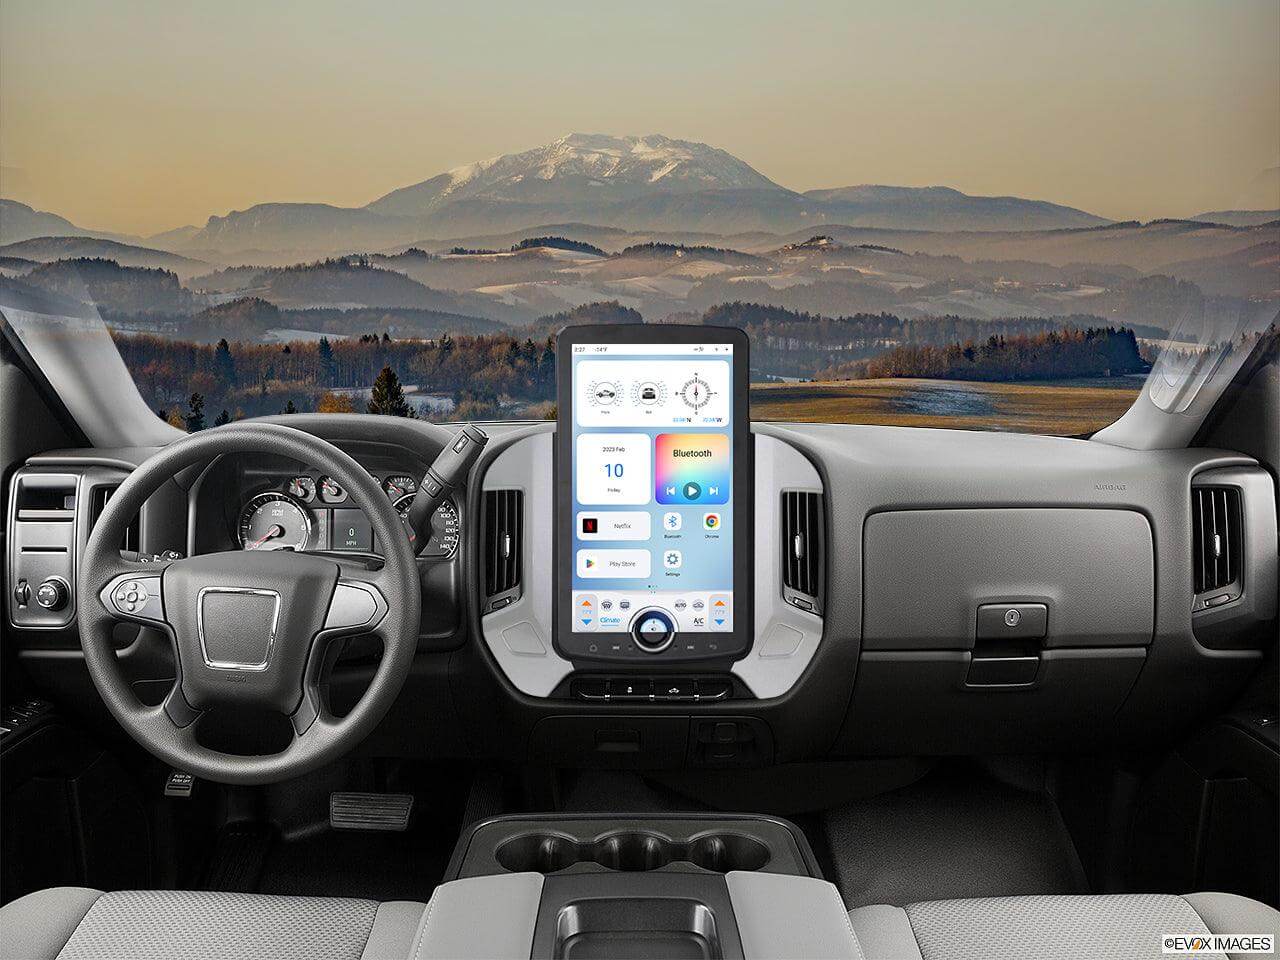
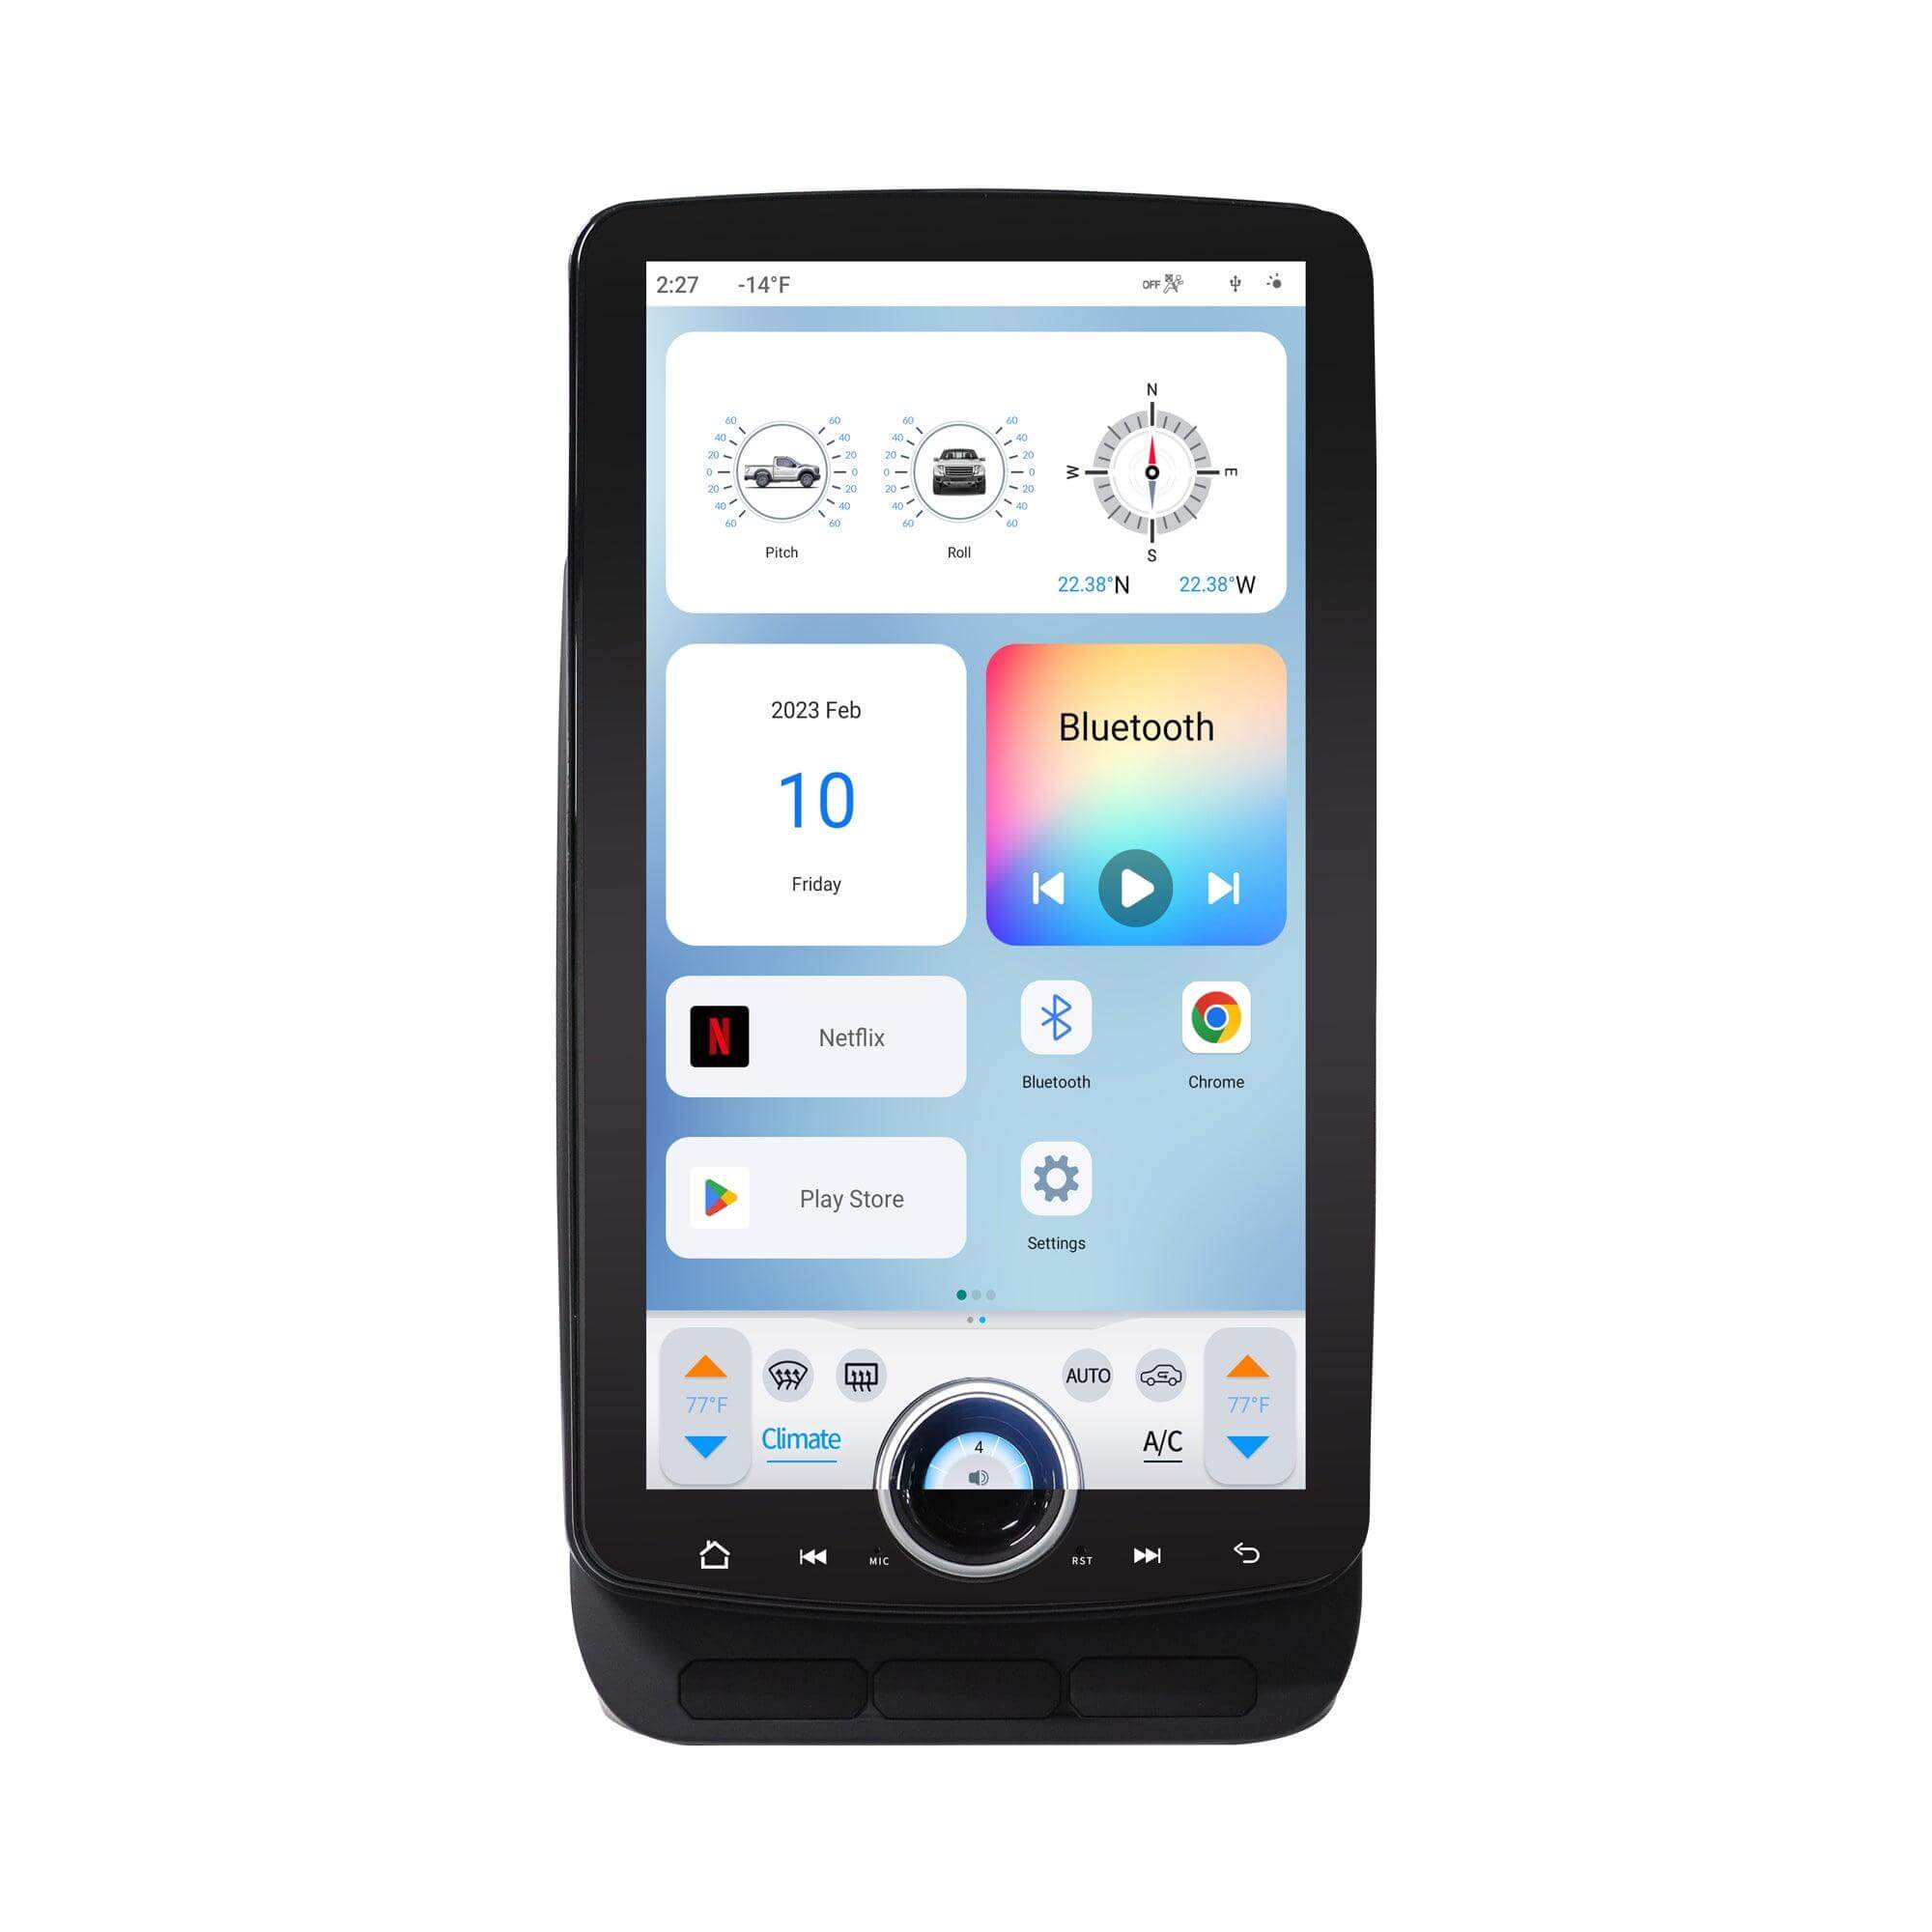
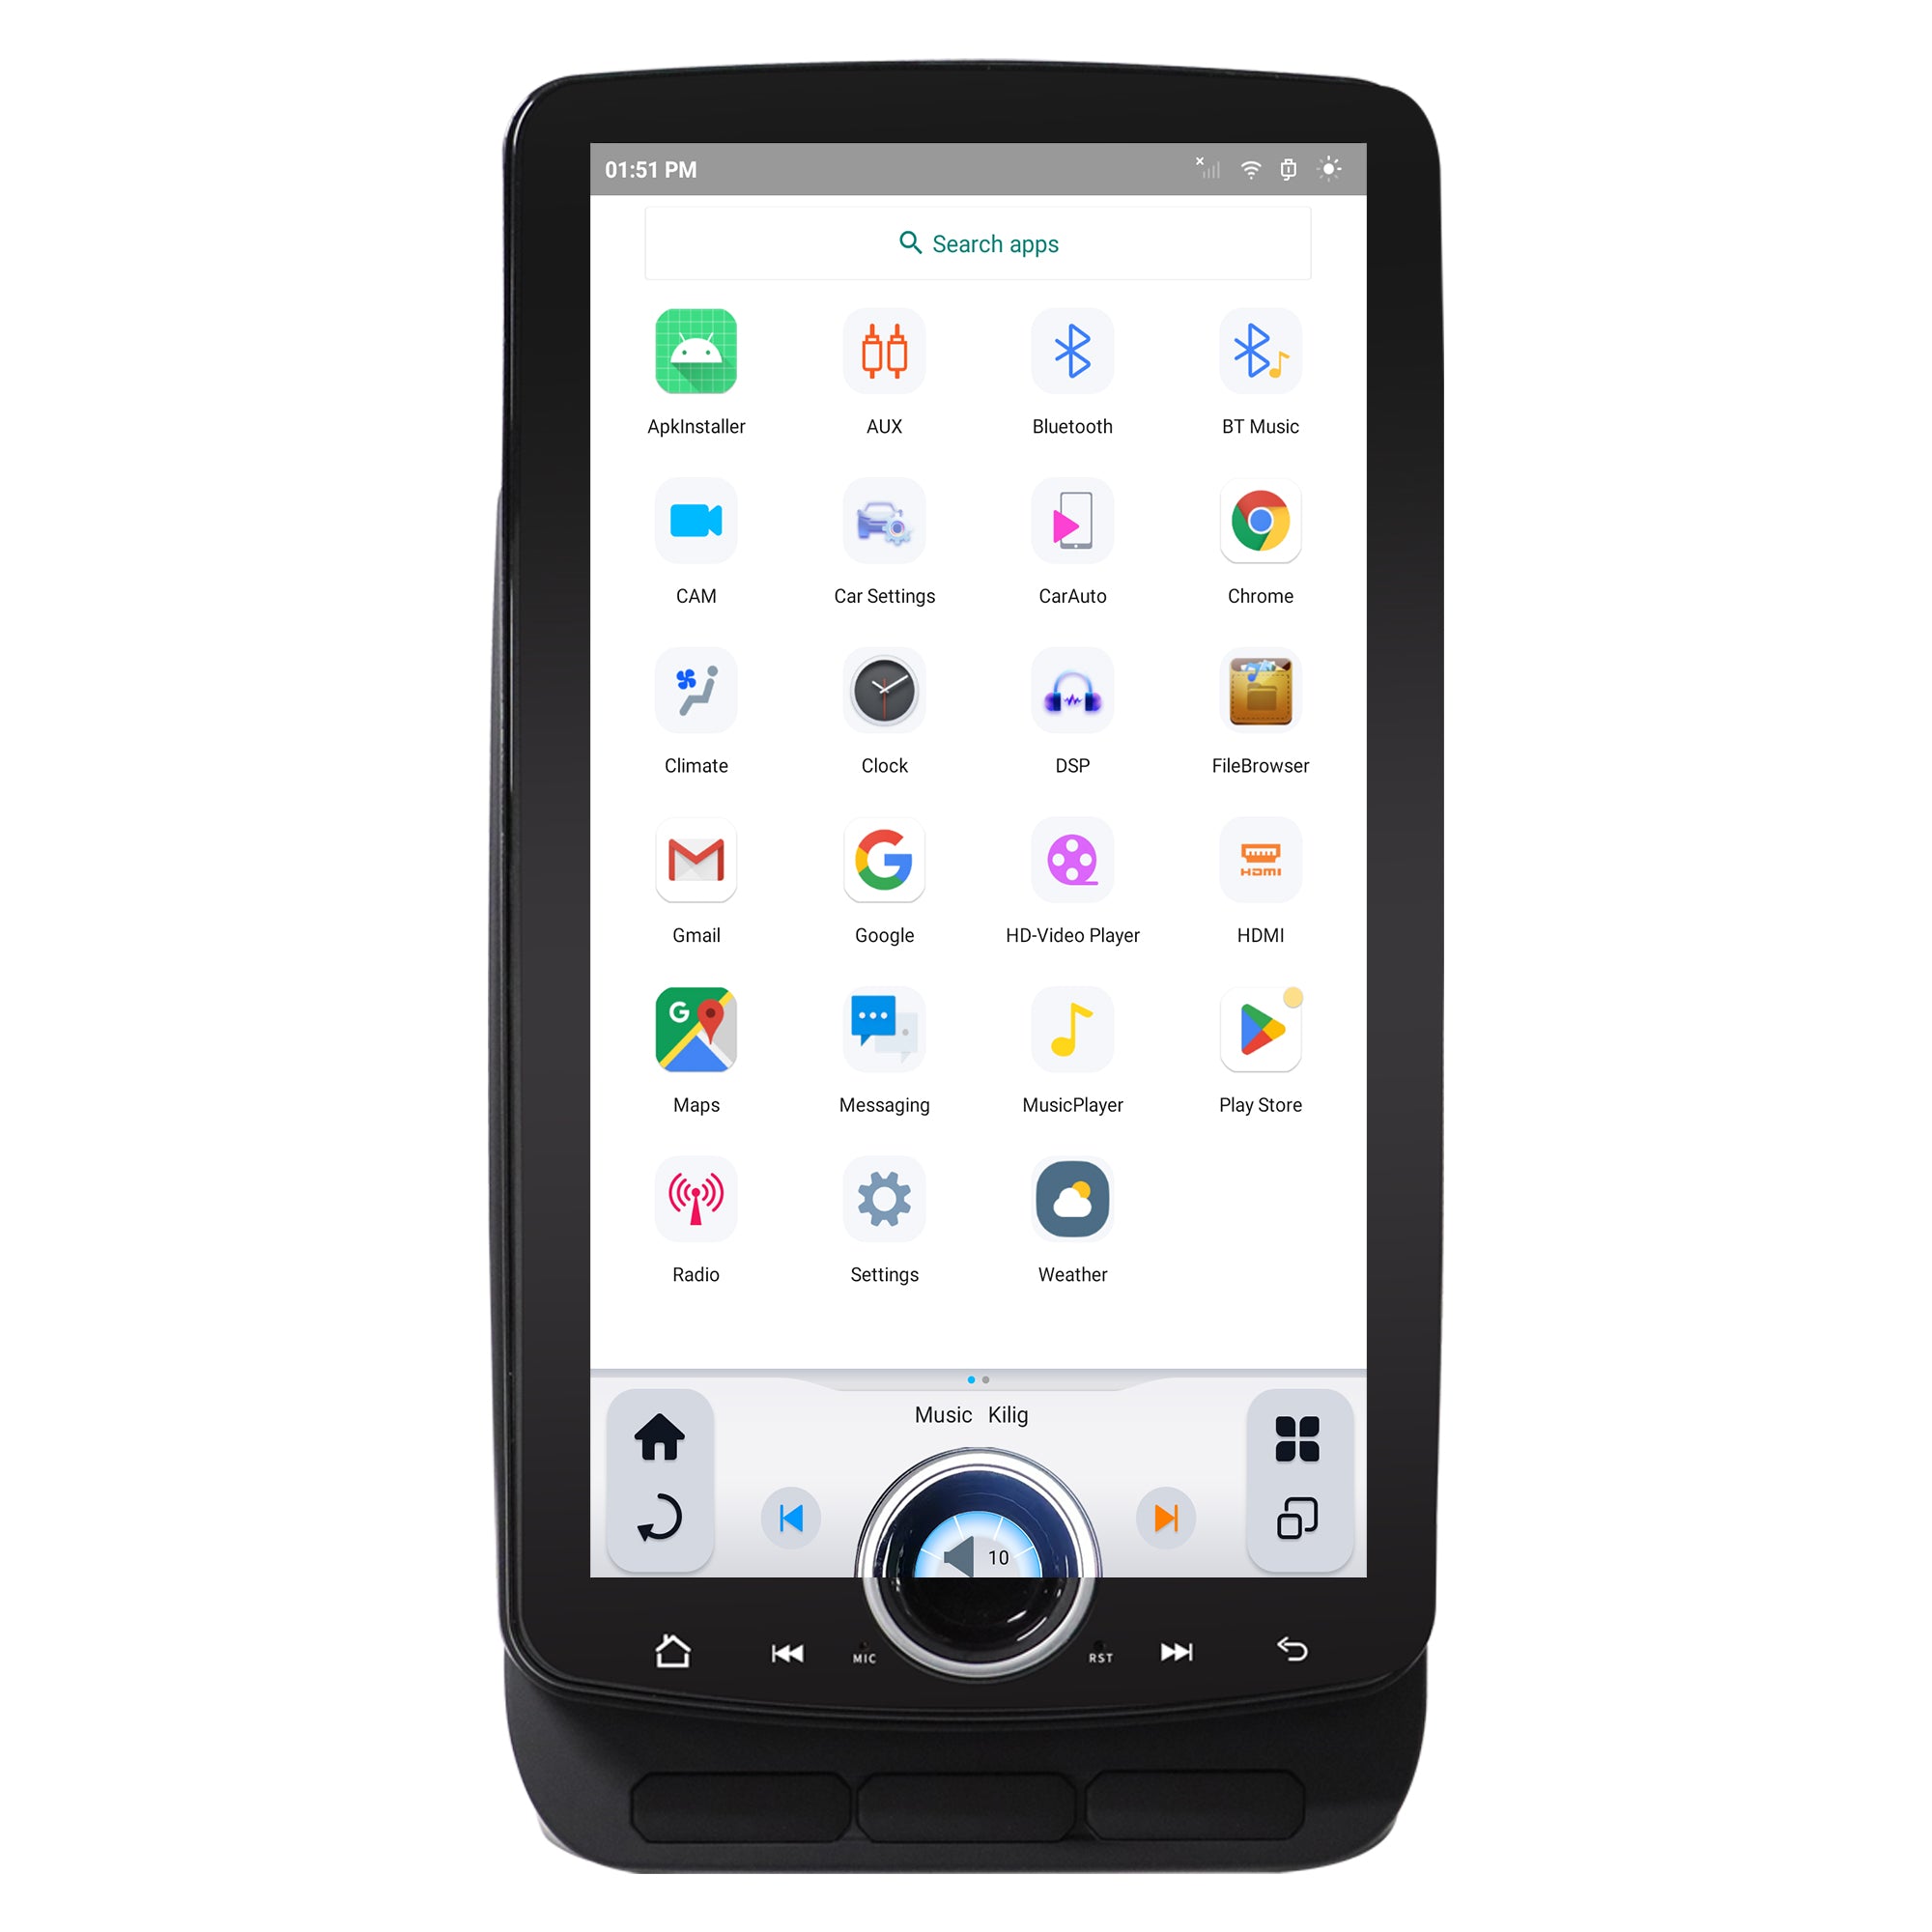
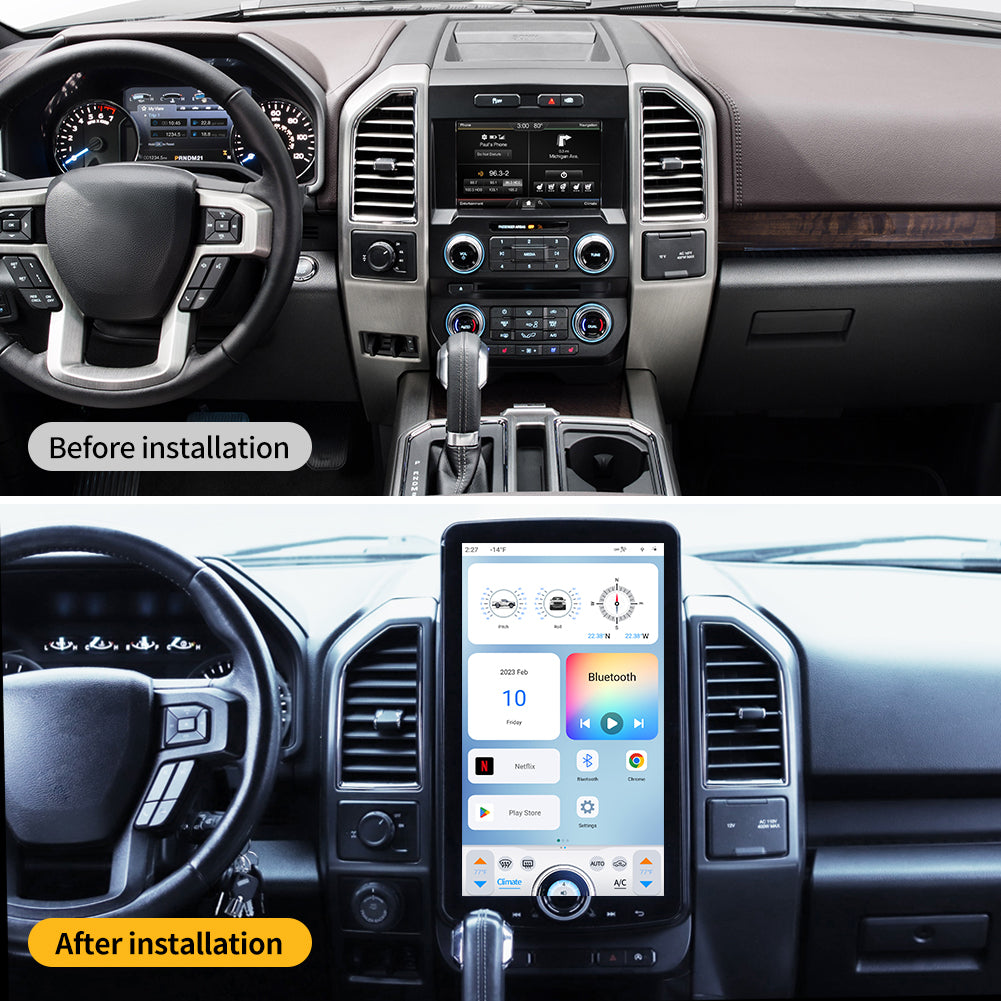
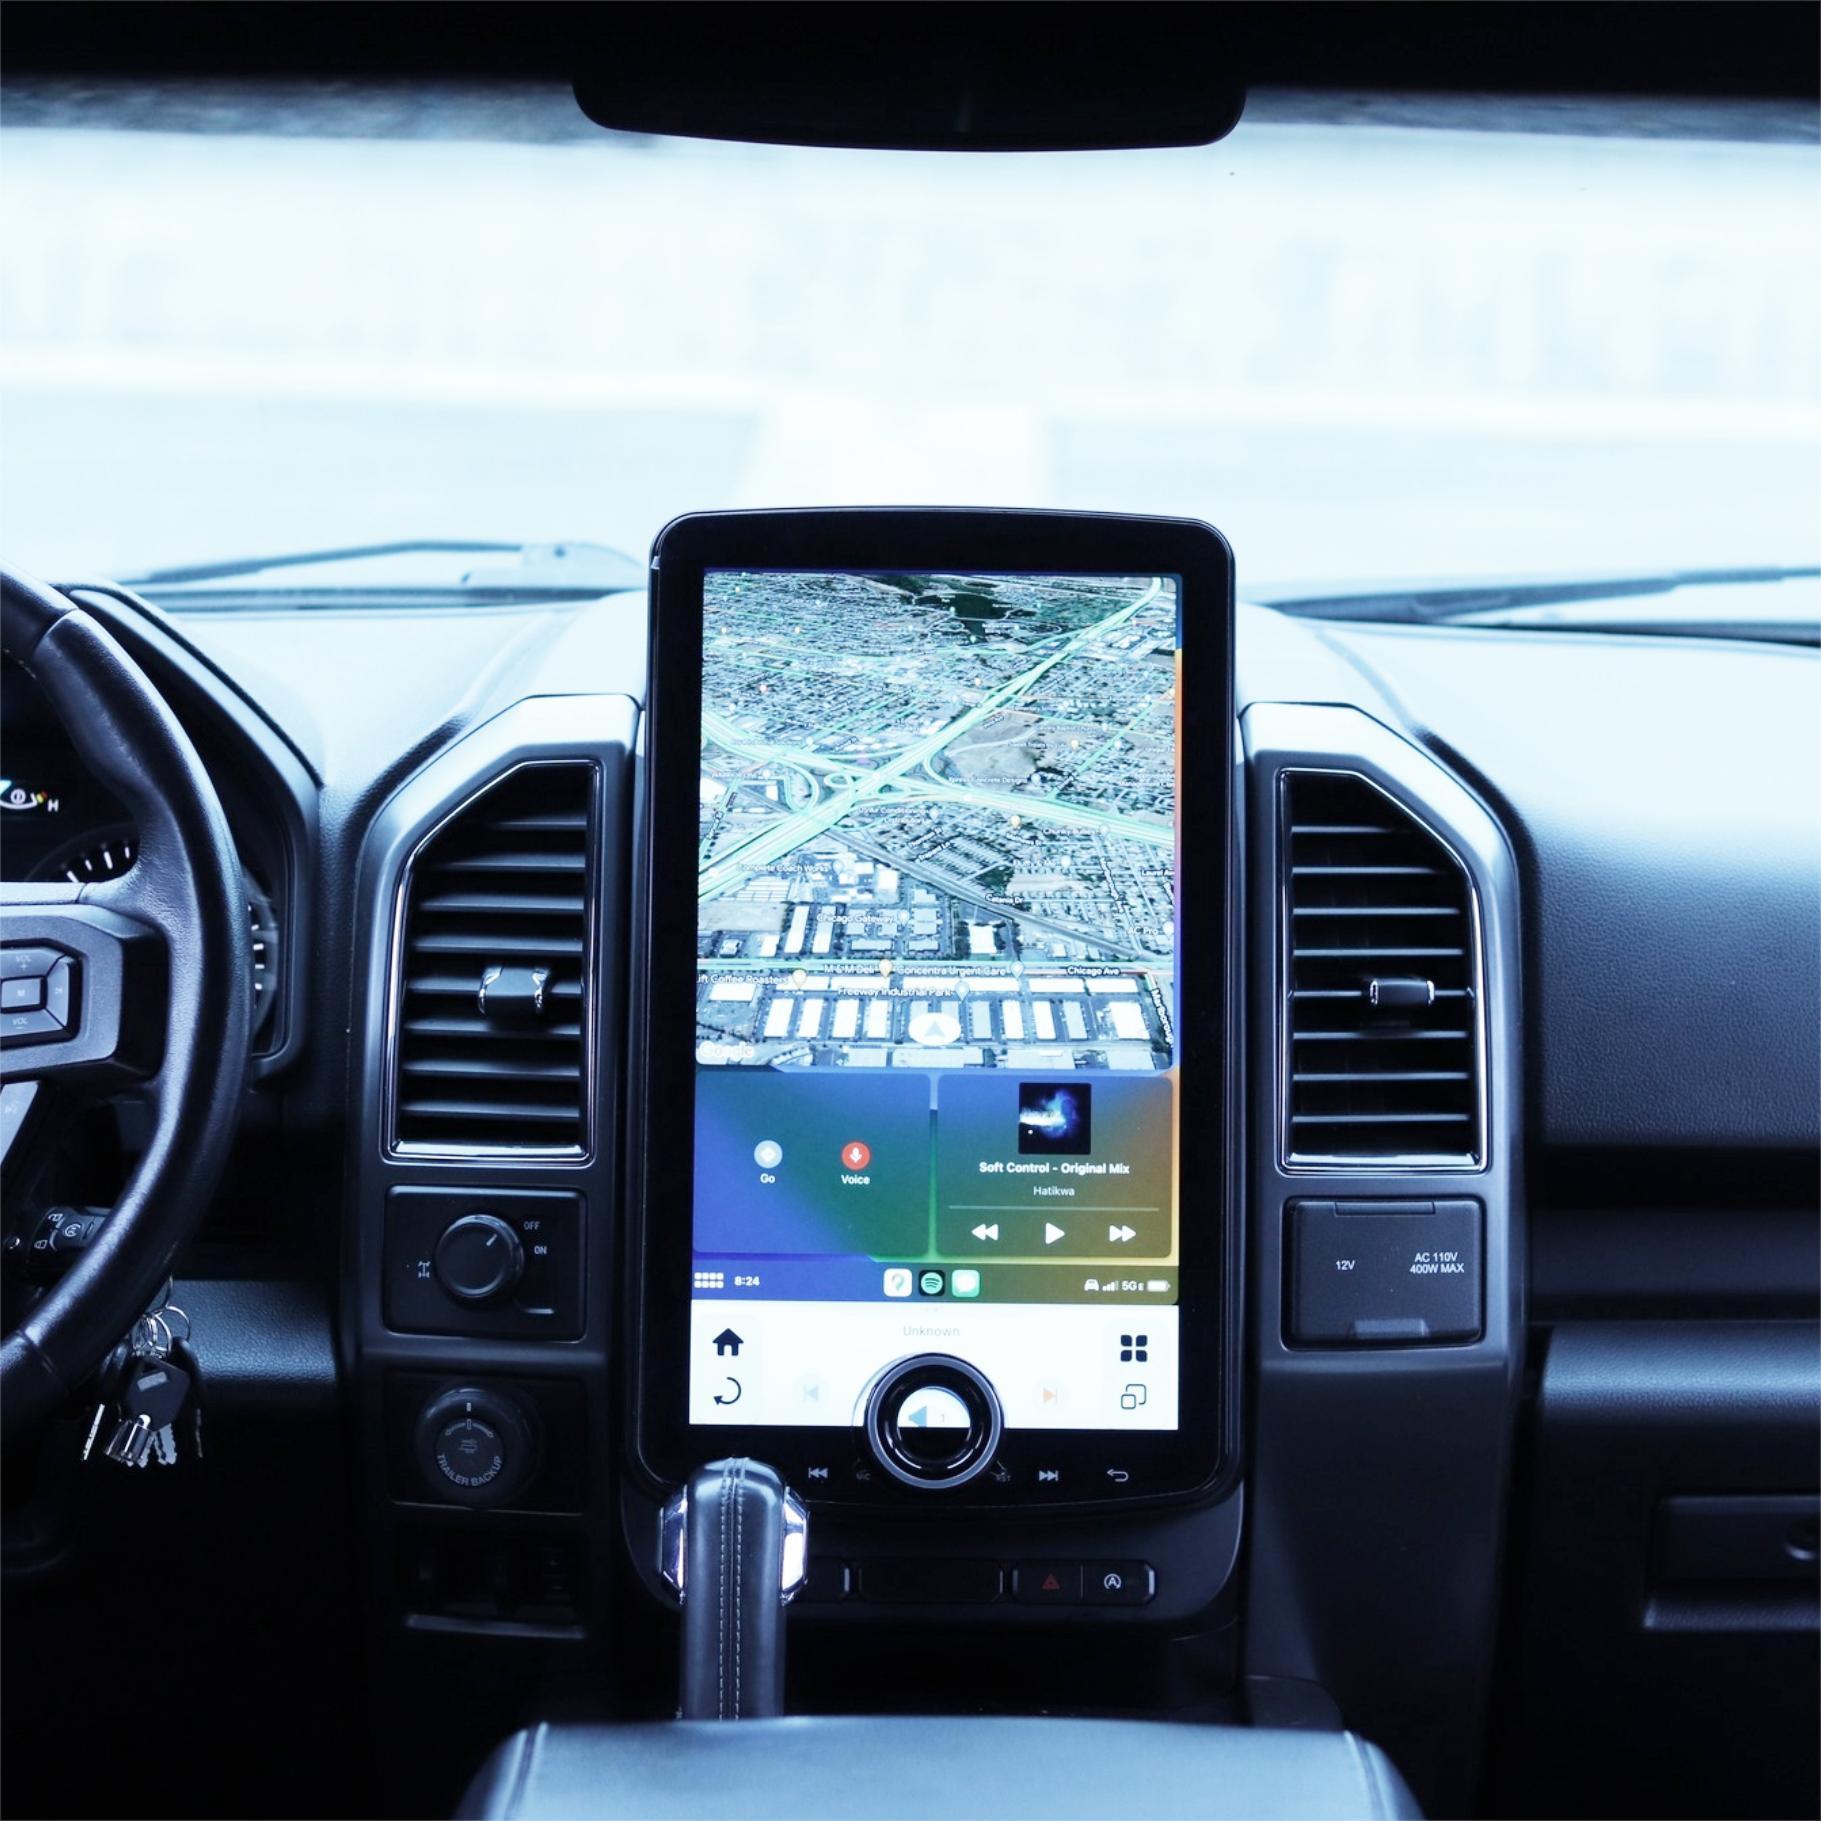
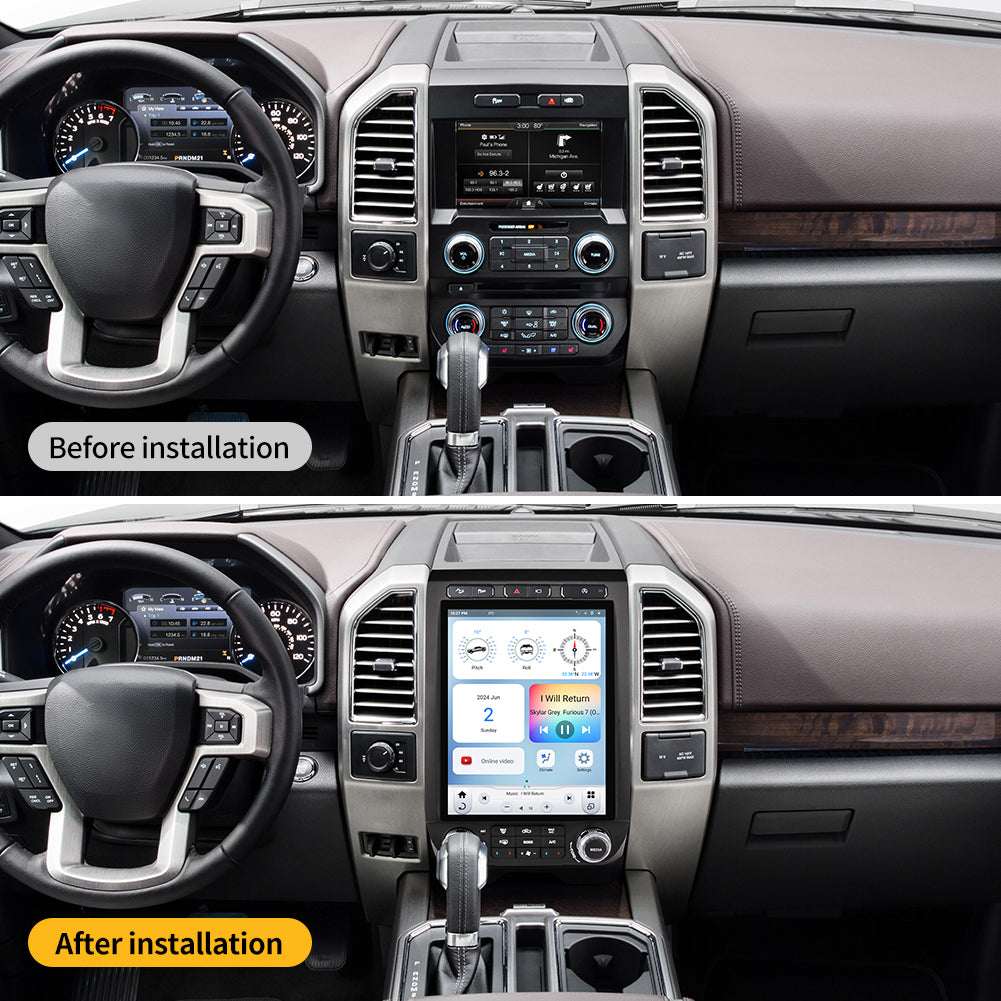
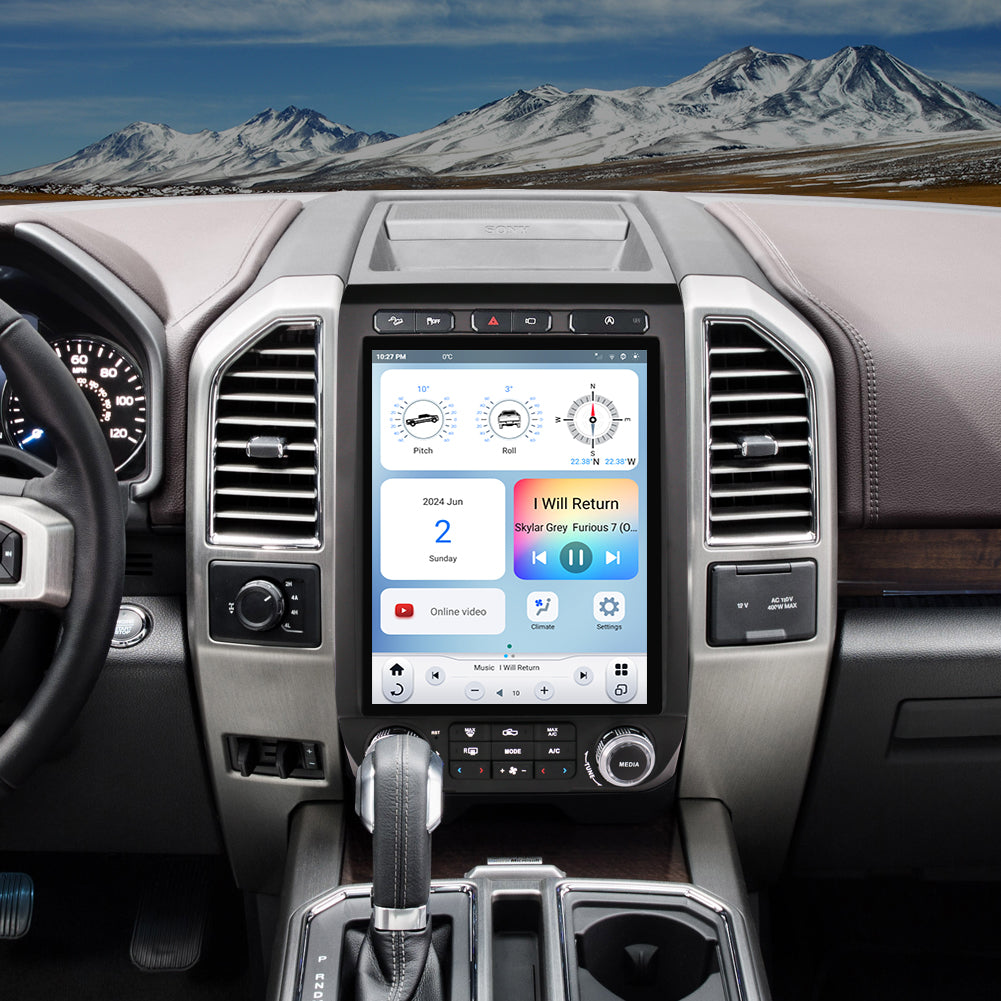
A stock car radio may lack modern features such as Bluetooth, Apple CarPlay, Android Auto, or GPS navigation. By upgrading, you can enjoy improved audio performance, hands-free calling, and access to your favorite apps. Additionally, a touchscreen display adds to the convenience of controlling media, navigation, and other functions.
Step 1: Choose the Right Radio for Your Car
Before starting, selecting the right head unit for your vehicle is crucial. Here’s what to consider:
-
Compatibility: Ensure the new radio fits your car’s make and model. Double-DIN units offer larger displays, while single-DIN models are more compact.
-
Features: Decide on must-have features such as wireless connectivity, GPS, or backup camera support.
-
Sound Quality: Look for built-in equalizers and amplifiers to enhance your audio experience.
-
Budget: Choose a unit that balances affordability with desired functionality.

Step 2: Gather Necessary Tools and Accessories
For a successful installation, prepare the following tools and accessories:
-
Screwdrivers (Phillips and flat-head)
-
Trim removal tools
-
Wiring harness adapter
-
Crimping tool and connectors
-
Electrical tape
-
Mounting brackets (if required)
A wiring harness adapter is crucial as it prevents the need to cut factory wires, ensuring a safe and professional connection.
Step 3: Prepare Your Vehicle for Installation
Before beginning the installation process, take these precautions:
-
Disconnect the Battery: This prevents any electrical shorts or damage to the system.
-
Remove Trim and Old Radio: Use trim removal tools to carefully detach dashboard panels and unscrew the factory radio.
-
Inspect Wiring Connections: Compare the factory wiring with the new unit’s harness to ensure a proper fit.
Step 4: Install the New Radio
Follow these steps for a smooth installation:
-
Connect the Wiring Harness: Match the wires from your car to the new radio using the harness adapter.
-
Mount the Unit: Secure the new head unit into the dashboard with the appropriate brackets.
-
Attach Additional Accessories: If installing a backup camera or microphone, route the wiring appropriately.
-
Reconnect the Battery and Test: Turn on the ignition and check if the unit functions properly, including sound output, touchscreen, and Bluetooth connectivity.
Step 5: Final Adjustments and Customization
Once installed, fine-tune the system:
-
Set Up Audio Preferences: Adjust the equalizer for optimal sound quality.
-
Connect to Wi-Fi or Bluetooth: Pair your smartphone for seamless music streaming and hands-free calls.
-
Test GPS Navigation: If applicable, verify location accuracy and update maps.
-
Reinstall Dash Panels: Secure all trim pieces back in place for a factory-like finish.

Common Troubleshooting Tips
If the new radio does not function correctly, consider these solutions:
-
No Power? Check if all connections are secure and fuses are intact.
-
Poor Sound Quality? Verify speaker wiring and adjust audio settings.
-
Bluetooth Issues? Reset the connection and ensure your device is compatible.
Conclusion
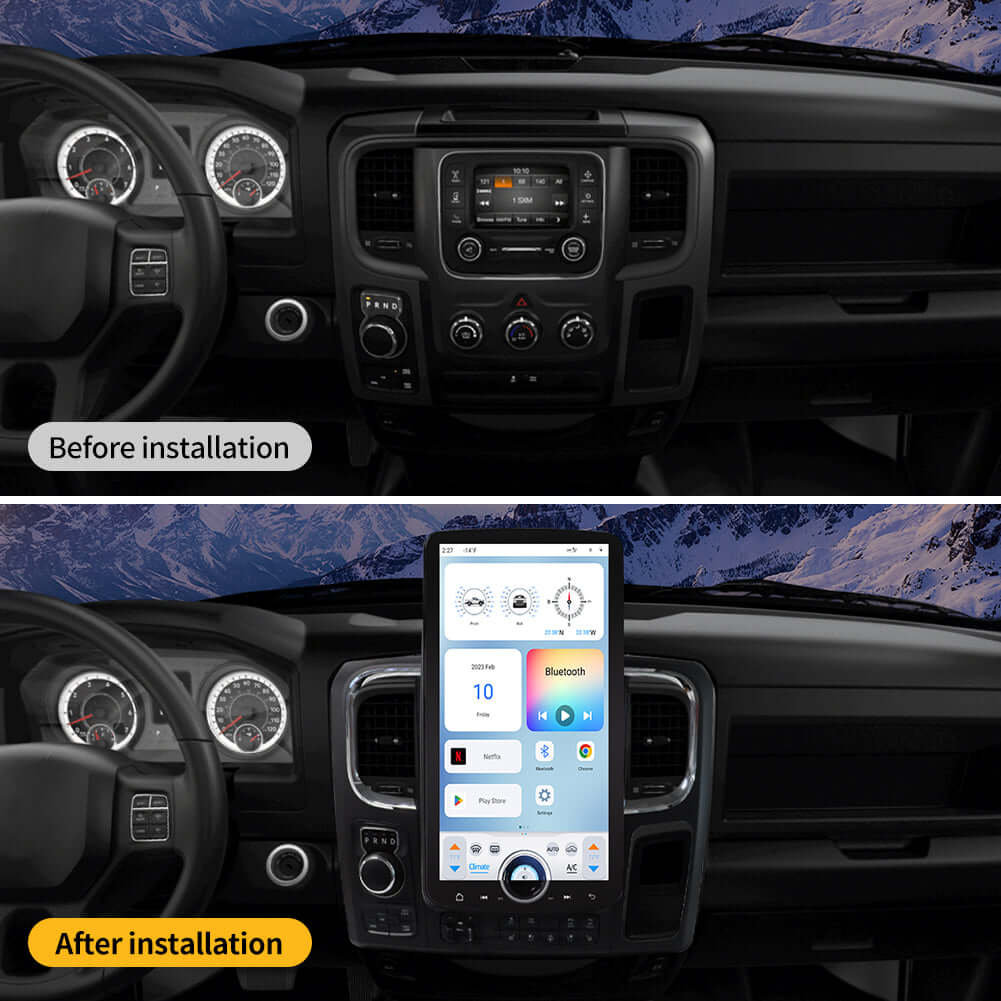
Upgrading your car radio through a DIY project is an excellent way to enhance your in-car entertainment and navigation experience. By carefully selecting a compatible unit, preparing the right tools, and following proper installation steps, you can achieve a professional-quality setup on your own. Whether you're looking for better sound, smartphone integration, or advanced features, a new radio can significantly improve your driving experience. Happy upgrading!


Share:
Why Choose XL T-Style Radio to Upgrade Your 2018 Ram 2500 Stereo?
10 Spring Car Tips & Tricks You Need to Know