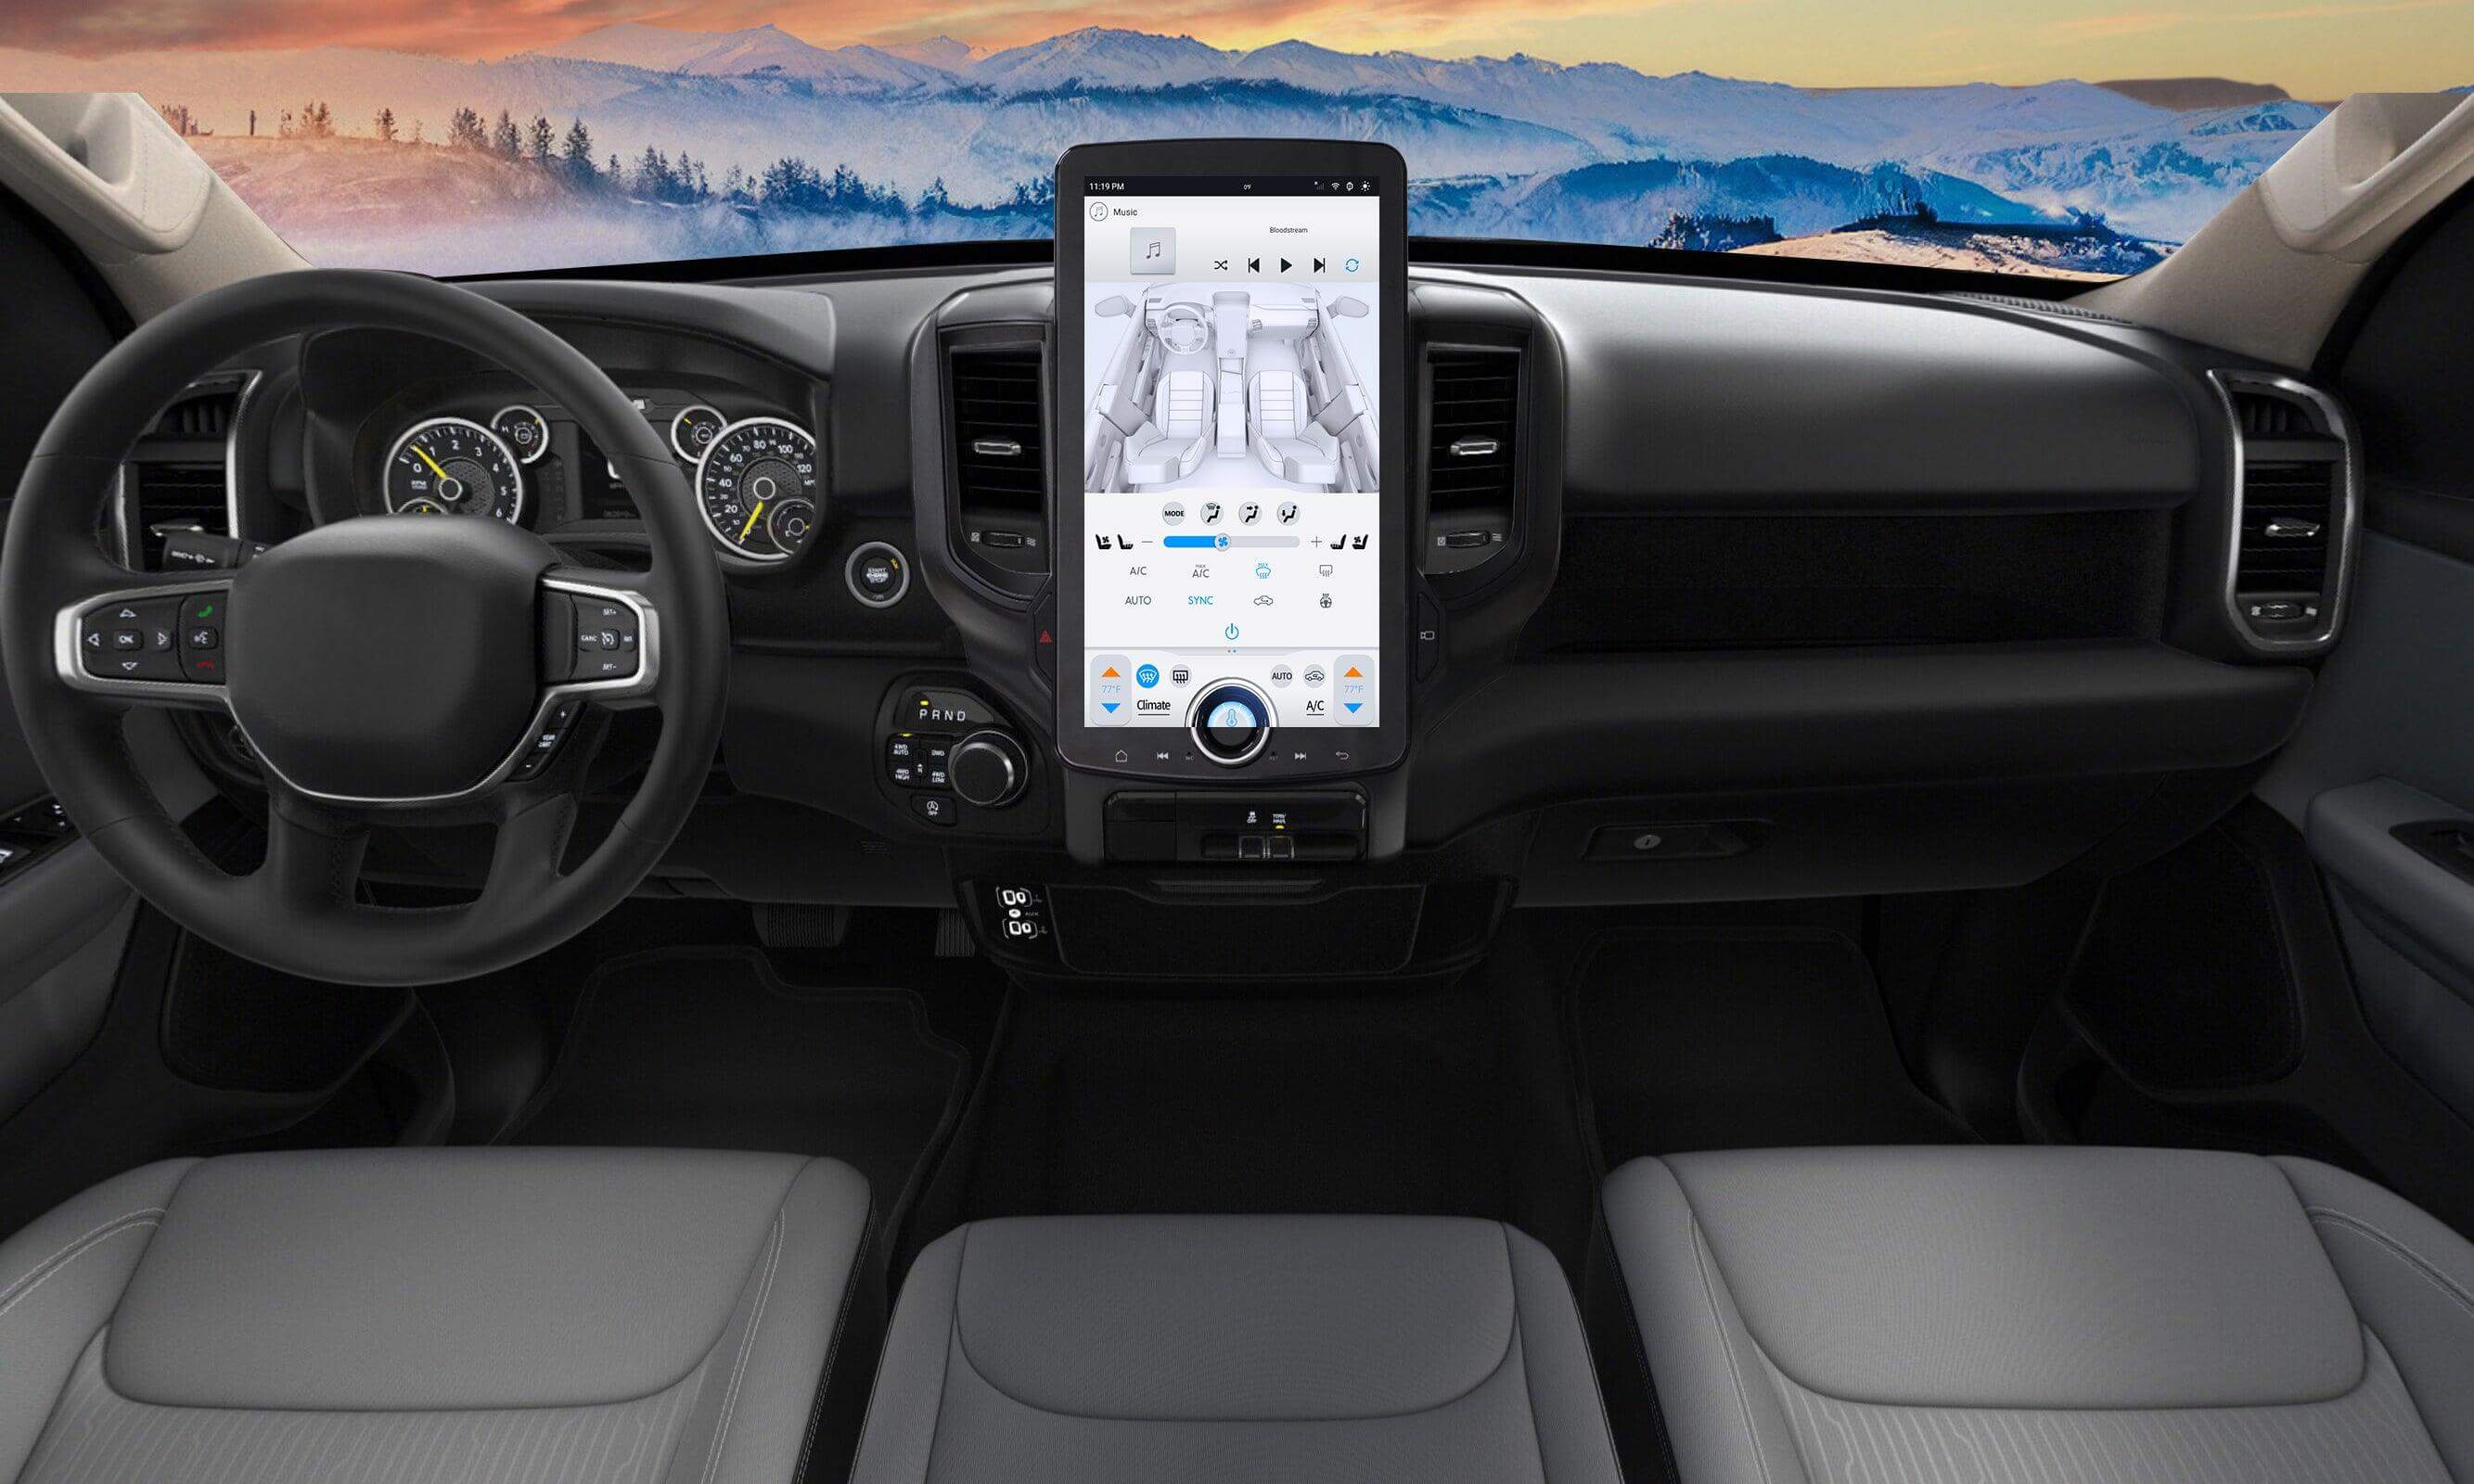
There is no doubt that upgrading your Jeep Wrangler or Gladiator (2018-2021) with a larger, more feature-rich infotainment system is a fantastic way to enhance your driving experience. The XAutoStereo 15.6" T-Style XL Radio offers a modern, sleek design with cutting-edge functionality, including a larger screen, improved navigation, and seamless connectivity options. This guide walks you through the installation process, helping you bring your vehicle’s entertainment system into the 21st century.
Why Choose the 15.6" T-Style XL Radio?
Before diving into the installation steps, let’s quickly explore why the T-Style XL Radio is an excellent upgrade for your Jeep:
-
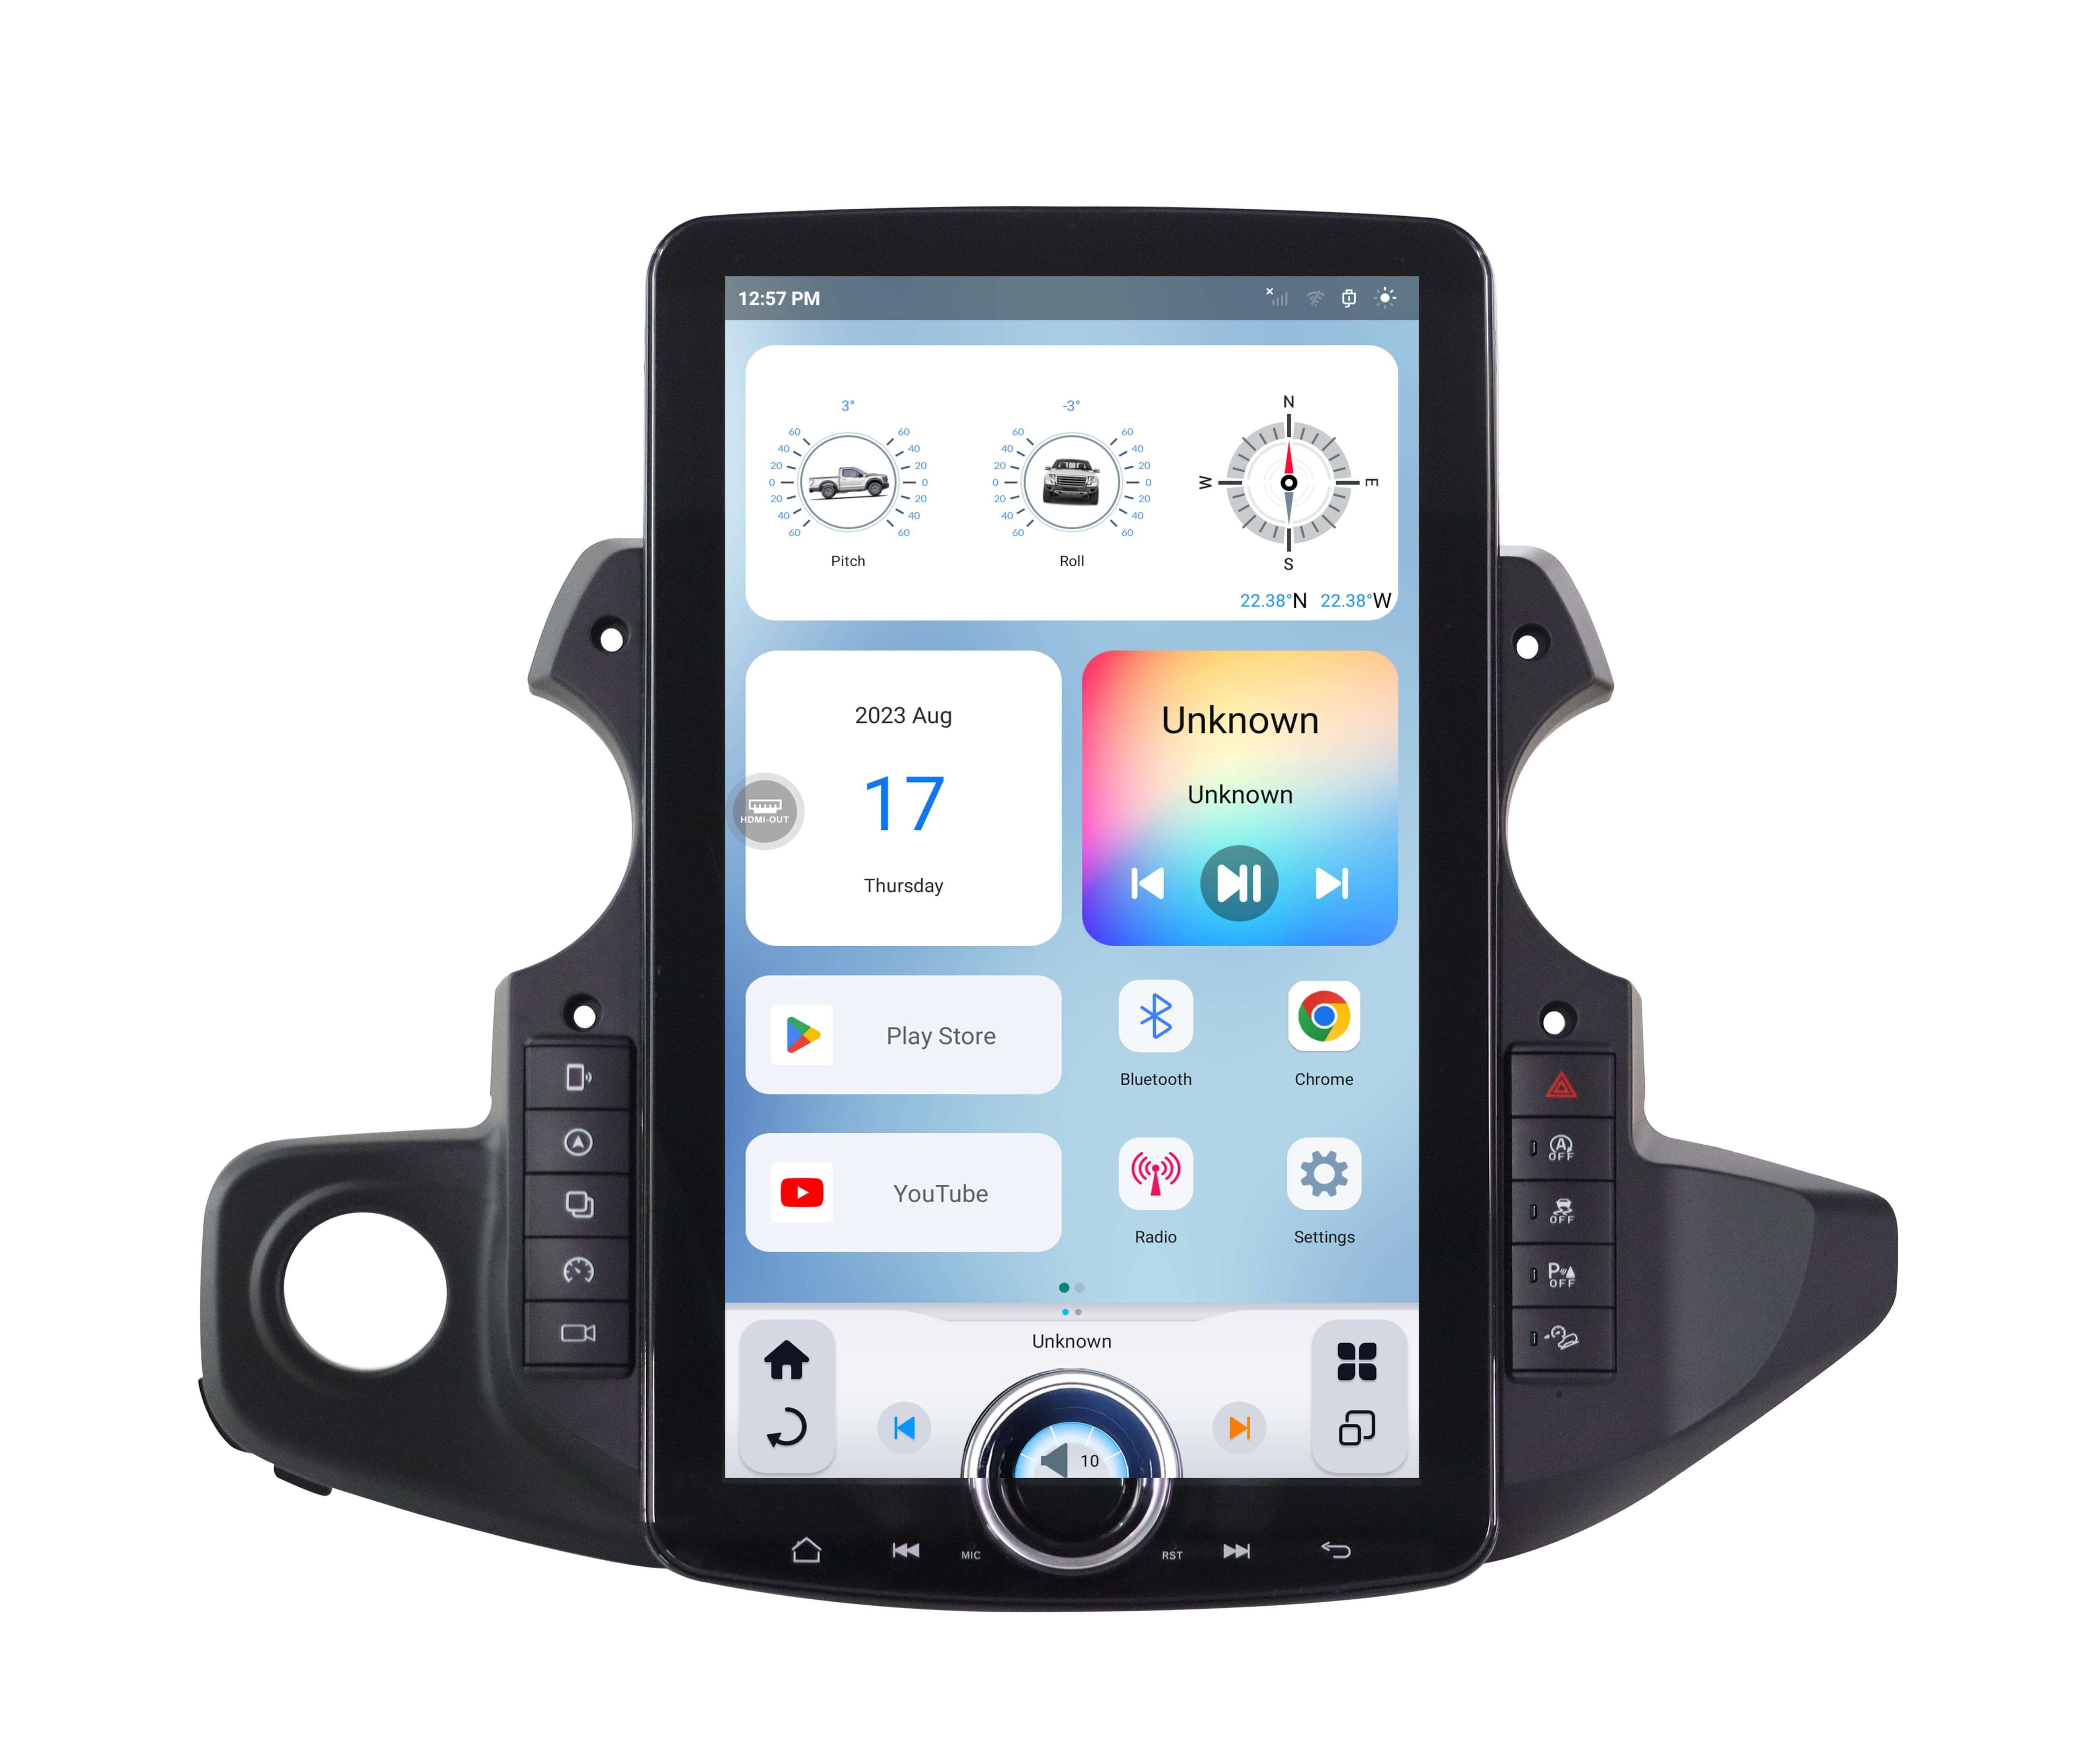
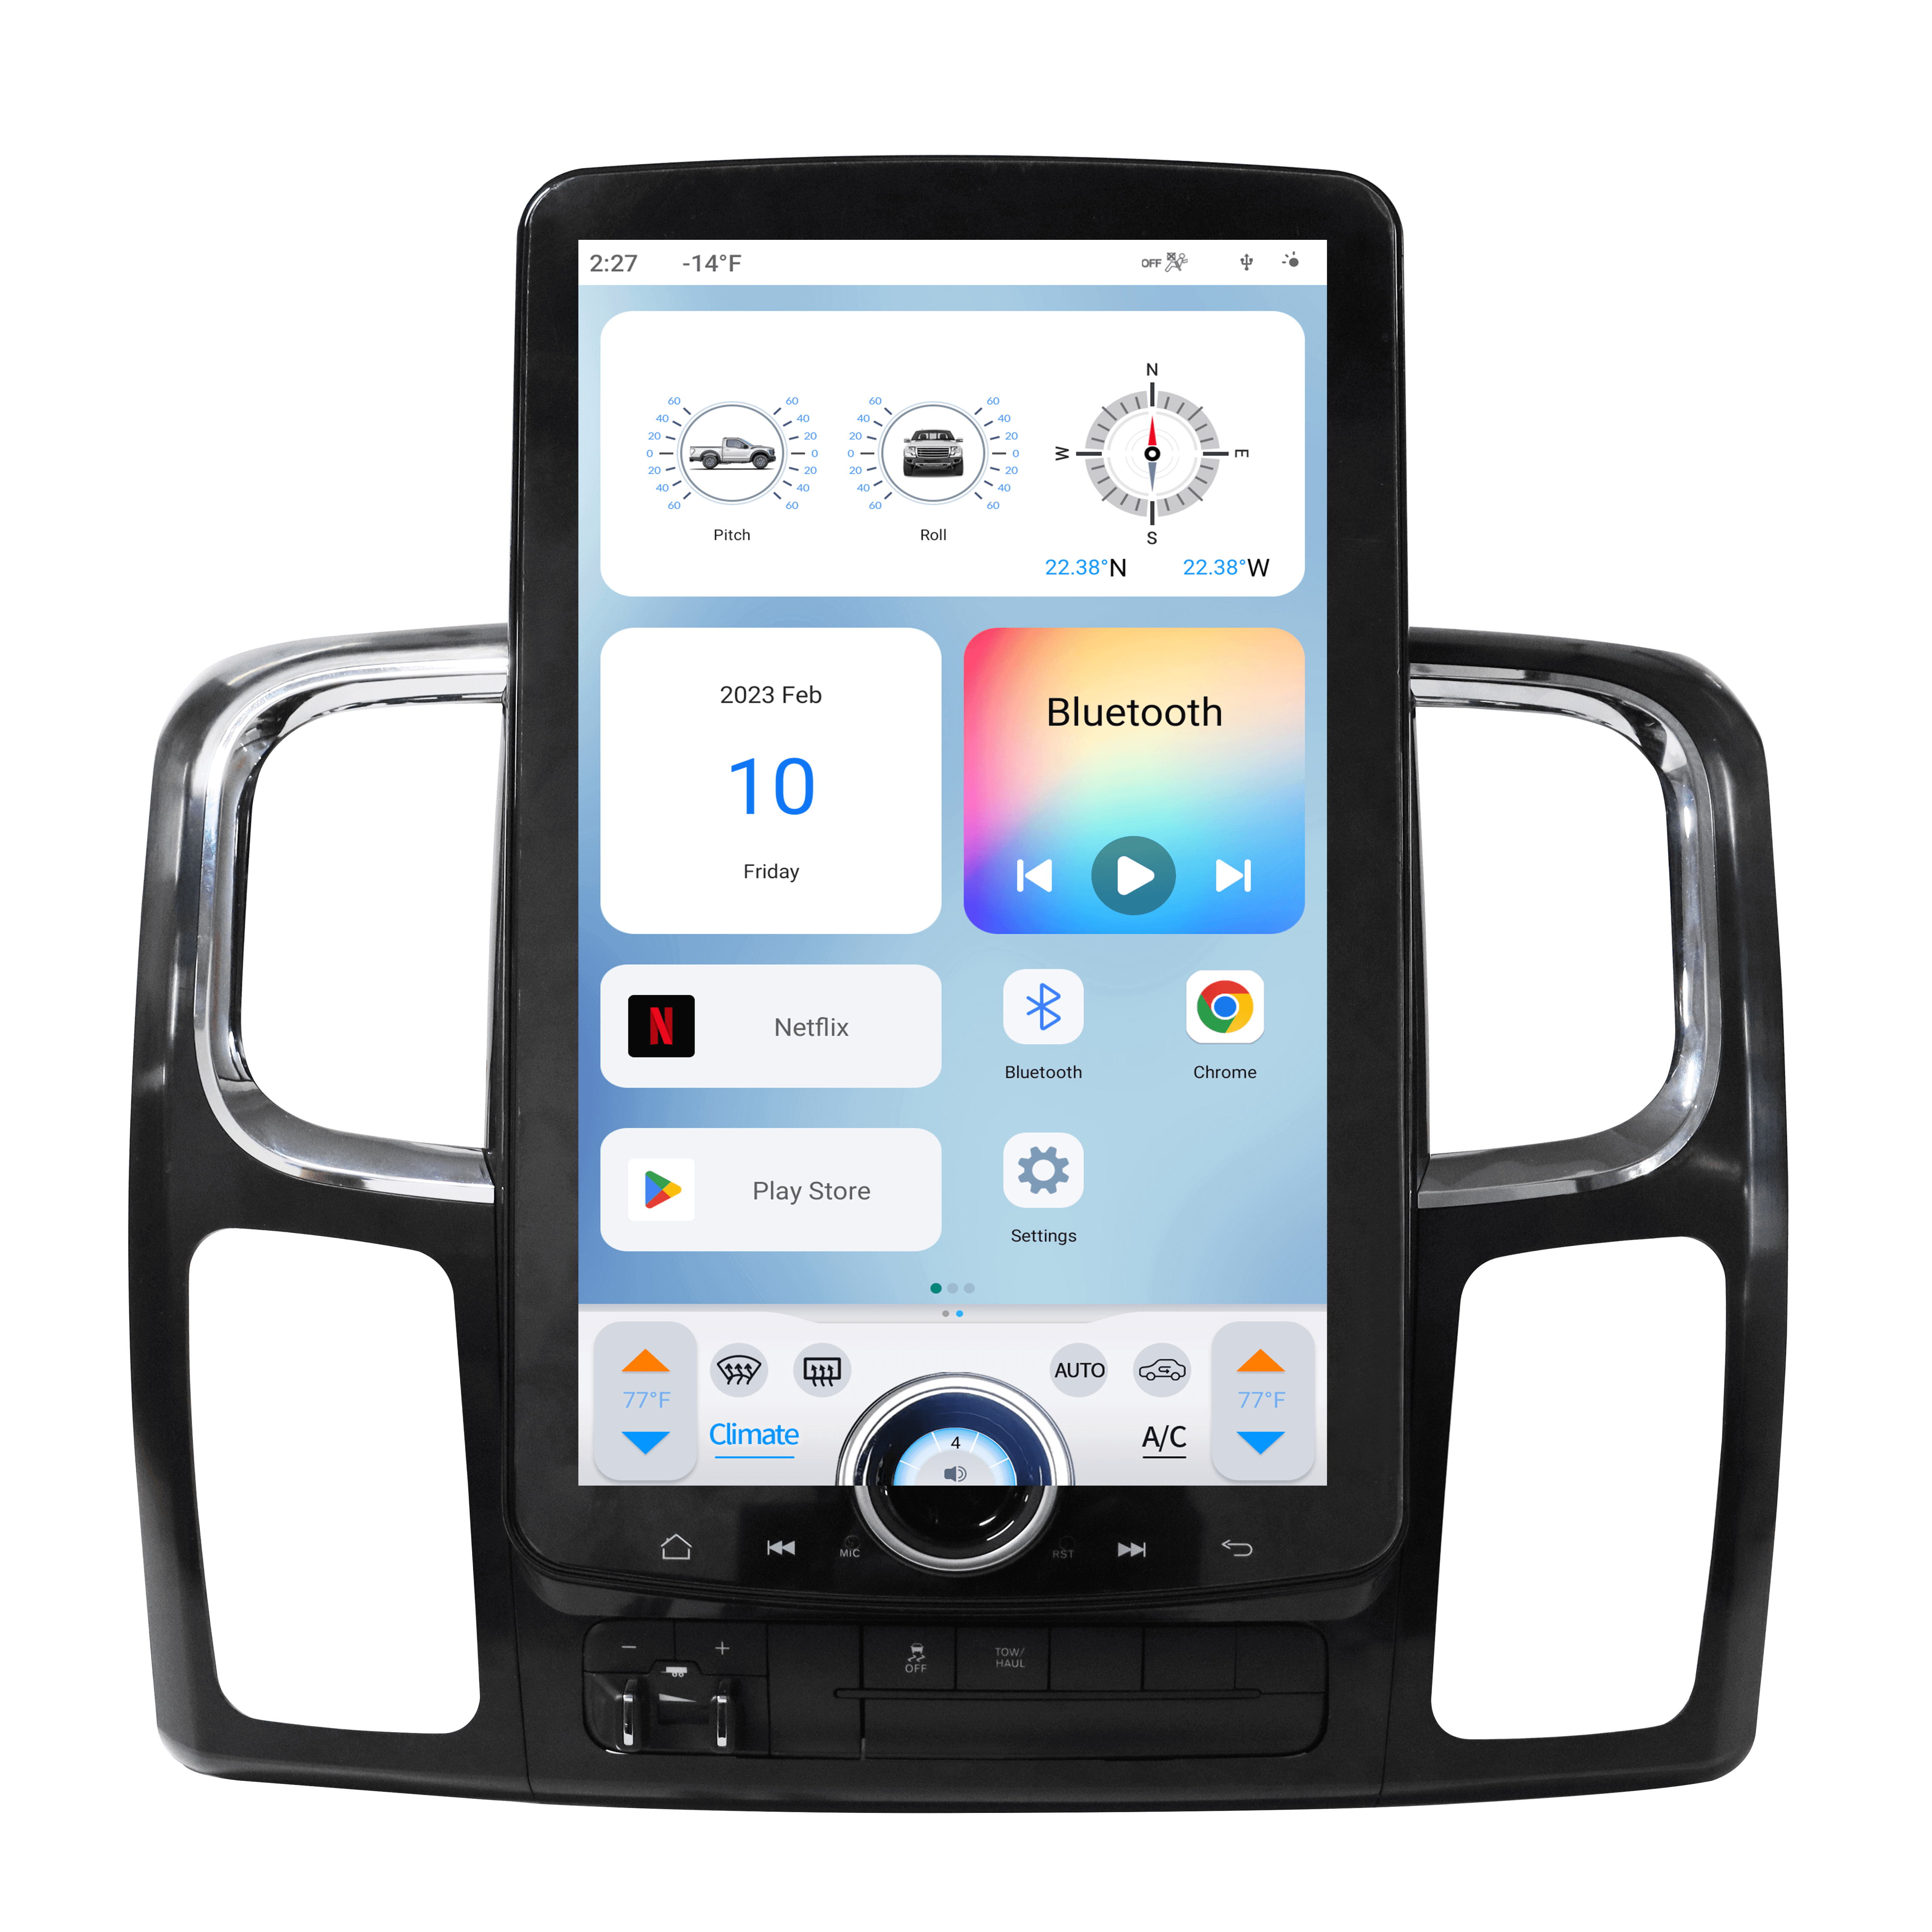
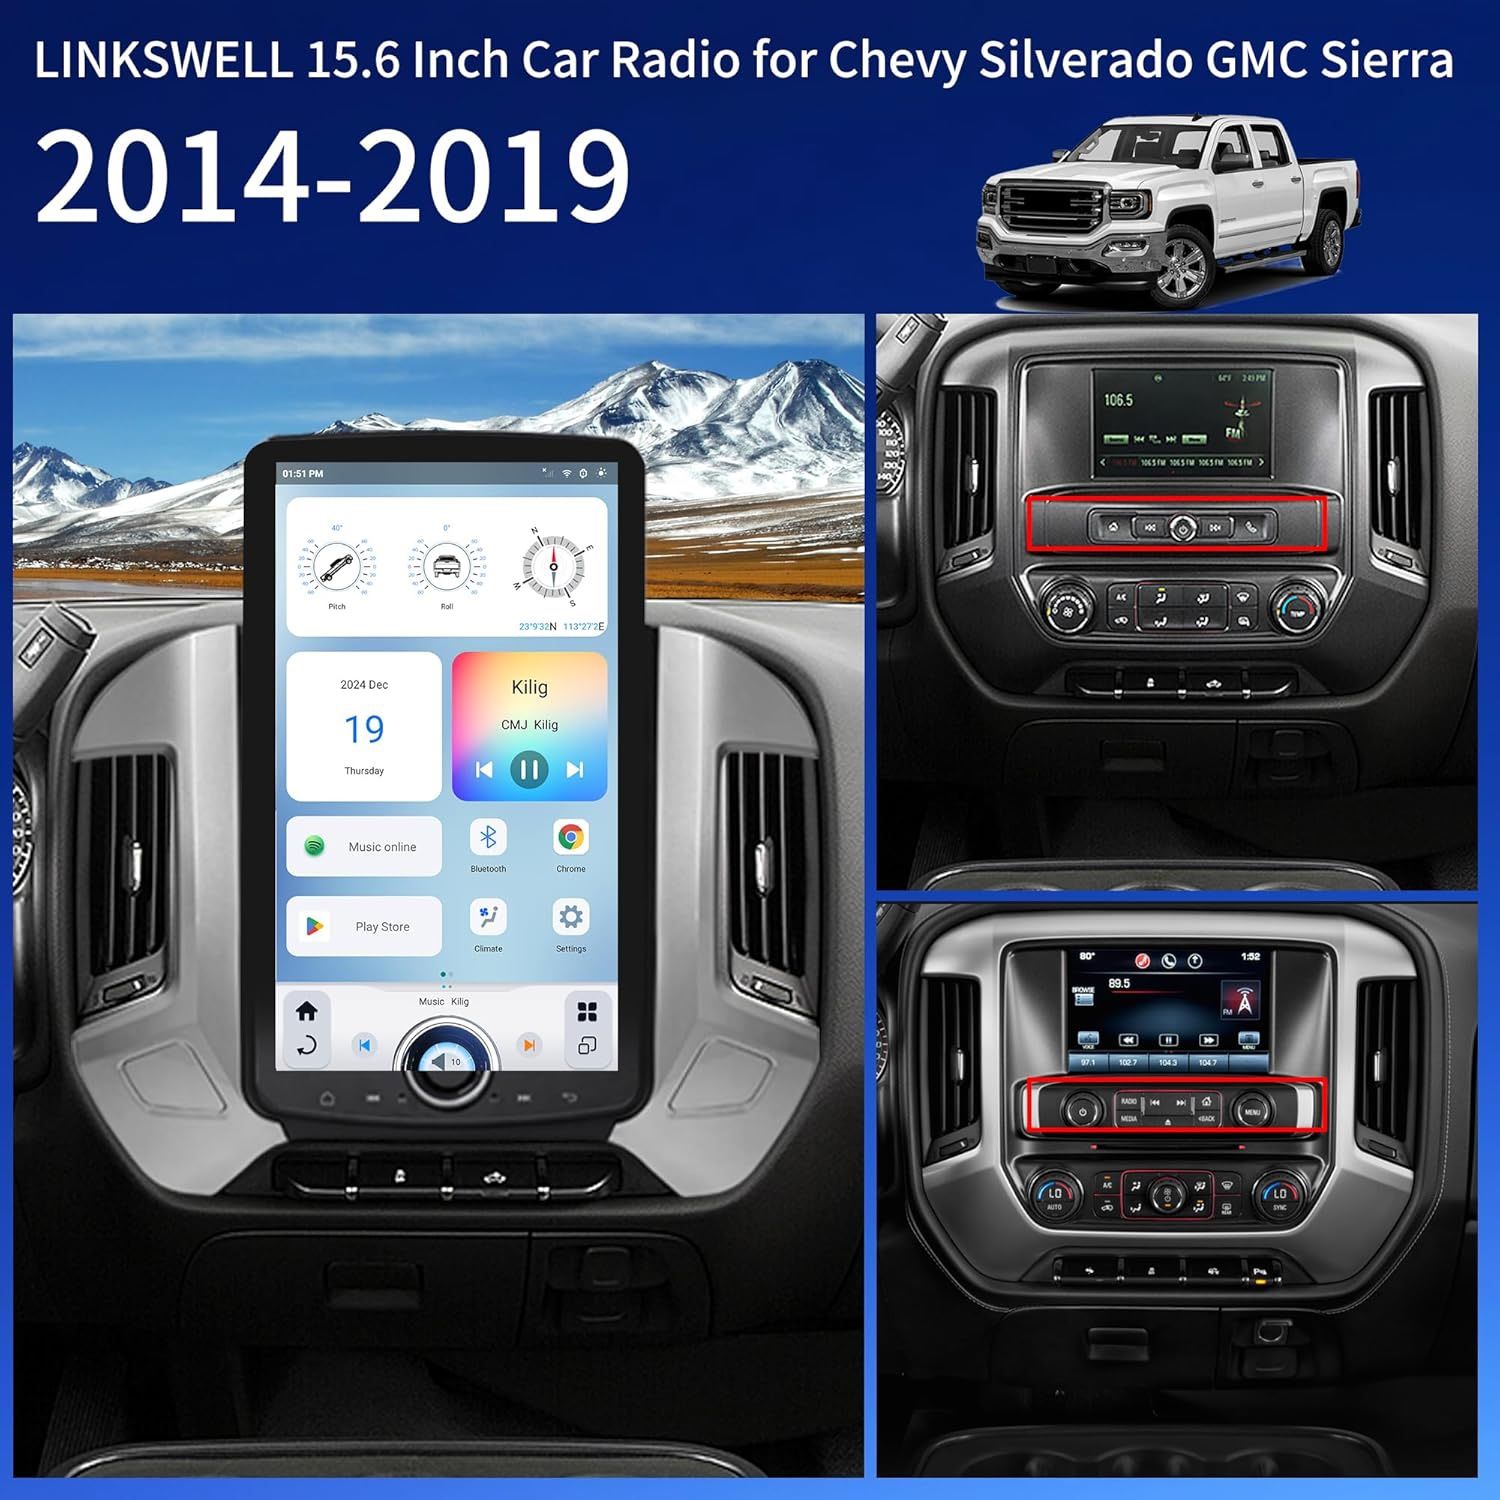
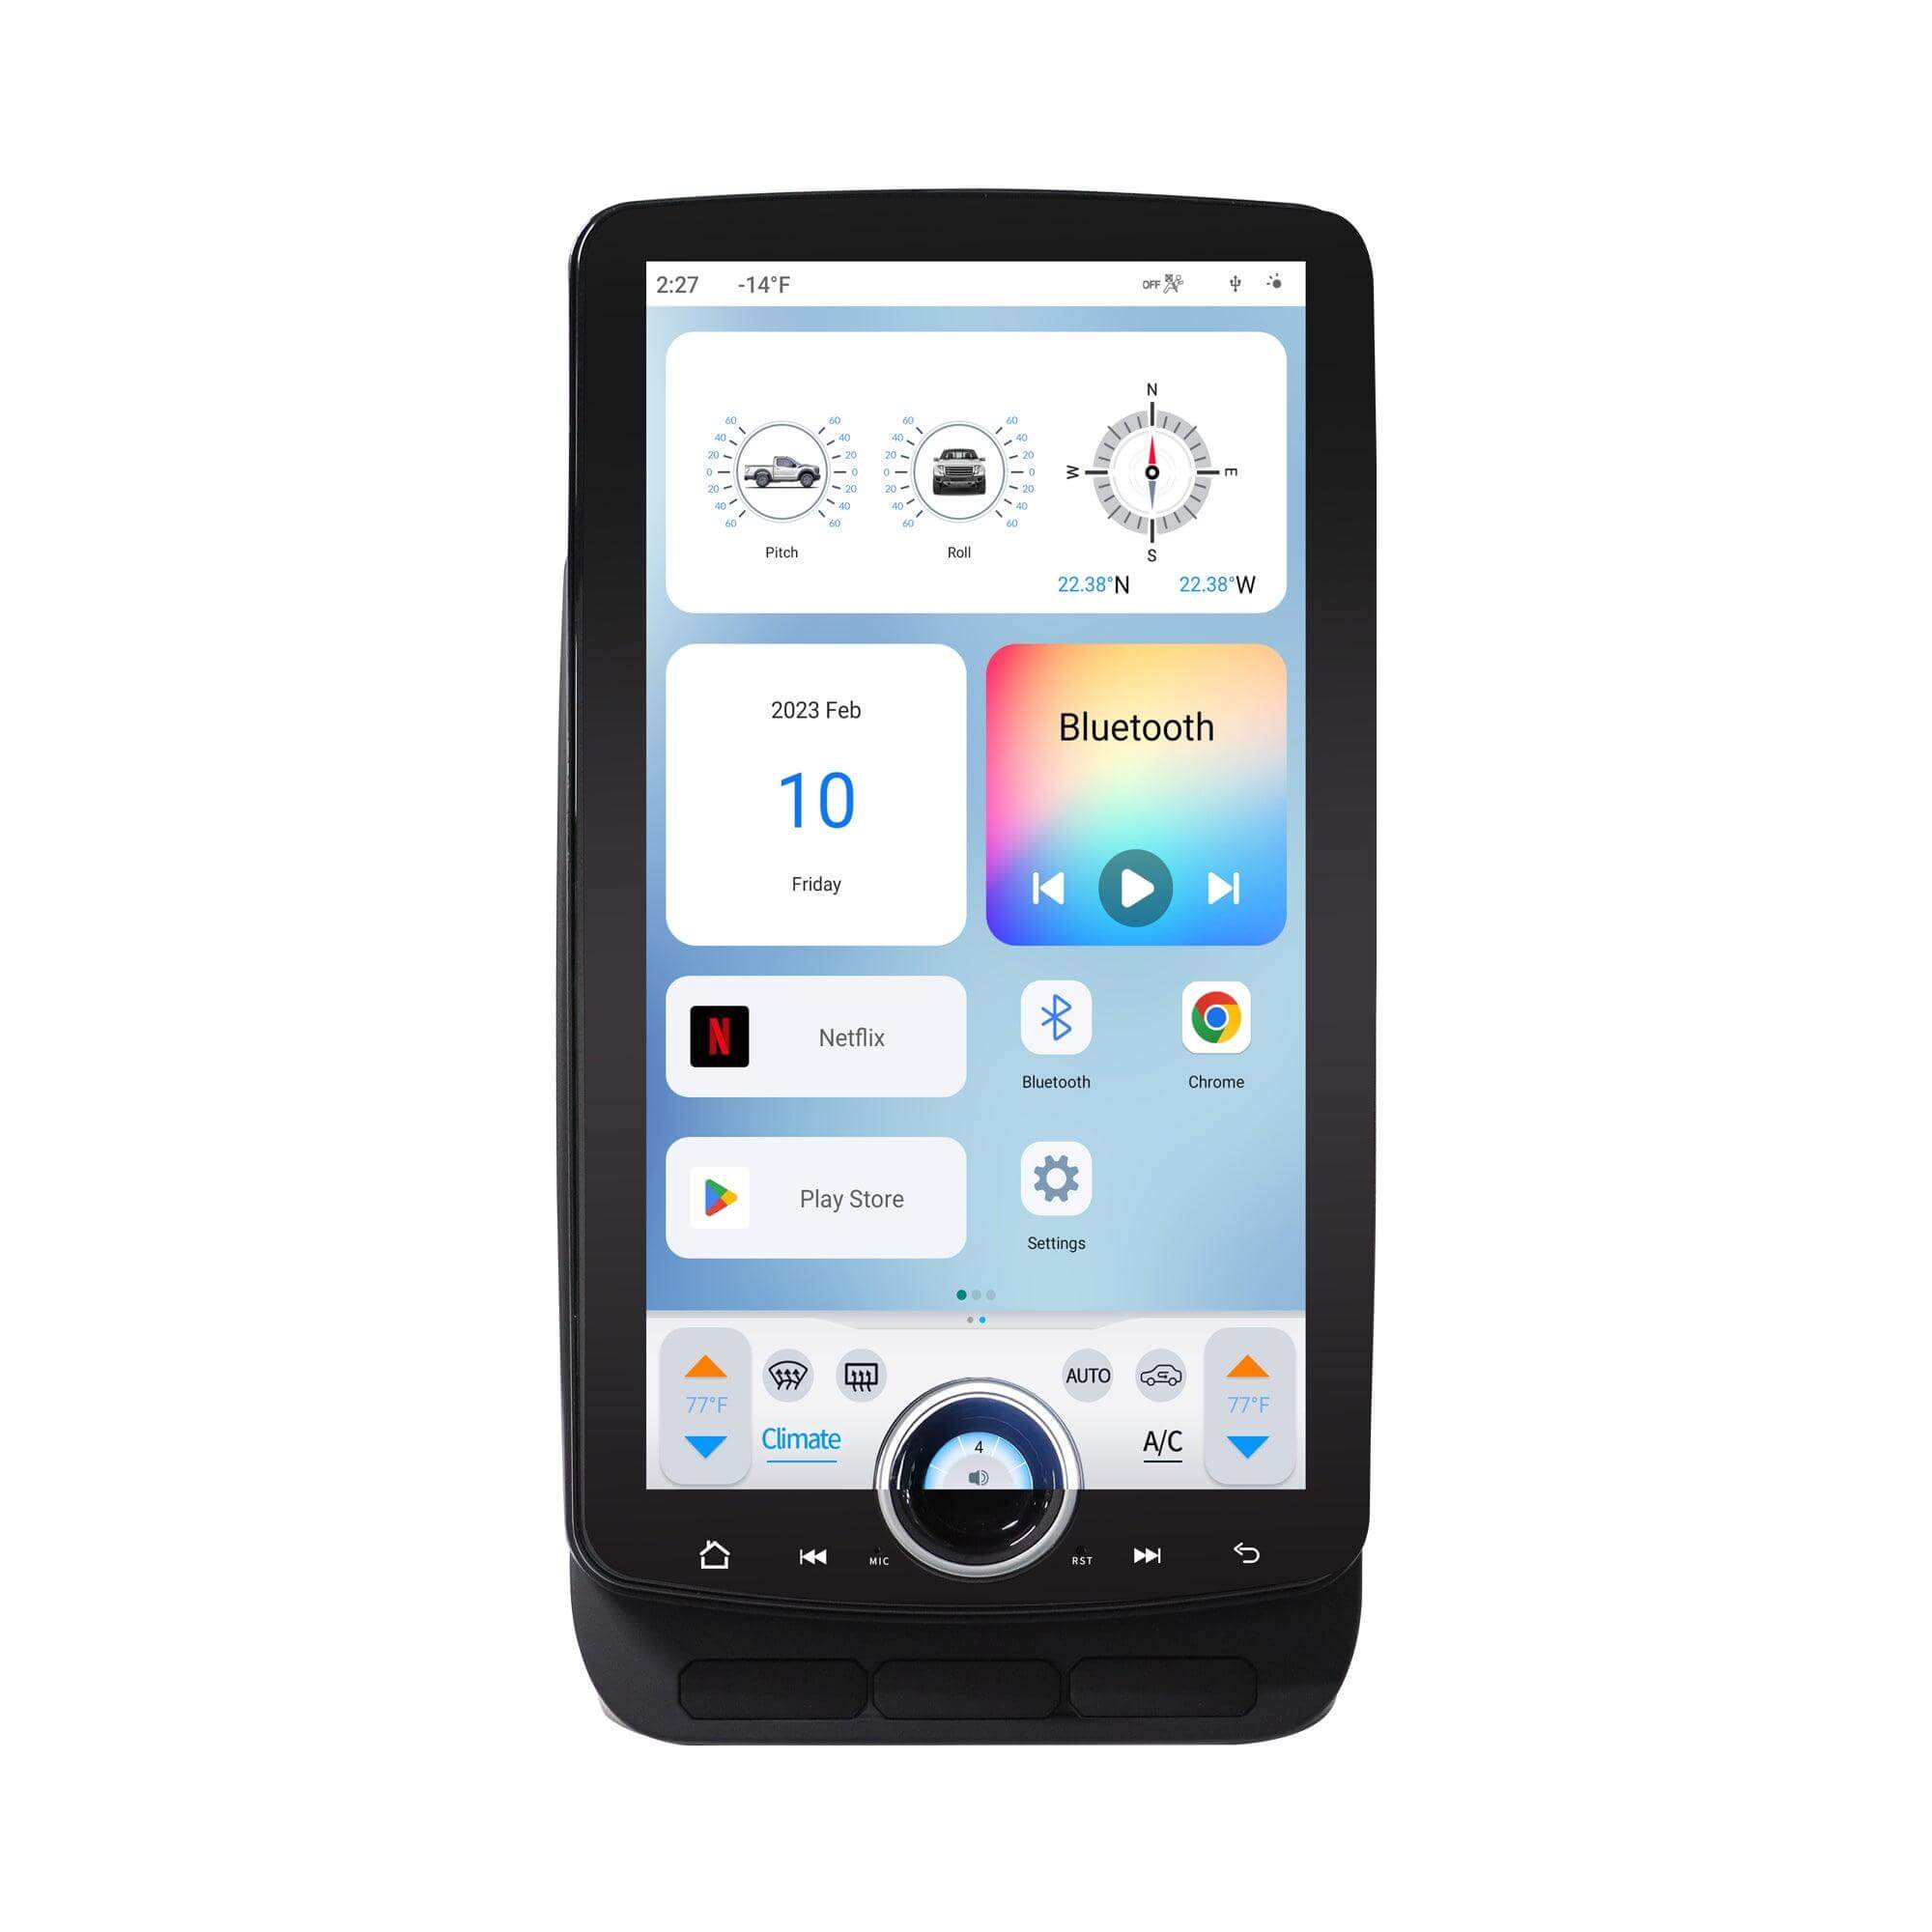
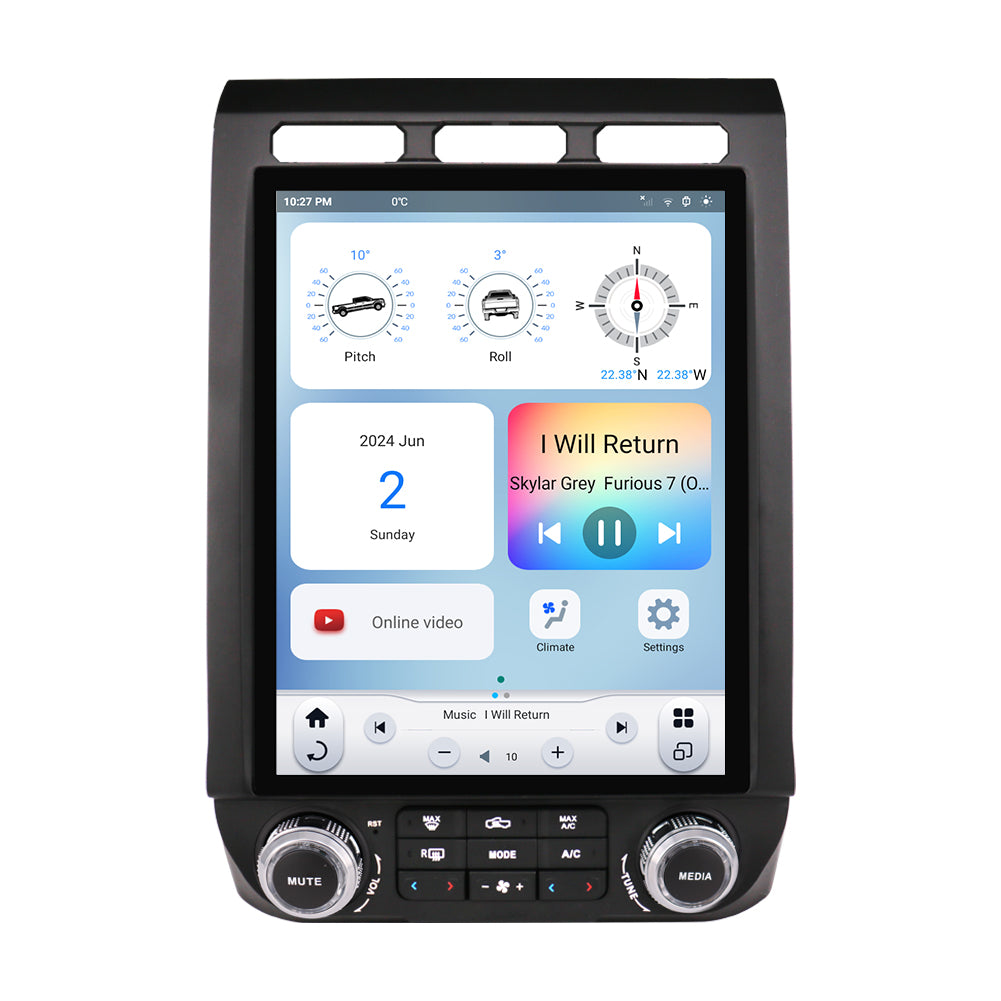
Larger Screen: The 15.6" screen is significantly bigger than the stock radio, offering a more immersive viewing experience for navigation, media playback, and more.
-
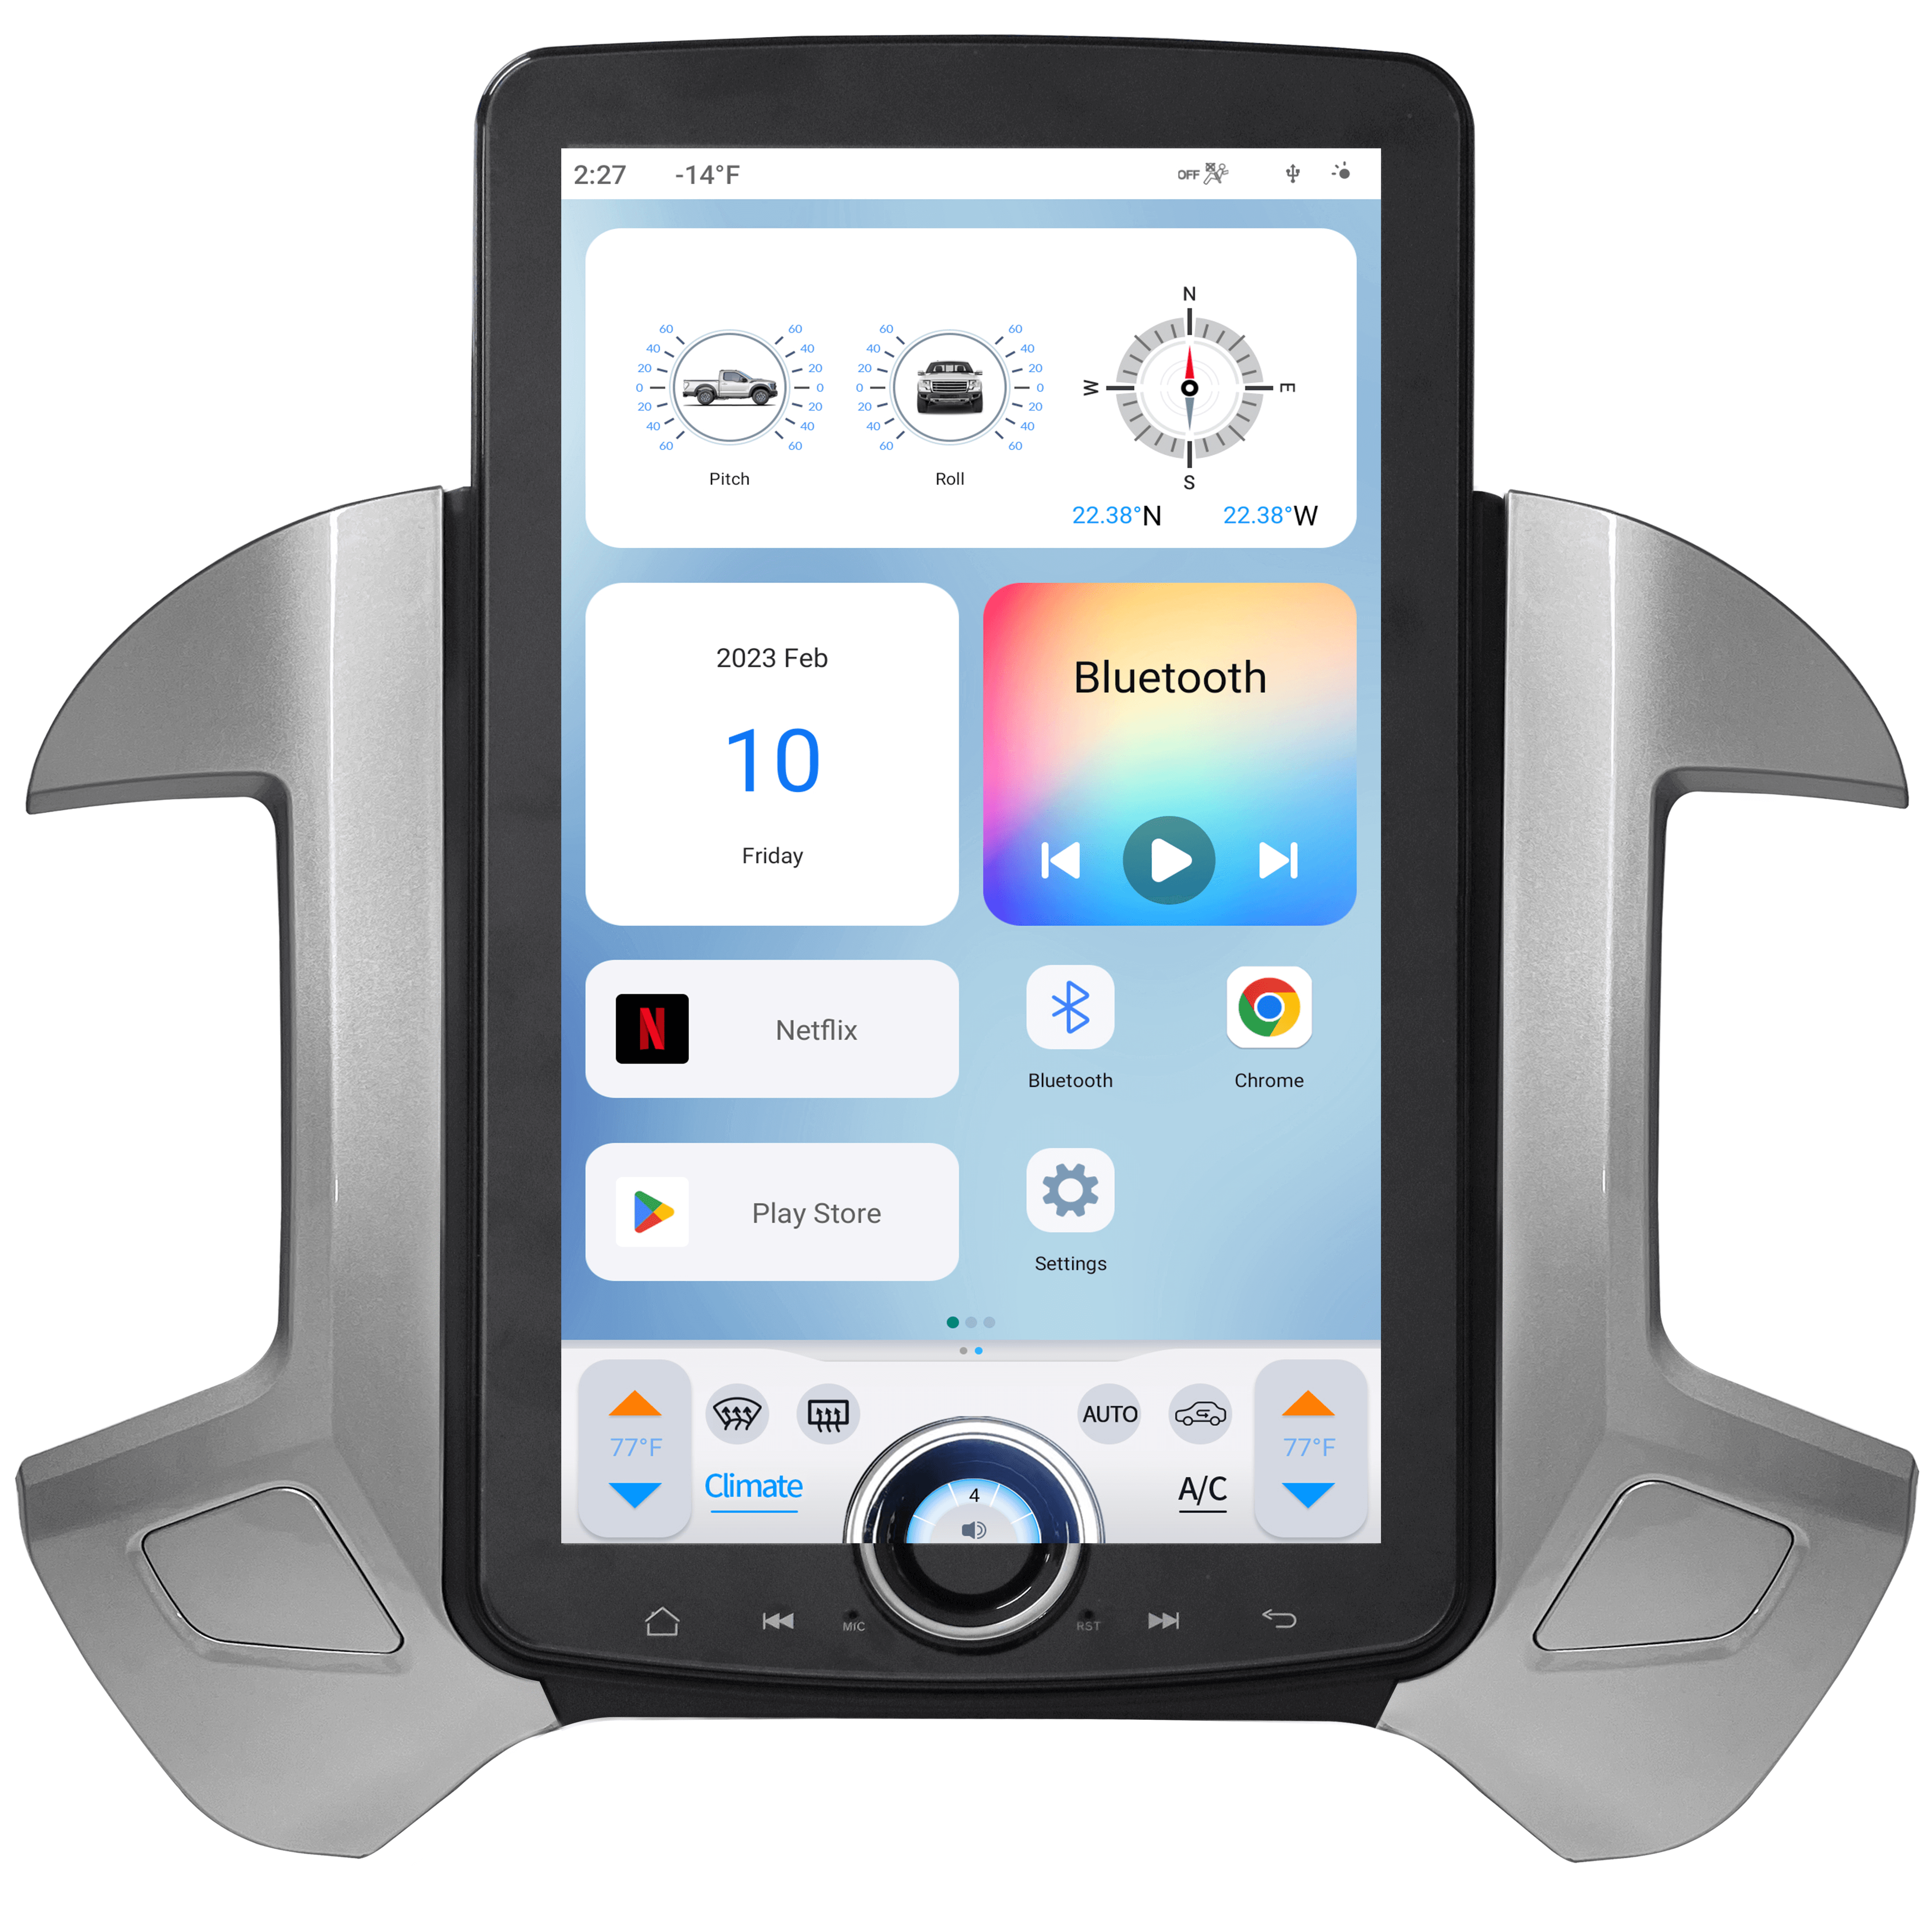
Enhanced Features: This unit comes with Android-based software, providing access to a wide range of apps, streaming services, and other multimedia options.
-
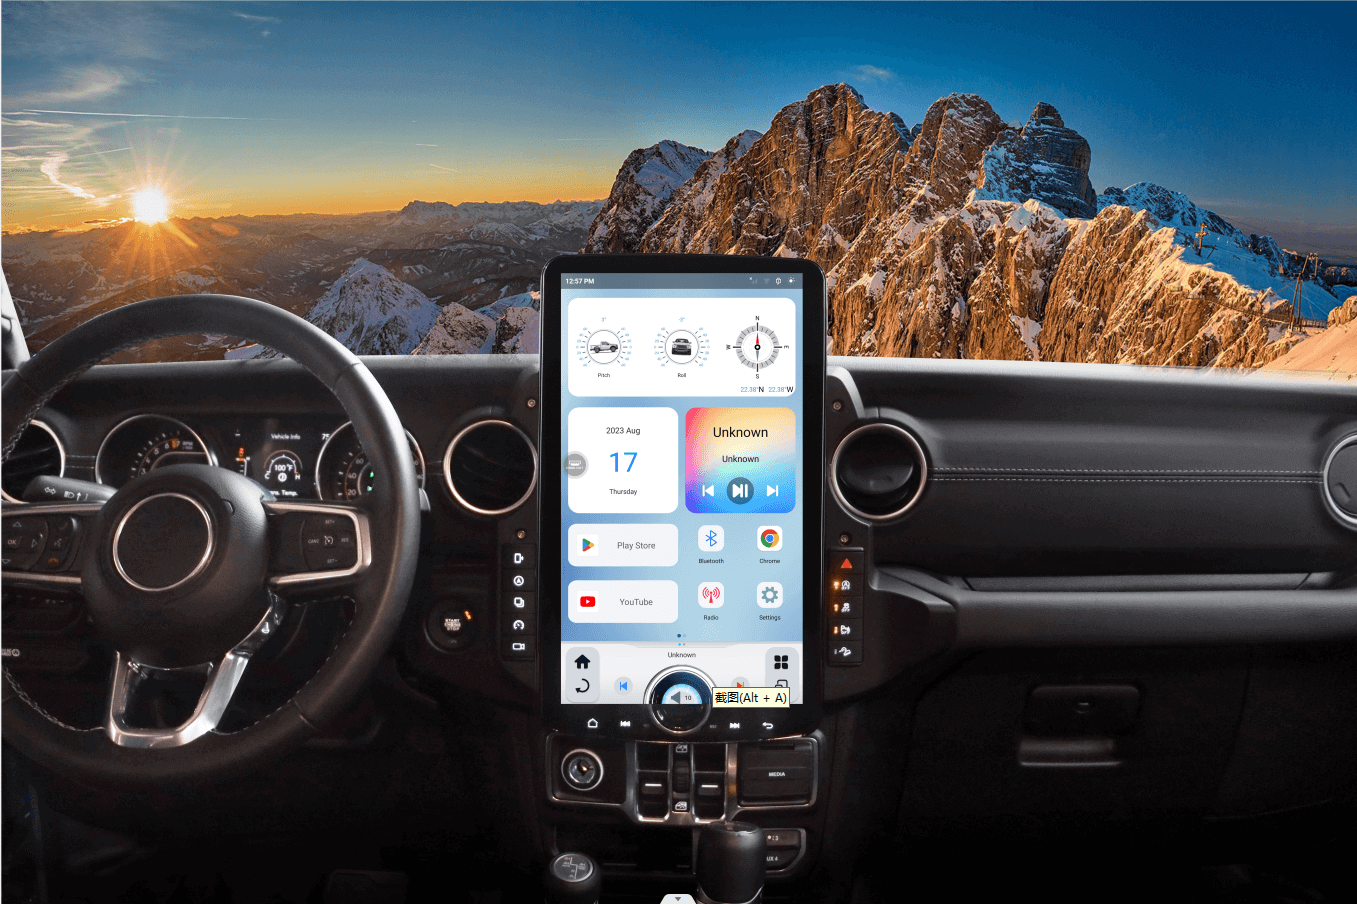
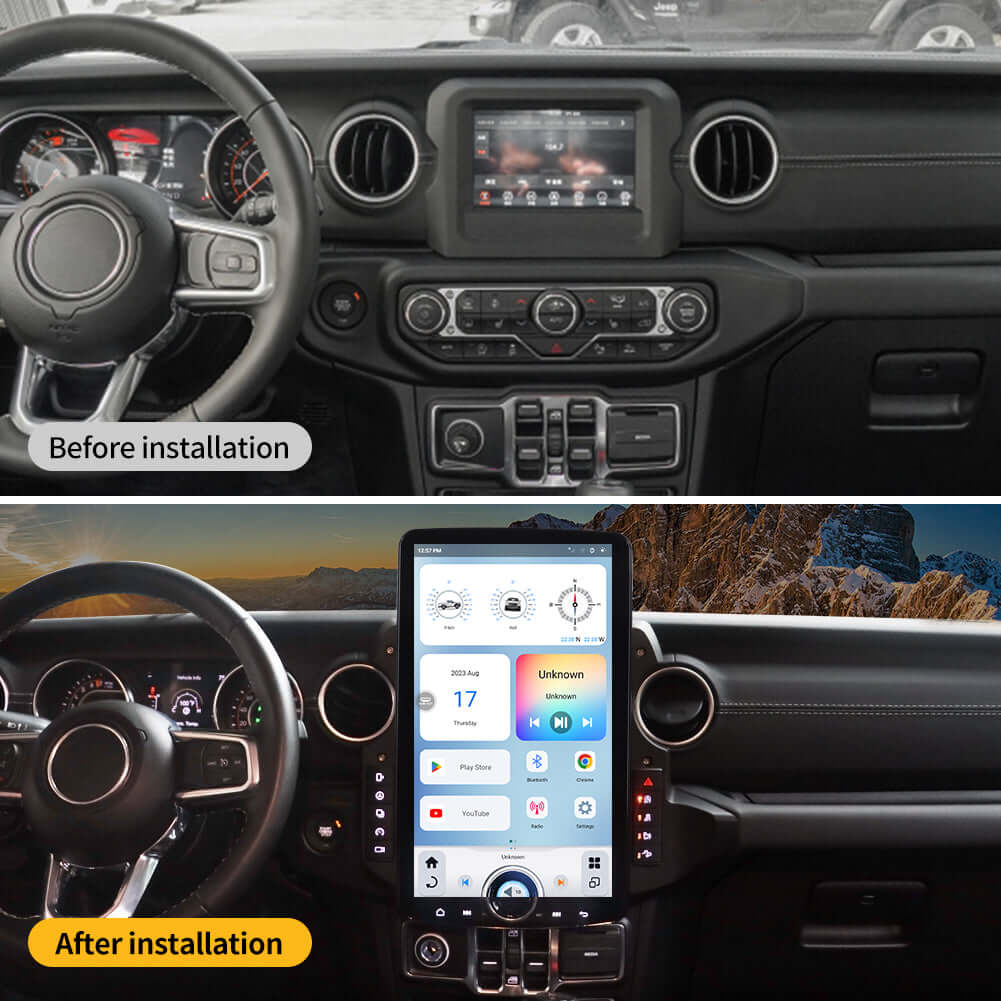
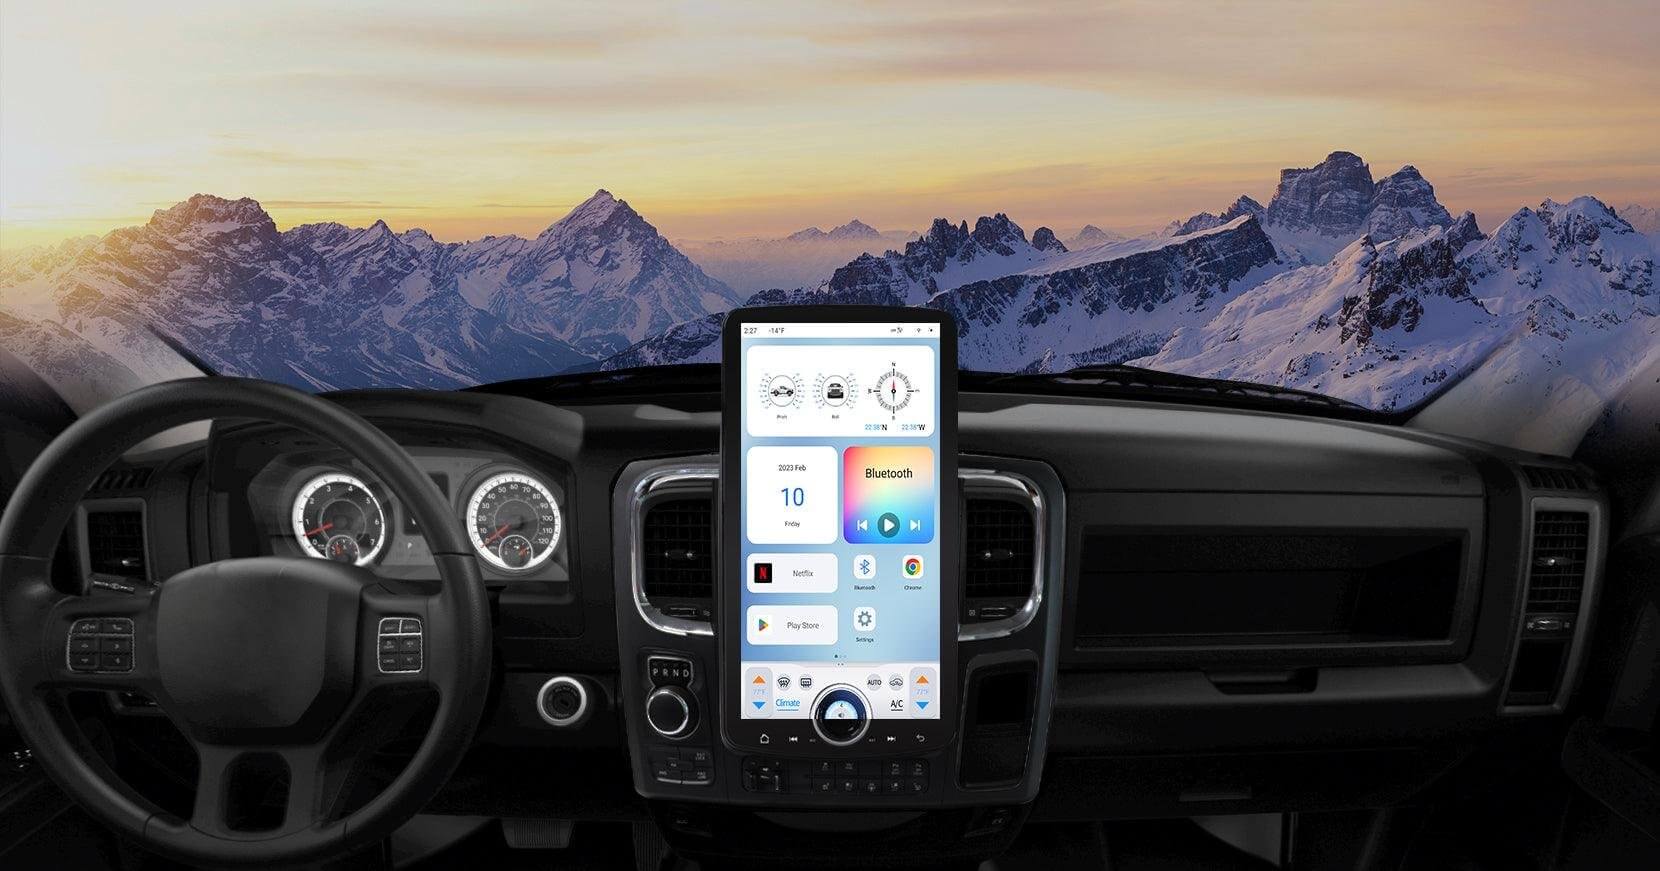
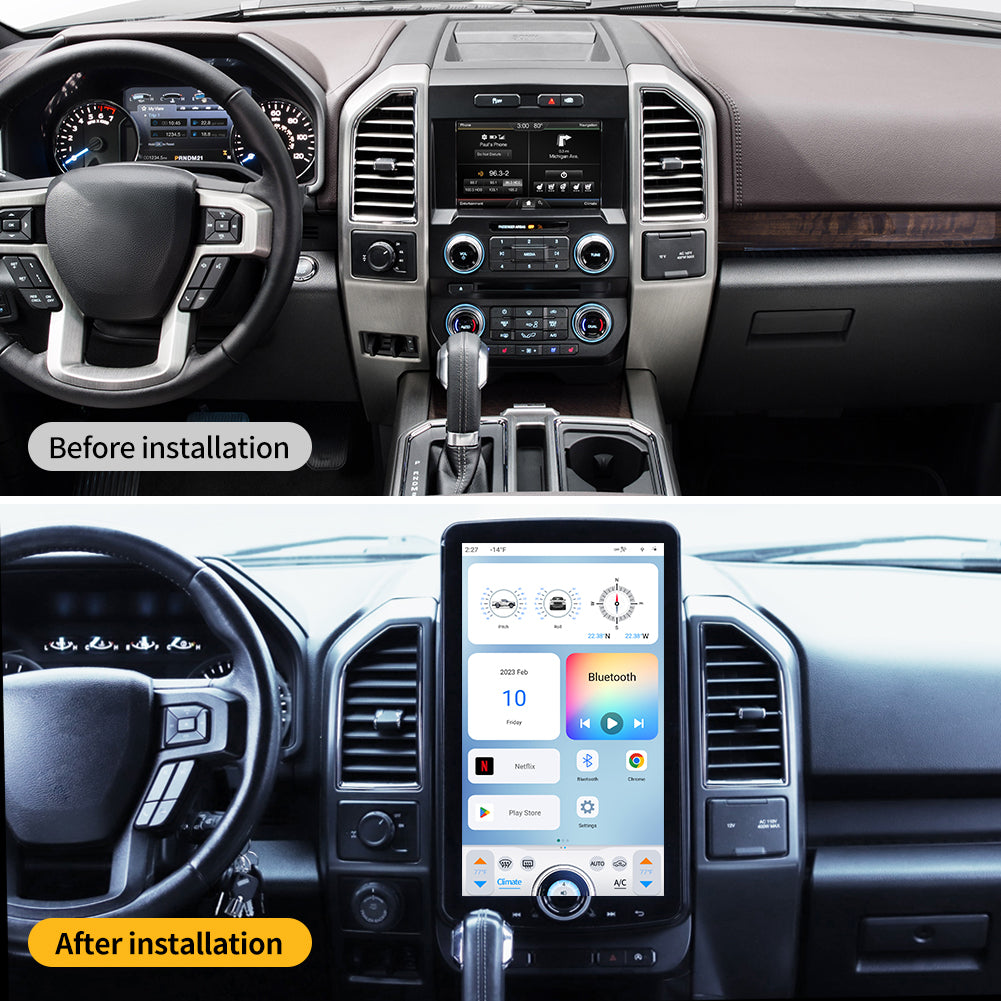
Sleek Design: The T-Style XL fits seamlessly into the Jeep’s dashboard, offering a stylish look that complements the rugged design of your vehicle.
-
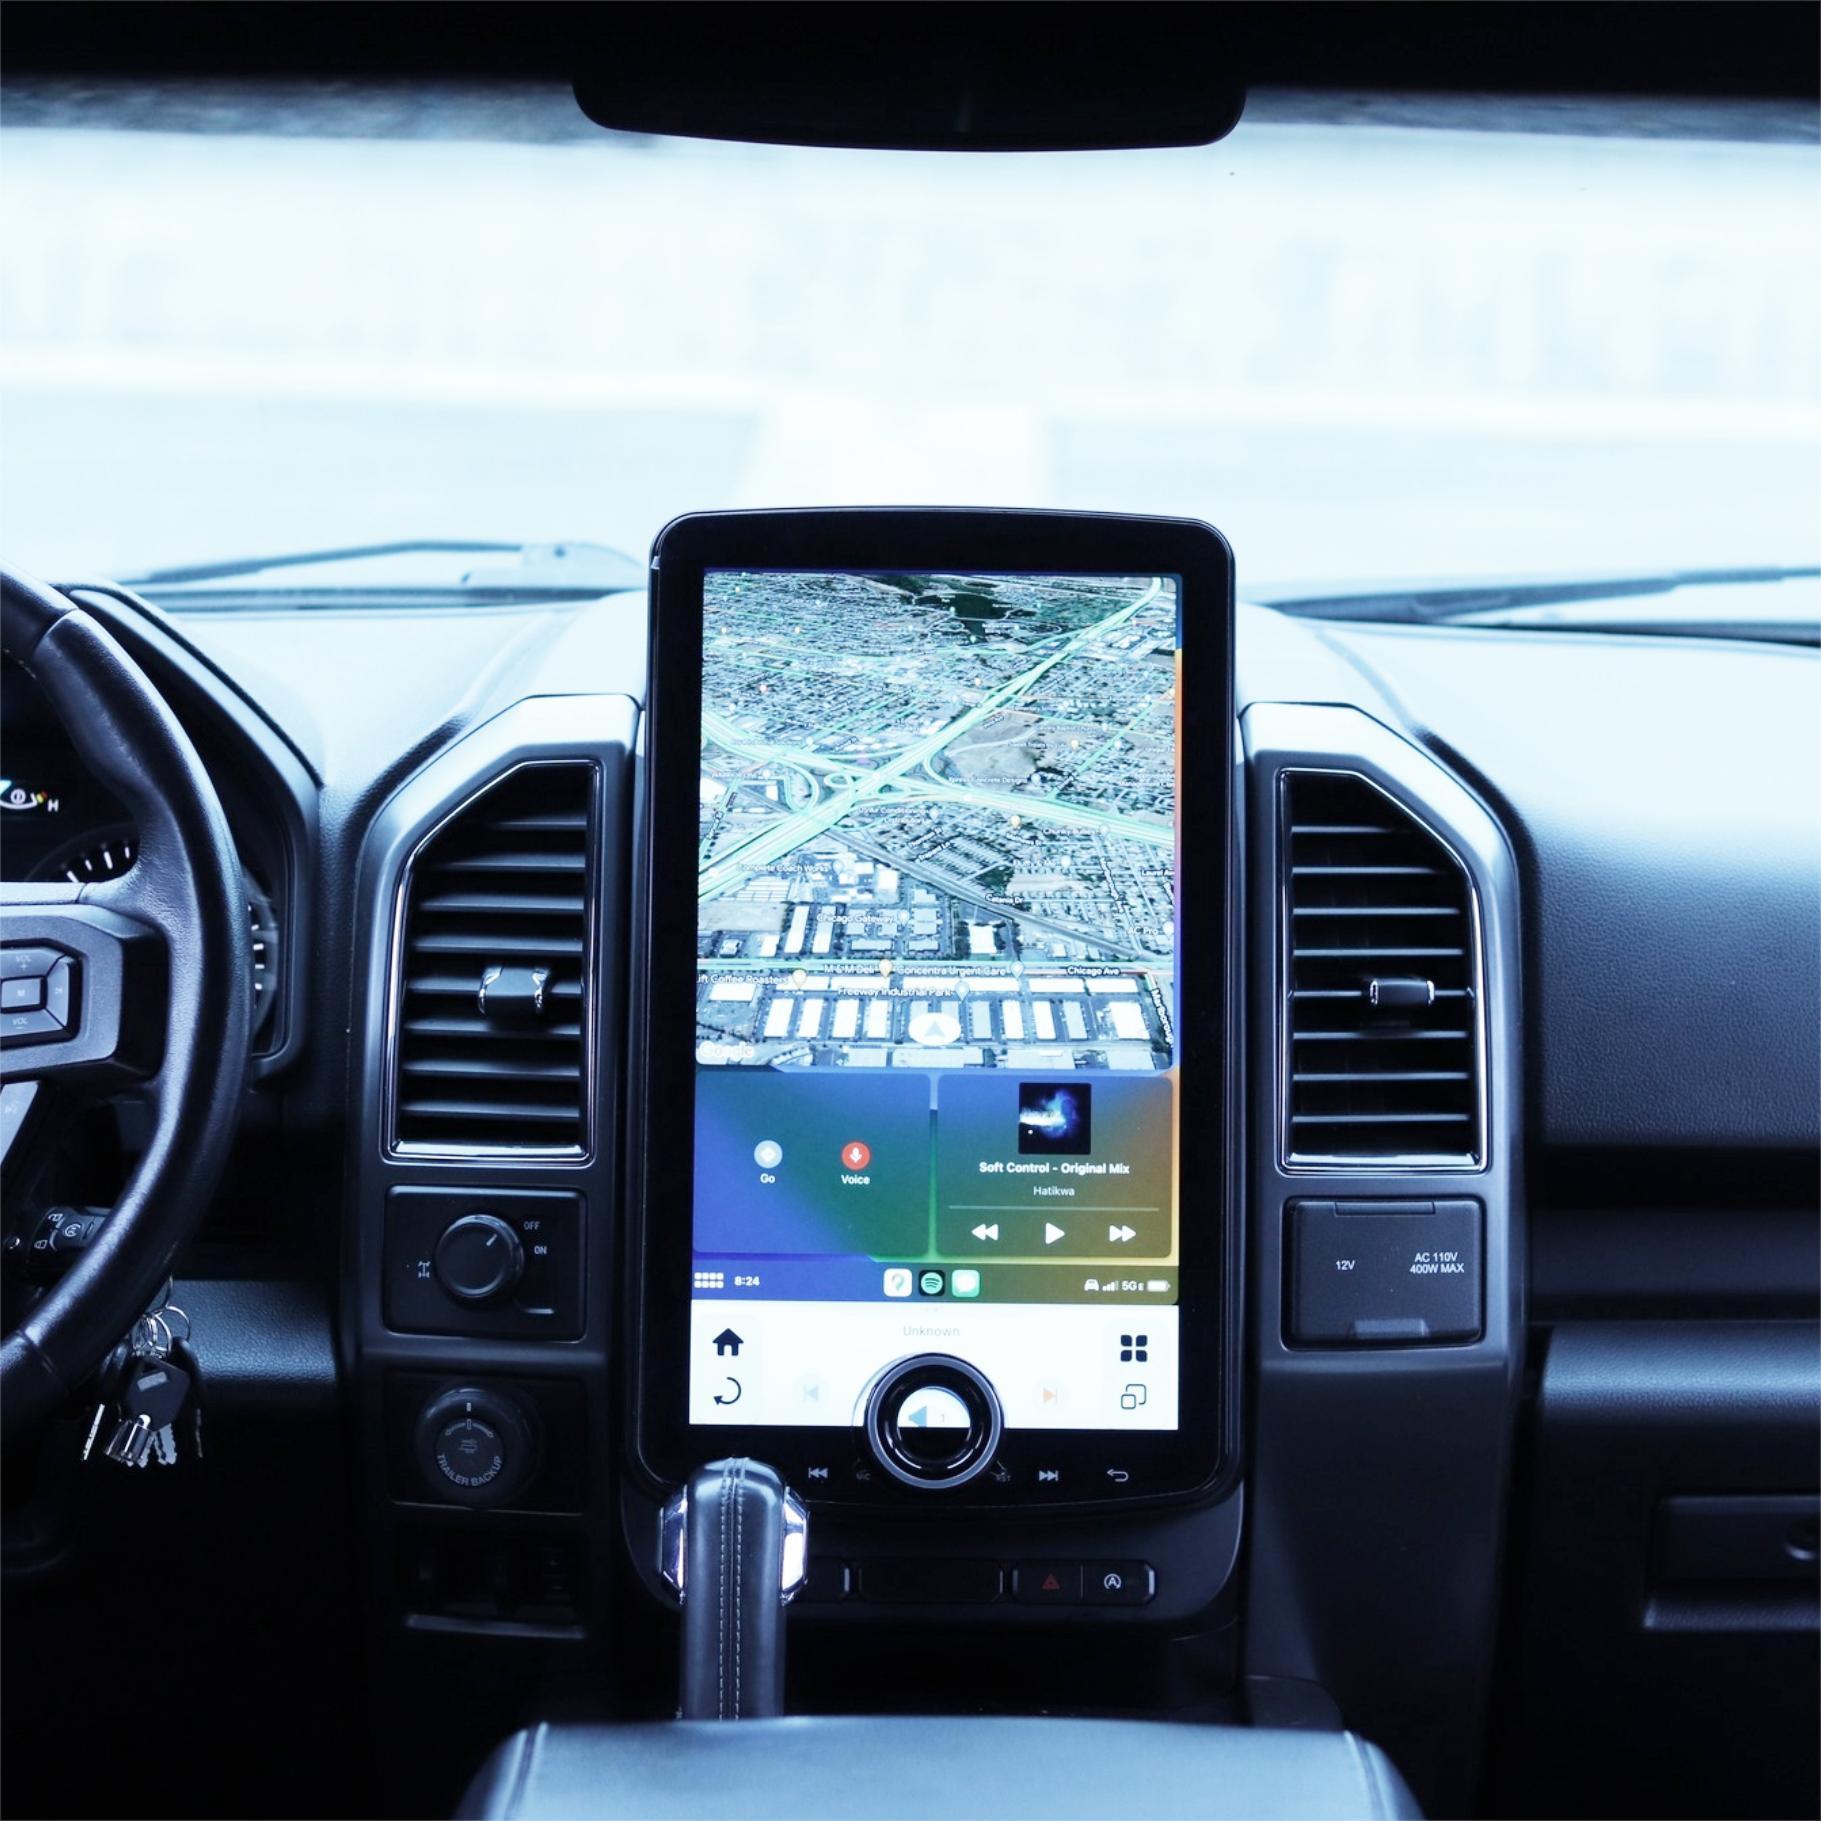
Improved Navigation: With its built-in GPS and advanced mapping software, you’ll get more accurate and real-time navigation, ideal for off-road adventures.
-
Wireless Connectivity: Bluetooth, Wi-Fi, Apple CarPlay, and Android Auto are supported, enabling hands-free control and the ability to stream music, make calls, and use other smartphone apps with ease.

Now that you know why this upgrade is worth it, let’s look at how you can install the T-Style XL Radio in your 2018-2021 Jeep Wrangler or Gladiator.
Tools You’ll Need
Before starting the installation, gather the following tools and materials:
- T-Style XL Radio Kit
- Pry tools (plastic trim removal tools)
- Socket wrench set
- Screwdrivers (Phillips and flathead)
- Electrical tape
- Wire connectors
- A USB-to-auxiliary cable (if necessary)
- Torque wrench
Step-by-Step Installation Process
Step 1: Disconnect the Battery
The first step in any vehicle electronic installation is to disconnect the vehicle’s battery. This ensures that you don’t accidentally short-circuit any electrical components while working on the radio. Use a wrench to remove the negative terminal from the battery and secure it to the side.
Step 2: Remove the Old Radio
Using a plastic trim removal tool, gently pry off the dashboard panel surrounding your stock radio. Take your time to avoid cracking the trim. Once the trim is removed, locate the screws that are securing the radio in place and use a screwdriver to remove them.
Next, pull the radio out of the dash and disconnect the wiring harnesses and antenna cable connected to the back of the unit. Keep track of any screws or clips, as you may need them later for the installation of the T-Style XL Radio.
Step 3: Prepare the Wiring Harness
The T-Style XL Radio will come with a custom wiring harness that needs to be connected to your Jeep’s electrical system. Carefully match the wires from the new radio to the corresponding wires from your vehicle using the provided wiring diagram.
In some cases, you may need an adapter to match certain connectors. If the radio includes additional features like a backup camera or external microphone, be sure to connect these as well.

Step 4: Connect the Wiring
Now it’s time to make the electrical connections. Connect the wiring harness from the T-Style XL Radio to the vehicle’s power supply and other necessary connections, including the antenna and auxiliary input. Use wire connectors or electrical tape to secure any loose connections and avoid potential short circuits.
Step 5: Install the T-Style XL Radio
Once the wiring is set up, it’s time to mount the T-Style XL Radio into the dash. Align the radio with the mounting holes and slide it into position. Secure the unit using the screws you removed from the stock radio. Make sure it fits snugly in place.
If you’re installing a backup camera or external microphone, carefully mount them in their respective locations, ensuring that all wires are neatly tucked away and free from interference with other components.
Step 6: Reassemble the Dashboard
With the radio securely in place and the wiring connected, carefully reassemble the dashboard. Start by placing the trim panel back around the radio, ensuring that it clips into place. Double-check that all screws are properly tightened.
Step 7: Power Up the System
Once everything is securely installed, reconnect the battery. Start the vehicle and power up the T-Style XL Radio to ensure that it’s functioning properly. You should see the Android interface on the screen, ready to guide you through setup.
If you have any specific settings you need to adjust, such as screen calibration, time zone, or audio preferences, now is the time to do so.
Step 8: Test All Features
Finally, test out all the features of your new T-Style XL Radio. Check the following:
- Bluetooth connectivity
- GPS and navigation
- Sound system and audio settings
- Backup camera (if installed)
- Apple CarPlay/Android Auto functionality
Make sure everything works smoothly and that there are no issues with the installation.
Tips for a Successful Installation
- Take Your Time: Installation can take a few hours, depending on your experience. Don’t rush the process to avoid making mistakes or damaging any components.
- Refer to the Video: For visual guidance, check out this helpful installation video: 15.6" T-Style XL Radio Installation for Jeep Wrangler/Gladiator (2018-2021).
- Use the Right Tools: Having the correct tools, like a torque wrench and pry tools, will make the job much easier and prevent unnecessary damage.
Conclusion
Upgrading to a 15.6" T-Style XL Radio in your 2018-2021 Jeep Wrangler or Gladiator is a game-changer for both daily commutes and off-road adventures. With a larger screen, improved navigation, and better connectivity options, your driving experience will be more enjoyable and tech-savvy.
By following this guide and taking your time with the installation, you can enjoy all the benefits of this high-tech upgrade. If you’re not confident in your abilities, consider seeking professional installation to ensure the best results.
Happy driving!


Share:
Enjoy the Best Drive: 7 Cool Features in Your Ford Truck
7 Best Pickup Trucks for 2025: Which One Would You Buy?