
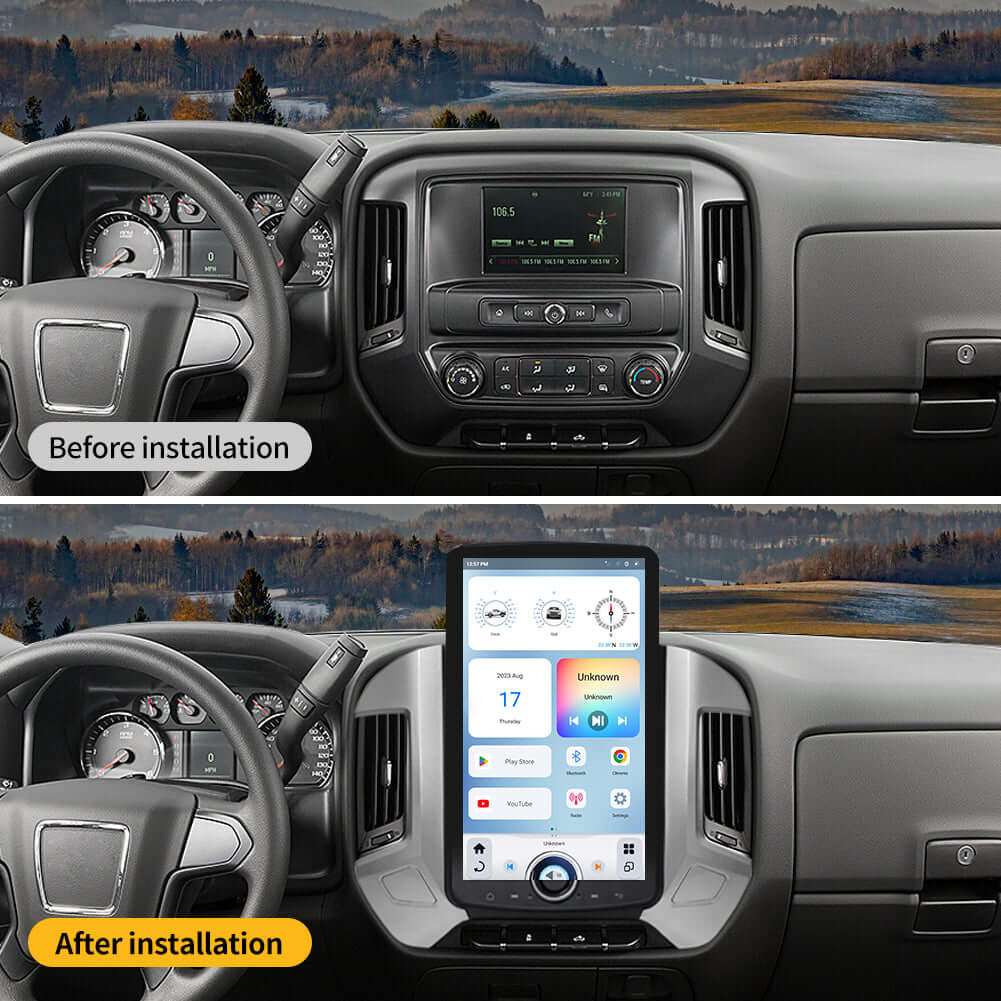
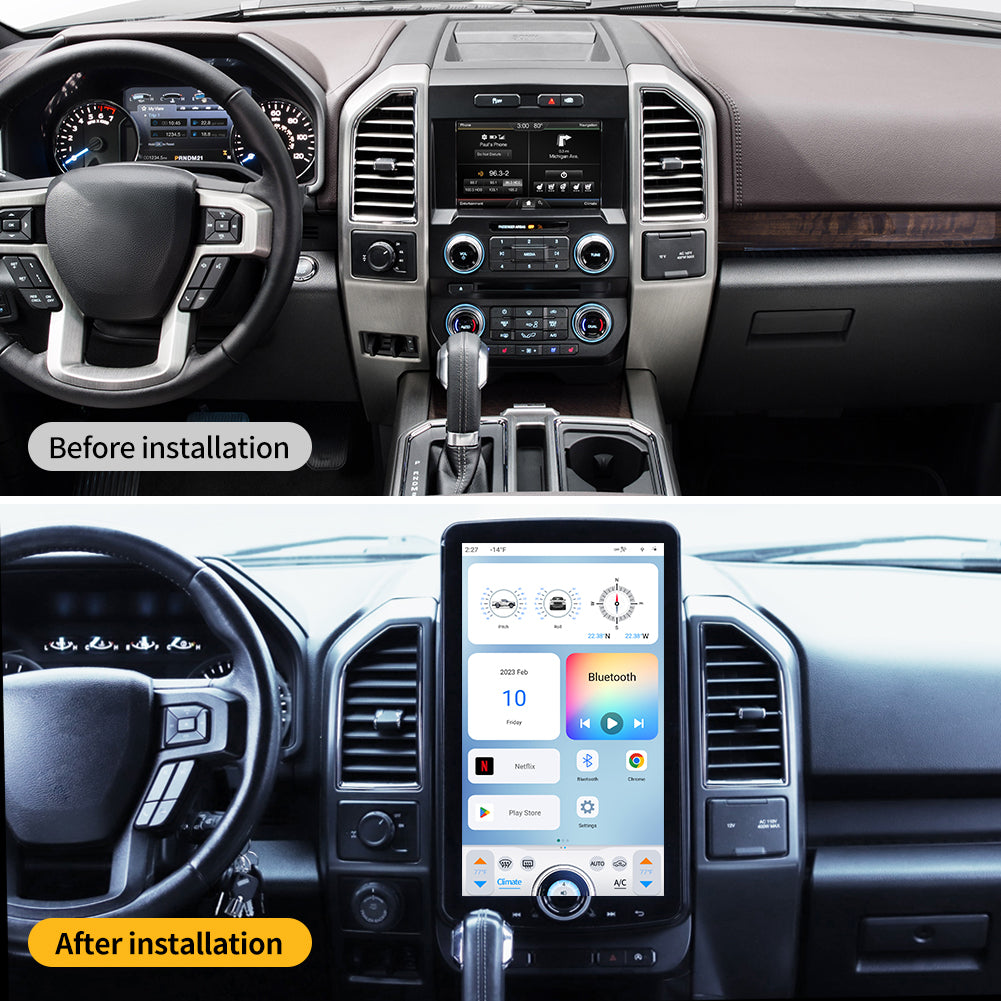
Replacing your car’s stereo head unit with a computer may sound like a futuristic or overly complex project. Yet, with advancements in compact computing devices, such as Raspberry Pi, Intel NUCs, and mini PCs, this endeavour is more achievable than ever. This guide will explore the why, how, and what to expect when swapping your car's traditional stereo for a fully functioning computer system.
We’ll break it down into detailed steps, address concerns, and answer frequently asked questions to give you a complete understanding.
Why Replace a Stereo Head Unit with a Computer?
Before diving into the "how," it’s essential to understand the motivation behind such a project. Here's why enthusiasts consider this upgrade:
1. Enhanced Functionality
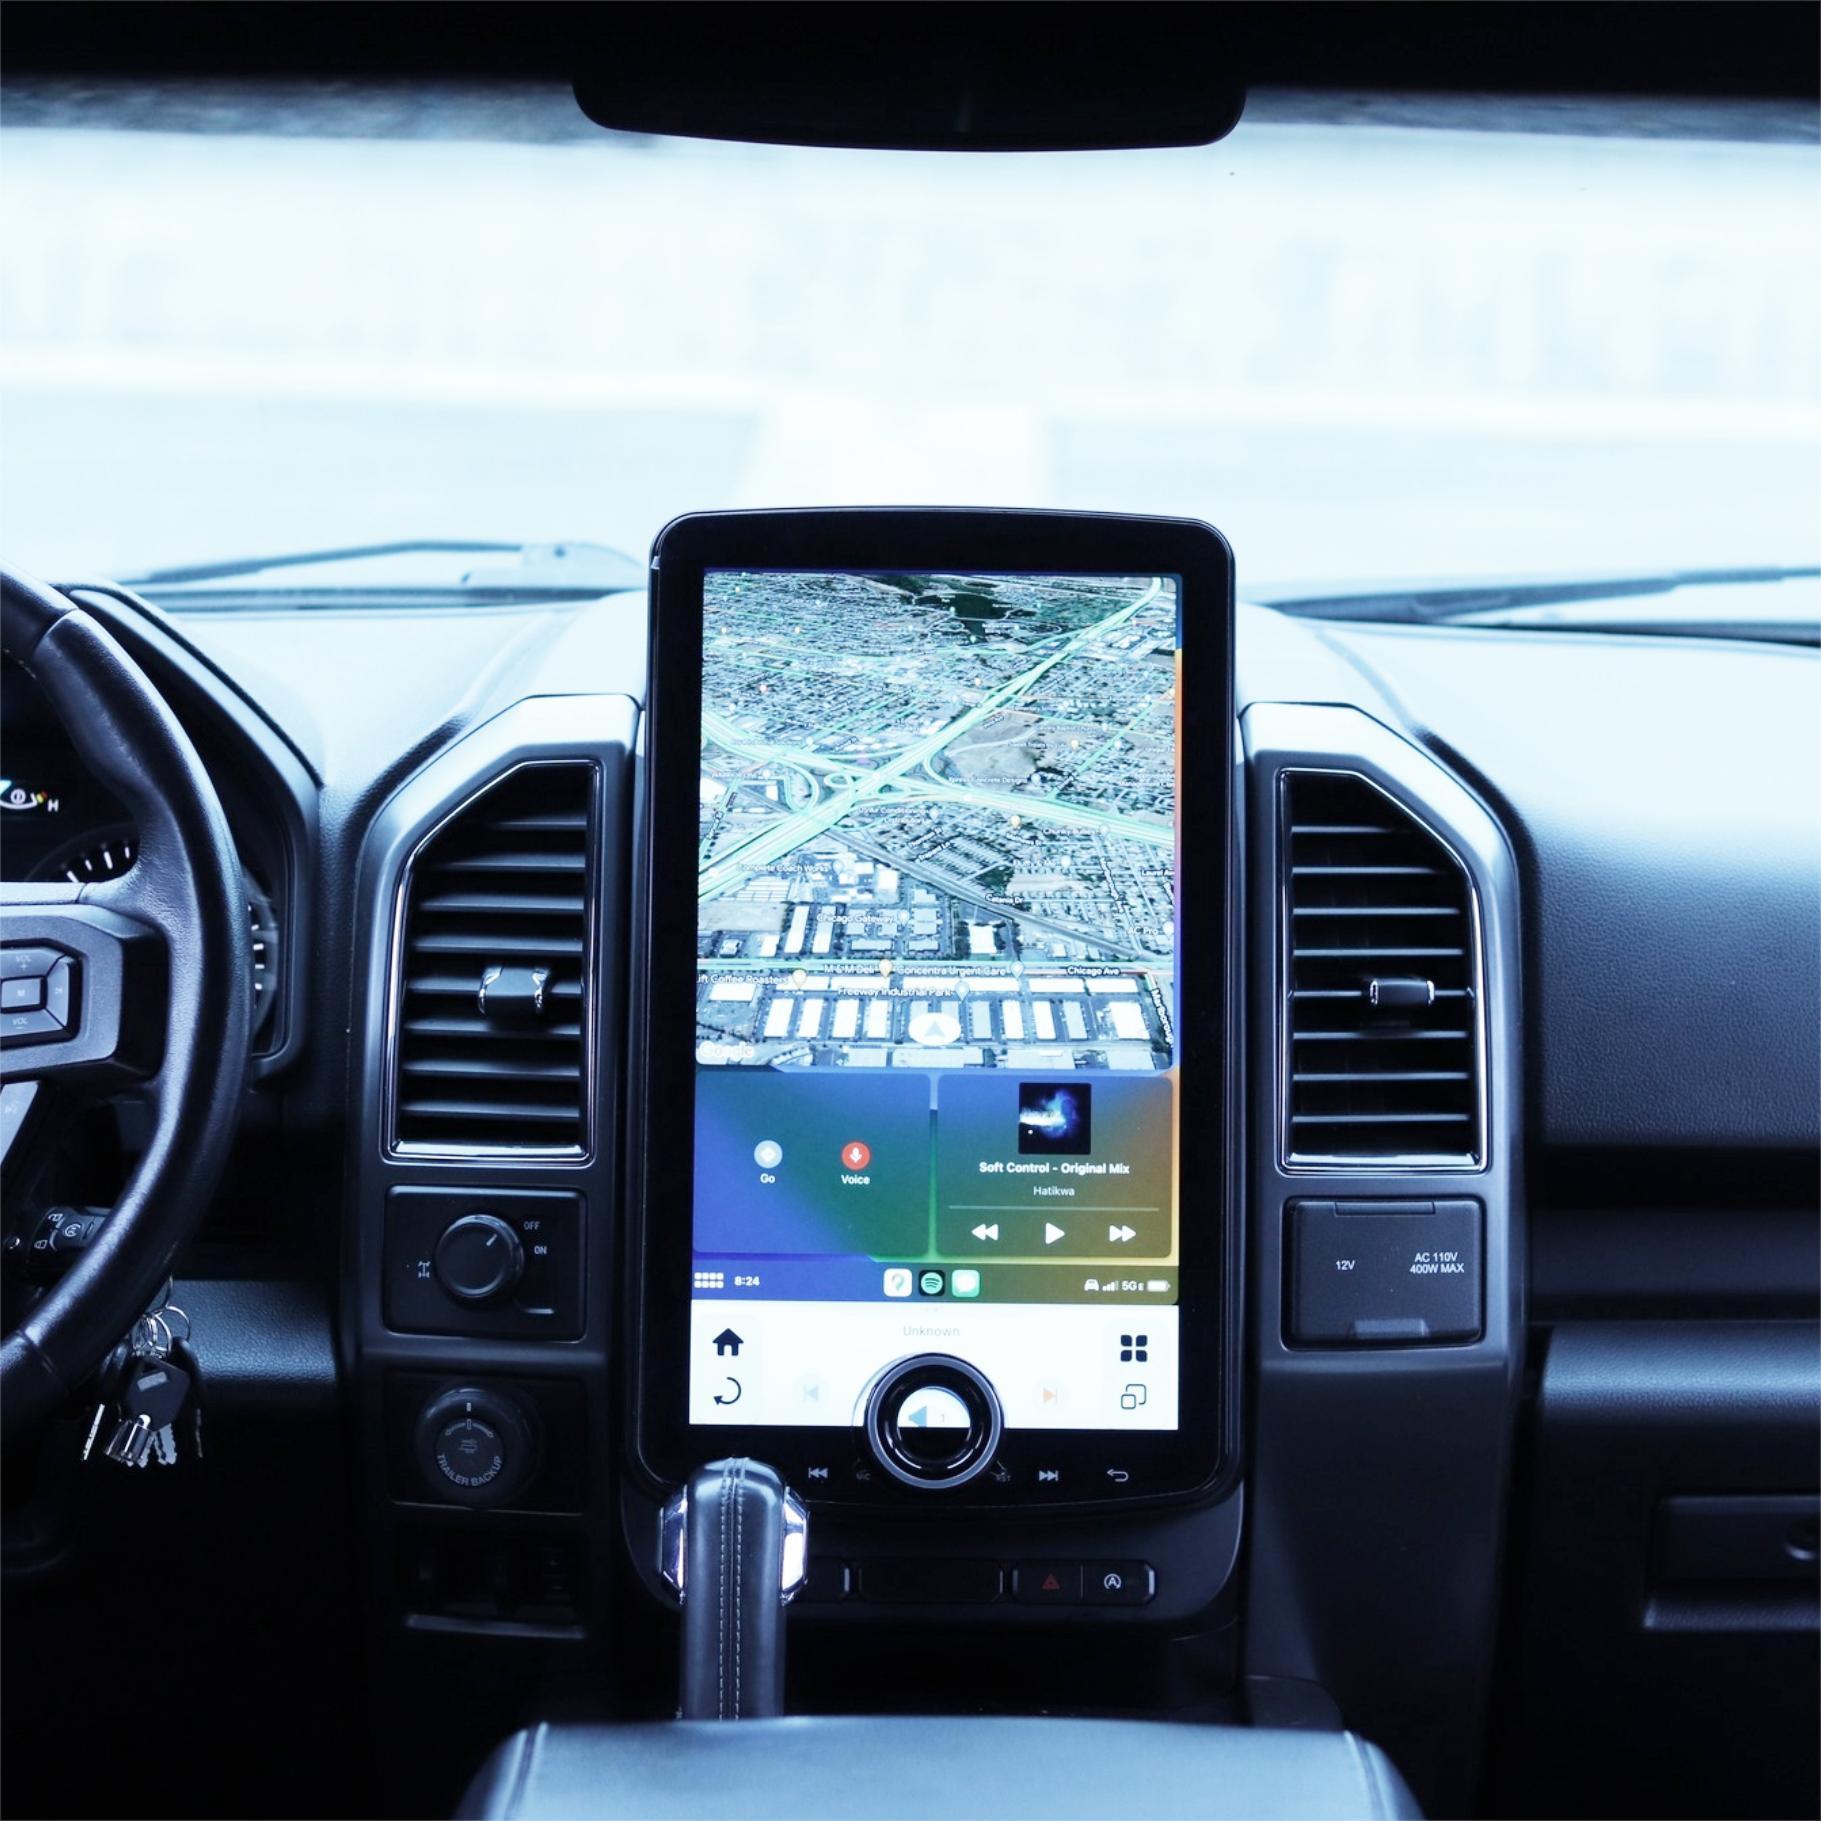
A computer in your car can offer features far beyond a regular stereo:
- Full-fledged multimedia capabilities: Streaming services, personal libraries, and more.
- Custom software integration: Access GPS navigation apps like Google Maps or Waze, diagnostic software for real-time car health monitoring, or even a voice assistant.
- Internet connectivity: Use LTE or Wi-Fi hotspots for internet browsing, music streaming, or working remotely from your car.
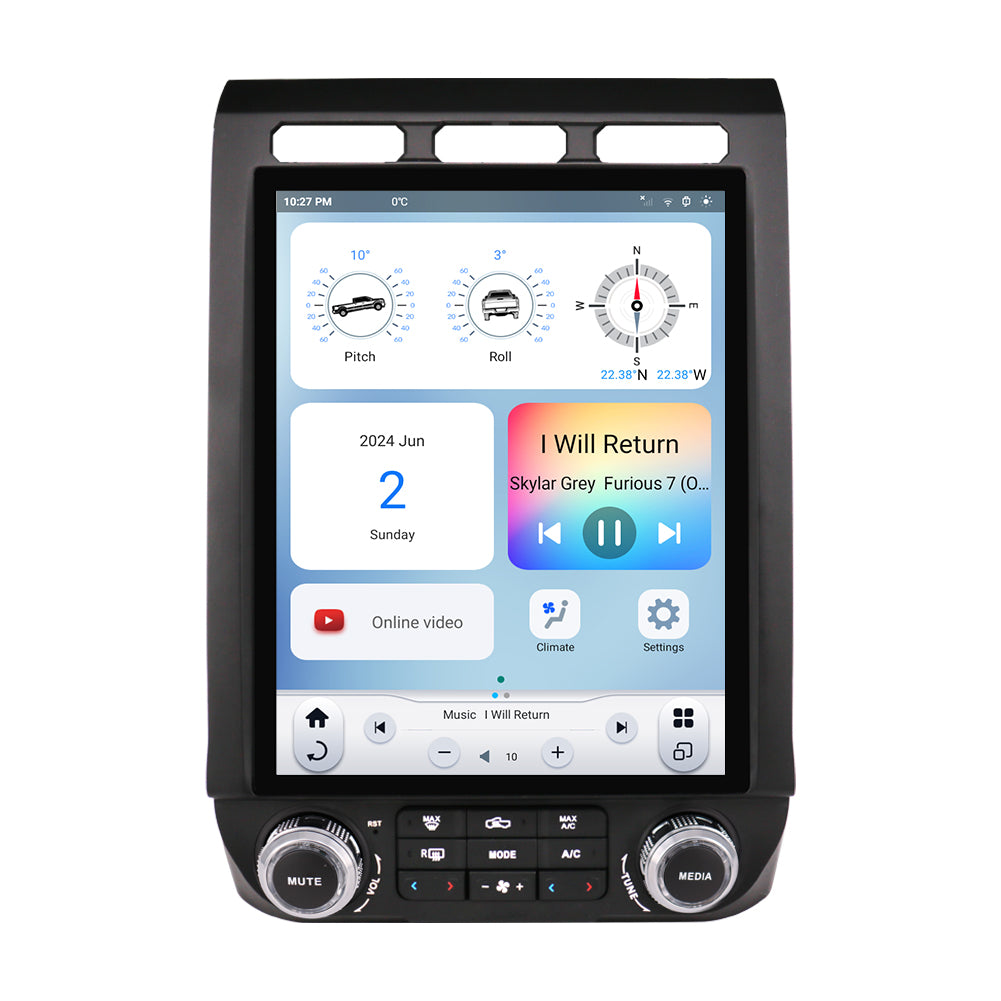
2. Personalization
With a computer, you can fully customize the interface, apps, and layout. It gives you complete control over the user experience.
3. Cost-Effectiveness
While modern head units with advanced features can be expensive, a budget-friendly mini PC or Raspberry Pi setup could deliver better features for a fraction of the cost.
4. Hobbyist Appeal
Tech enthusiasts often enjoy the challenge of integrating and customizing such systems. It’s a satisfying project for those who love DIY.

Planning Your Upgrade
1. Assess Your Vehicle
- Dashboard Space: Most head units are standardized in size (single-DIN or double-DIN). Ensure your computer setup can fit these dimensions or be mounted securely elsewhere.
- Wiring System: Understand your car’s audio system and power supply.
- Touchscreen Capability: Check if your existing screen supports HDMI input or if you’ll need a new touchscreen display.
2. Choose the Right Computer
Your choice will depend on your requirements:
- Raspberry Pi: Excellent for affordability and customization but requires programming skills.
- Intel NUC or Mini PC: Provides greater power and compatibility with operating systems like Windows or Linux.
- Laptop: If portability isn’t a concern, a laptop could work as your central unit.
3. Operating System Selection
- Windows: Wide compatibility with apps and peripherals.
- Linux: Lightweight and highly customizable, great for tech-savvy users.
- Android: User-friendly and optimized for touchscreens.
Installation Process
Step 1: Gather Your Tools and Components
- Computer of choice
- Power inverter or DC-DC converter
- HDMI-enabled touchscreen display
- Amplifier (if required for sound output)
- Input devices (e.g., Bluetooth keyboard, mouse, or controller)
- USB hub and cables
- Sound interface or adapter
- Software installation media (e.g., USB drive)

Step 2: Connect the Hardware
- Mount the computer: Ensure it's securely fixed to prevent damage from vibrations or movement.
- Attach the touchscreen display: Most will fit within double-DIN slots. Ensure it connects to the computer via HDMI or USB-C.
- Power the computer: Use a power inverter or DC-DC converter to ensure compatibility with your car's power supply (12V system).
- Audio Integration: Route audio output to your car's speakers via an amplifier or auxiliary input.

Step 3: Install and Configure the Software
- Install your chosen OS on the computer.
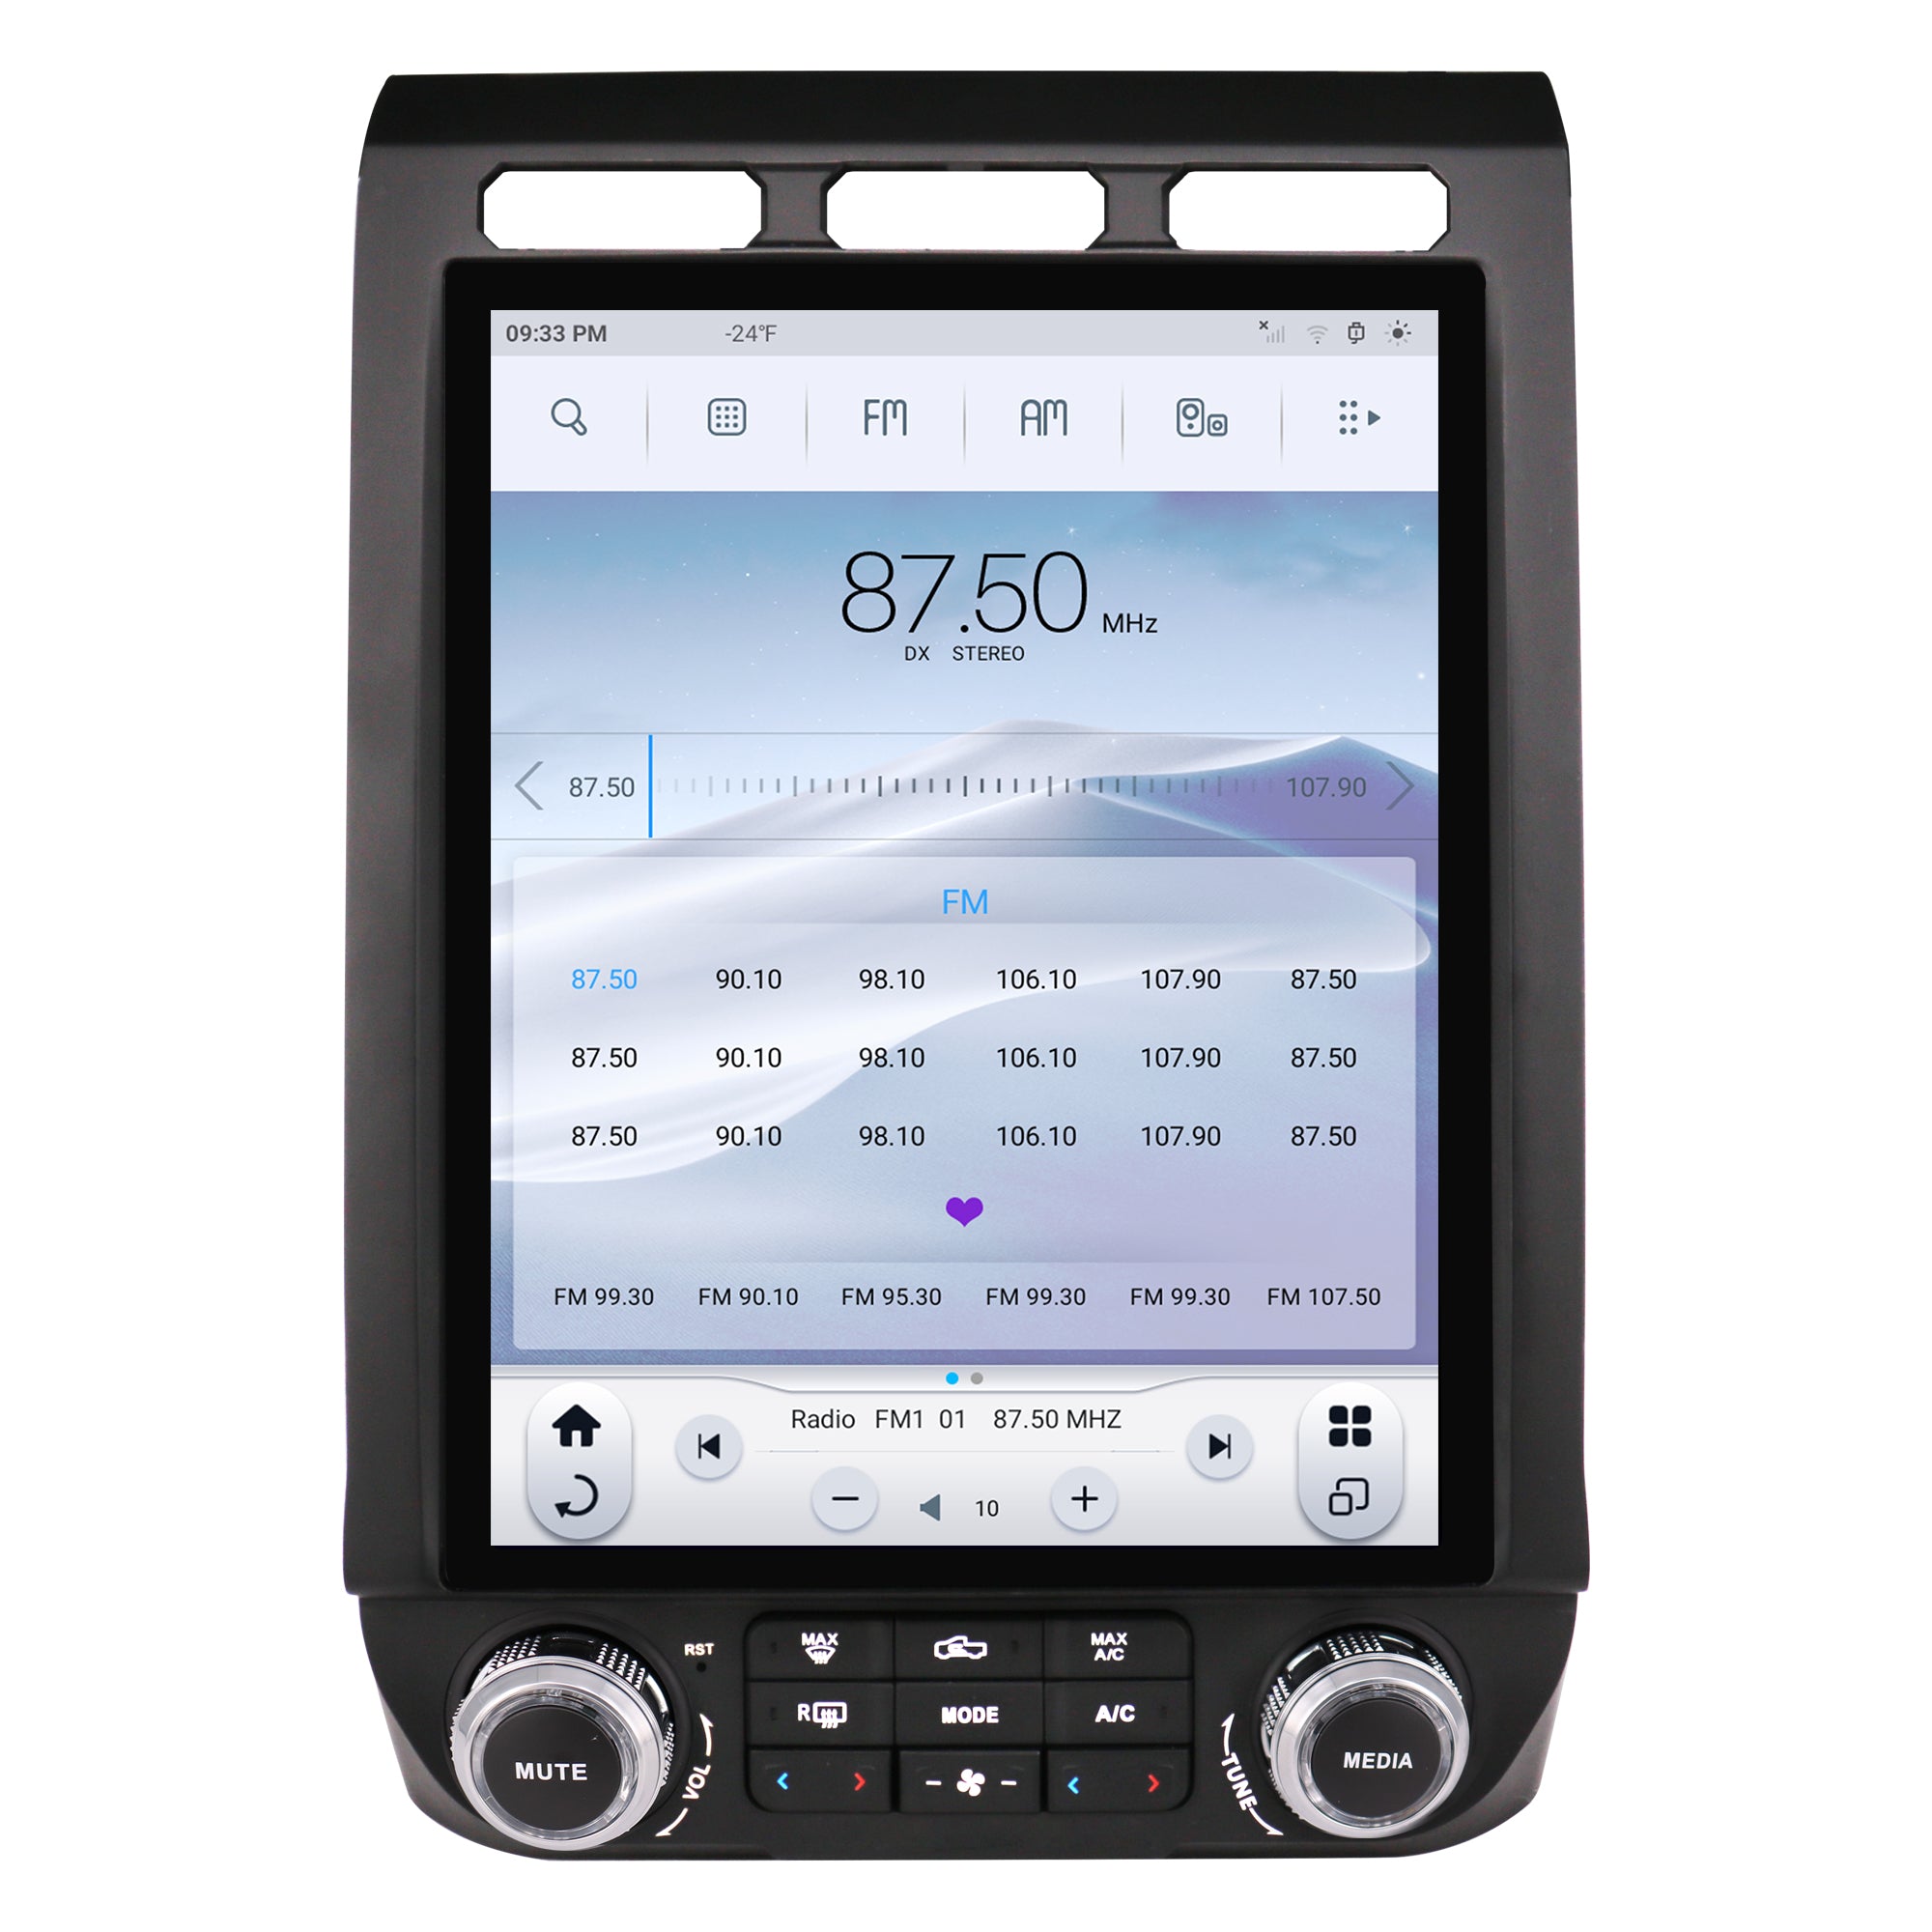
- Download and configure essential apps like media players, GPS navigation, and voice assistants.
- Set up audio equalizers and sound controls to optimize output.
Step 4: Testing
Before closing the dashboard, test all functionalities:
- Sound quality and speaker output
- Touchscreen responsiveness
- Connectivity (Bluetooth, Wi-Fi, USB ports)
- Overall system stability
Challenges to Consider
1. Power Management
Cars use 12V DC power, while computers may require different voltage levels. Use reliable converters to avoid power instability.
2. Heat Management
Cars can get hot, especially in summer. Ensure your computer is well-ventilated or uses active cooling solutions.
3. User Interface (UI) Design
Operating systems like Windows aren’t optimized for touchscreens. You may need UI customization tools or a third-party launcher to improve usability.
4. Internet Connectivity
Installing a mobile hotspot or USB modem may be necessary for online features.
5. Professional Installation
If wiring and dashboard modifications are challenging, consider professional help to ensure a clean and safe installation.
Frequently Asked Questions
1. Will a car computer drain my battery?
Yes, if not managed properly. Use power management tools to ensure the system shuts down when the ignition is off.
2. Can I use my car's existing touchscreen?
If the screen supports HDMI or USB-C input, you can connect it to the computer. Otherwise, you'll need a compatible display.
3. Is a Raspberry Pi powerful enough for this setup?
For basic tasks like music playback, navigation, and diagnostics, a Raspberry Pi works well. However, it may struggle with more intensive applications.
4. What happens to my steering wheel controls?
Steering wheel controls can often be reconfigured using adapters or custom software.
5. How much does this project cost?
Expect costs ranging from $200 to $800, depending on the components and whether you hire a professional for installation.
6. Is this legal?
Yes, but ensure the system doesn’t distract you while driving. Keep features like movies or games disabled while the car is in motion.
Final Thoughts
Replacing your car’s stereo head unit with a computer opens up endless possibilities for functionality and personalization. While it involves some investment of time and resources, the result is a cutting-edge, one-of-a-kind infotainment system that outshines factory-installed options.
Whether you’re a tech enthusiast or a driver seeking a more versatile multimedia experience, this project can be both rewarding and practical when done right.


Share:
10 Best Car Stereos to Consider Buying in 2024
What Does a CANBUS Box Do for a Car Stereo?